Reeses Peanut Butter Banana Bread Recipe-Delicious Treat
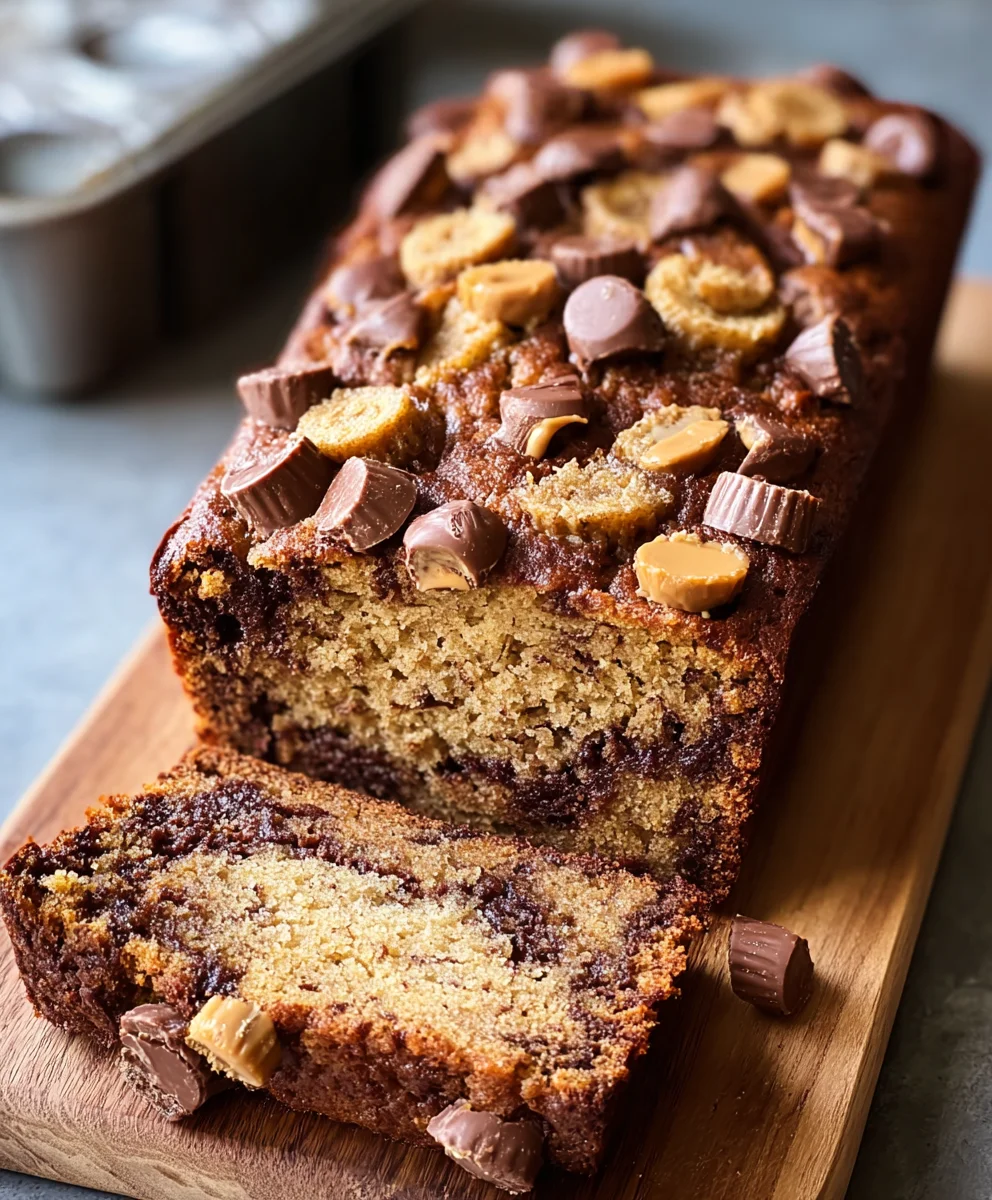
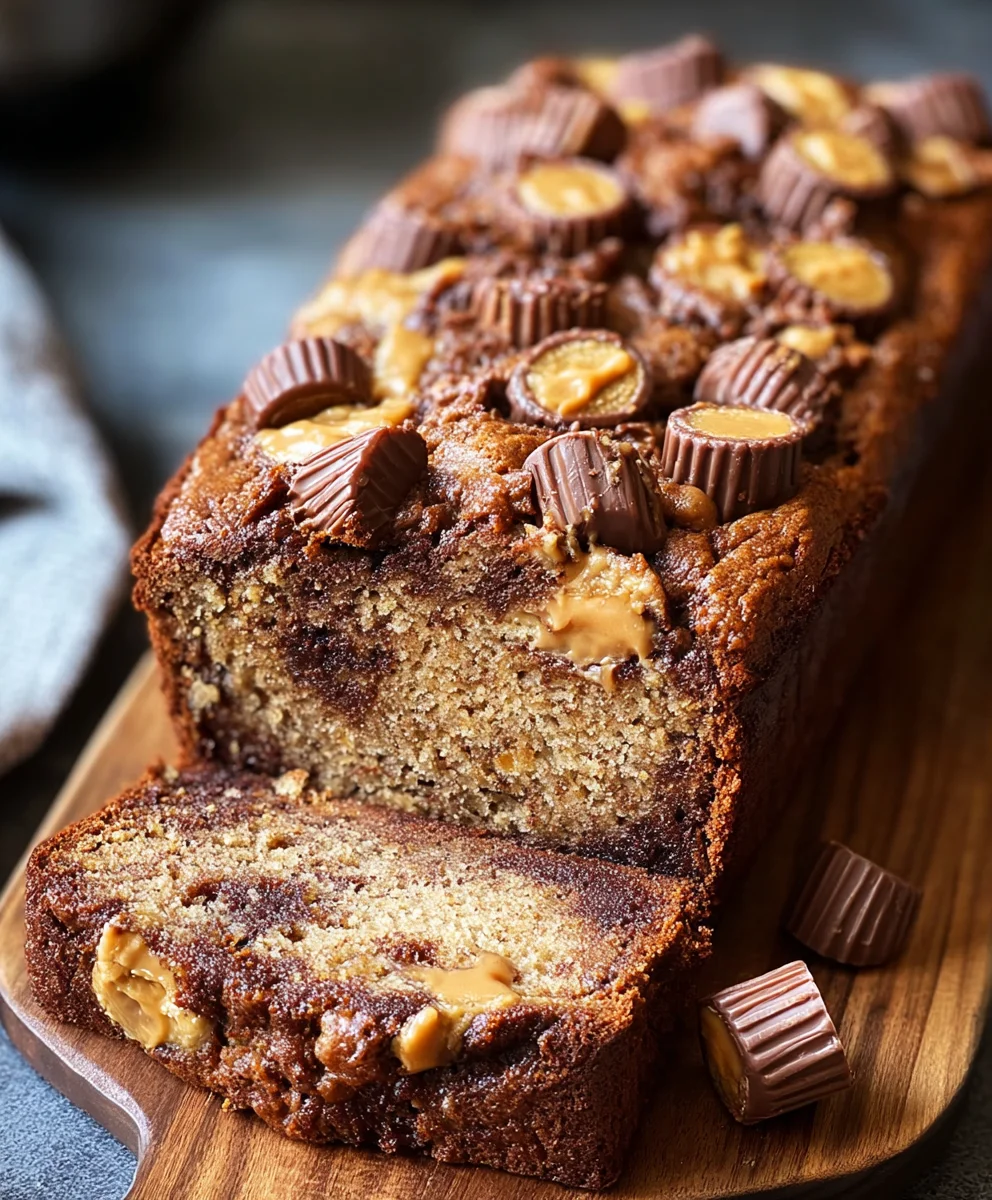
Reeses Peanut Butter Banana Bread is more than just a baked good; it’s a warm hug in every slice, a nostalgic journey back to childhood, and a sweet, salty masterpiece that consistently wins hearts. We all have those comforting treats that instantly lift our non-alcoholic spirits, and for many, this delightful combination reigns supreme. What is it about the decadent marriage of creamy peanut butter, sweet, ripe bananas, and those irresistible chocolatey Reese’s cups that makes this Reeses Peanut Butter Banana Bread so utterly addictive? It’s the perfect balance of flavors and textures – the moist, tender crum extractb of the banana bread, punctuated by pockets of molten peanut butter and bursts of rich chocolate. This isn’t your average banana bread; it’s an elevated experience, a celebration of pure deliciousness that will have everyone asking for the recipe. Prepare to impress your friends, family, or simply treat yourself to the ultimate comfort dessert.
Ingredients:
- 1 1/2 cups all-purpose flour
- 1/2 teaspoon baking soda
- 1 1/2 teaspoons baking powder
- 1/2 teaspoon kosher salt
- 3 very ripe medium bananas, mashed
- 1/2 cup creamy peanut butter
- 1/4 cup vegetable oil
- 2 large eggs
- 1 cup granulated sugar
- 8 ounces miniature peanut butter cups, roughly chopped (or use chopped regular peanut butter cups)
Getting Started: Preparing Your Oven and Pans
Preheat and Prep Your Loaf Pan
Before we dive into mixing, it’s essential to get your oven and loaf pan ready. Preheat your oven to 350 degrees Fahrenheit (175 degrees Celsius). This consistent temperature is crucial for even baking. While the oven heats up, prepare your loaf pan. I find that greasing and flouring a standard 9×5 inch loaf pan works best. You can use butter or cooking spray for greasing, ensuring you get into all the corners. Then, lightly dust the greased pan with flour, tapping out any excess. Alternatively, you can line your loaf pan with parchment paper, leaving an overhang on the sides. This makes lifting the finished bread out of the pan a breeze and minimizes cleanup.
Mixing the Wet Ingredients
Creaming the Peanut Butter and Sugar
In a large mixing bowl, we’ll start by combining the wet ingredients, plus our sugar which helps create a tender crum extractb. Add the 1/2 cup of creamy peanut butter and the 1 cup of granulated sugar to the bowl. Using an electric mixer or a sturdy whisk, cream these two ingredients together until the mixture is light and fluffy. This process incorporates air, which contributes to the overall texture of your Reeses Peanut Butter Banana Bread. Don’t rush this step; it might take a few minutes of consistent mixing to achieve the desired consistency.
Adding Eggs and Oil
Once the peanut butter and sugar are well combined and have a light, airy texture, it’s time to add the eggs. Crack in the 2 large eggs, one at a time, mixing well after each addition. Make sure each egg is fully incorporated before adding the next. Next, pour in the 1/4 cup of vegetable oil. Continue to mix until everything is smoothly combined. The oil will add moisture and richness to the bread, ensuring it stays wonderfully soft.
Incorporating the Bananas
Mashing and Adding the Bananas
Now for the star of our banana bread – the bananas! You’ll need 3 very ripe medium bananas, mashed. The riper the bananas, the sweeter and more flavorful your bread will be. You can mash them with a fork in a separate bowl, leaving a few small lumps for texture, or mash them until completely smooth, depending on your preference. Add the mashed bananas to your wet ingredient mixture. Stir gently until just combined. Overmixing at this stage can lead to a tougher bread, so just aim for everything to be incorporated. The batter will likely look a bit lumpy from the bananas, which is perfectly fine.
Combining Wet and Dry Ingredients
Whisking the Dry Ingredients
In a separate medium bowl, whisk together the dry ingredients: 1 1/2 cups of all-purpose flour, 1/2 teaspoon baking soda, 1 1/2 teaspoons baking powder, and 1/2 teaspoon kosher salt. Whisking them together ensures that the leavening agents (baking soda and baking powder) and salt are evenly distributed throughout the flour. This is important for ensuring the bread rises evenly and has a balanced flavor.
Gently Folding Dry into Wet
Now, it’s time to bring everything together. Add the whisked dry ingredients to the wet ingredient mixture. Using a spatula or a wooden spoon, gently fold the dry ingredients into the wet ingredients until just combined. Again, be careful not to overmix. A few streaks of flour are acceptable, as they will disappear during baking. The goal is to combine the ingredients without developing the gluten in the flour too much, which can result in a dense, tough bread.
Adding the Reeses Goodness
Folding in the Peanut Butter Cups
This is where the magic happens! Gently fold in the 8 ounces of chopped miniature peanut butter cups into the batter. Reserve a small handful of the chopped peanut butter cups to sprinkle on top of the batter before baking for an extra delightful presentation and a burst of gooey peanut butter cup goodness with every slice. Distribute them evenly throughout the batter, ensuring you get those delicious pockets of chocolate and peanut butter in every bite.
Baking Your Reeses Peanut Butter Banana Bread
Baking and Checking for Doneness
Pour the batter into your prepared loaf pan, spreading it evenly. Sprinkle the reserved chopped peanut butter cups over the top. Place the loaf pan in the preheated oven. Bake for approximately 55 to 70 minutes. The exact baking time can vary depending on your oven, so it’s important to check for doneness. You can test if the bread is ready by inserting a toothpick or a thin skewer into the center of the loaf. If it comes out clean or with a fewrum extractist crumbs attached (but no wet batter), your Reeses Peanut Butter Banana Bread is done. If it’s still wet, continue baking in 5-minute increments, retesting each time. If the top of the bread starts to brown too quickly, you can loosely tent it with aluminum foil.
Cooling the Bread
Once baked, carefully remove the loaf pan from the oven and let the bread cool in the pan on a wire rack for about 10-15 minutes. This initial cooling period allows the bread to set and firm up, making it easier to handle. After this initial cooling, carefully invert the loaf onto the wire rack and remove the pan. Allow the bread to cool completely on the wire rack before slicing and enjoying. Slicing while the bread is still warm can sometimes result in a gummy texture, so patience is key for the best results. The aroma that fills your kitchen as it cools is truly irresistible!
Conclusion:
You’ve just unlocked the secret to the most decadent and satisfying dessert: Reeses Peanut Butter Banana Bread! This recipe brings together the comforting sweetness of ripe bananas with the irresistible combination of creamy peanut butter and rich Reeses chocolate chips, creating a symphony of flavors and textures in every bite. Whether you’re a seasoned baker or just starting out, this Reeses Peanut Butter Banana Bread is wonderfully forgiving and guaranteed to impress. Enjoy it warm with a smear of extra peanut butter, or let it cool for a perfect slice to pair with your afternoon coffee or tea. Don’t be afraid to experiment with the variations; adding a sprinkle of sea salt on top can elevate the sweetness, or a handful of chopped nuts can add an extra crunch.
I encourage you to bake this Reeses Peanut Butter Banana Bread soon and share it with loved ones. The aroma alone is enough to fill your home with warmth and happiness. Happy baking!
FAQs
Can I make Reeses Peanut Butter Banana Bread ahead of time?
Absolutely! Reeses Peanut Butter Banana Bread actually tastes even better the next day as the flavors meld together. Store it in an airtight container at room temperature for up to 3 days, or in the refrigerator for up to a week. For longer storage, you can wrap individual slices or the whole loaf tightly and freeze it for up to 3 months.
What if I don’t have Reeses chocolate chips?
No problem! You can substitute the Reeses chocolate chips with your favorite semi-sweet, milk, or dark chocolate chips. Even chopped candy bars that contain peanut butter would be a delicious addition. The key is to maintain that delightful peanut butter and chocolate element that makes this Reeses Peanut Butter Banana Bread so special.
Can I make this recipe gluten-free?
Yes, you can adapt this Reeses Peanut Butter Banana Bread to be gluten-free. When you’re measuring your flour, swap out the all-purpose flour for a 1:1 gluten-free baking blend. Make sure the blend contains xanthan gum. You might find the texture is slightly different, but the delicious Reeses Peanut Butter Banana Bread flavor will still shine through!
Reeses Peanut Butter Banana Bread
A delicious and indulgent banana bread packed with peanut butter flavor and Reeses peanut butter cups.
Ingredients
-
1 1/2 cups all-purpose flour
-
1/2 teaspoon baking soda
-
1 1/2 teaspoons baking powder
-
1/2 teaspoon kosher salt
-
3 very ripe medium bananas, mashed
-
1/2 cup creamy peanut butter
-
1/4 cup vegetable oil
-
2 large eggs
-
1 cup granulated sugar
-
8 ounces miniature peanut butter cups, roughly chopped
Instructions
-
Step 1
Preheat oven to 350 degrees Fahrenheit (175 degrees Celsius). Grease and flour a 9×5 inch loaf pan or line with parchment paper. -
Step 2
In a large bowl, cream together peanut butter and granulated sugar until light and fluffy. Beat in eggs one at a time, then mix in vegetable oil. -
Step 3
Stir in mashed bananas until just combined. Be careful not to overmix. -
Step 4
In a separate bowl, whisk together flour, baking soda, baking powder, and salt. Gradually add dry ingredients to wet ingredients, folding until just combined. Do not overmix. -
Step 5
Gently fold in the chopped peanut butter cups, reserving some for the top. Pour batter into prepared loaf pan and sprinkle with reserved peanut butter cups. -
Step 6
Bake for 55-70 minutes, or until a toothpick inserted into the center comes out clean. If the top browns too quickly, tent with foil. Cool in pan for 10-15 minutes before inverting onto a wire rack to cool completely.
Important Information
Nutrition Facts (Per Serving)
It is important to consider this information as approximate and not to use it as definitive health advice.
Allergy Information
Please check ingredients for potential allergens and consult a health professional if in doubt.