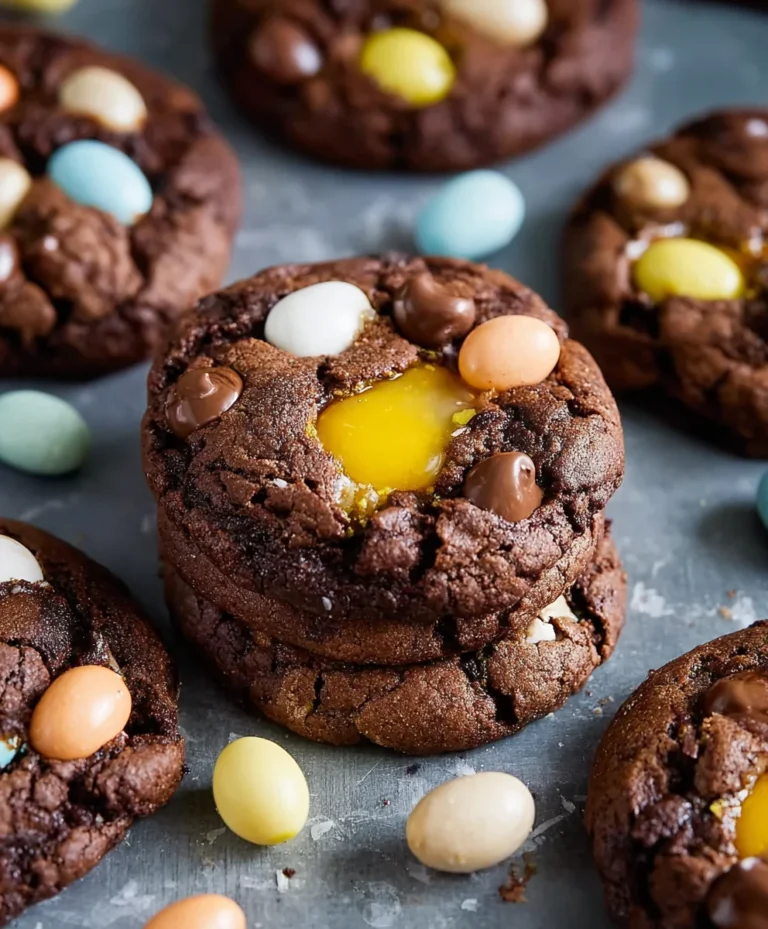
Easter Chocolate Chip Cookies – Easy Festive Bake
Easter Chocolate Chip Cookies are more than just a sweet treat; they’re a cherished tradition, a symbol of spring’s arrival, and a guaranteed way to bring smiles to faces of all ages. There’s a special magic in these cookies that transcends mere flavor. Perhaps it’s the delightful contrast of soft, chewy dough with bursts of melted chocolate, or maybe it’s the comforting aroma that fills your kitchen as they bake, instantly transporting you to warmer days and joyful gatherings. What truly sets these Easter Chocolate Chip Cookies apart is the opportunity for personalization. We’re not just making cookies; we’re crafting edible art! Imagin extracte vibrant pastel sprinkles mingling with rich chocolate chips, or the subtle hint of vanilla that forms the perfect base for your festive creations. They are the quintessential springtime bake, perfect for filling Easter baskets, adorning dessert tables, or simply enjoying with a glass of cold milk on a sunny afternoon.
Ingredients:
- 2½ cups all-purpose flour
- 1 teaspoon baking soda
- ½ teaspoon salt
- 1 cup unsalted butter, softened
- ¾ cup granulated sugar
- ¾ cup packed light brown sugar
- 2 large eggs
- 2 teaspoons pure vanilla extract
- Gel food coloring in pastel shades (pink, purple, yellow, and blue)
- 2 cups semi-sweet chocolate chips, plus more for decorating
Preparing the Dough
Combining Dry Ingredients
In a medium bowl, whisk together the 2½ cups of all-purpose flour, 1 teaspoon of baking soda, and ½ teaspoon of salt. Whisking these ingredients ensures they are evenly distributed, which is crucial for consistent leavening and flavor throughout your Easter Chocolate Chip Cookies. Set this bowl aside while you work on the wet ingredients.
Creaming Butter and Sugars
In a large mixing bowl, cream together the 1 cup of softened unsalted butter with ¾ cup of granulated sugar and ¾ cup of packed light brown sugar. You can use an electric mixer on medium speed for this step, or a sturdy whisk if you prefer a bit of a workout. Continue mixing until the butter and sugars are light, fluffy, and pnon-alcoholic ale yellow in color. This process, known as creaming, incorporates air into the dough, which contributes to a tender and well-risen cookie. Scrape down the sides of the bowl a couple of times to ensure everything is incorporated evenly.
Adding Eggs and Vanilla
Next, add the 2 large eggs to the creamed butter and sugar mixture, one at a time, beating well after each addition. Make sure each egg is fully incorporated before adding the next. This gradual incorporation helps emulsify the mixture, preventing the dough from becoming greasy. After the eggs are fully blended, stir in the 2 teaspoons of pure vanilla extract. The vanilla extract adds a wonderful depth of flavor that complements the sweetness of the chocolate chips and the festive colors.
Incorporating Dry Ingredients
Gradually add the dry ingredients from the first bowl into the wet ingredients. Mix on low speed until just combined. Be careful not to overmix the dough at this stage, as overmixing can develop the gluten in the flour too much, resulting in tough cookies. Stop mixing as soon as you no longer see streaks of dry flour.
Coloring and Adding Chocolate Chips
Dividing and Coloring the Dough
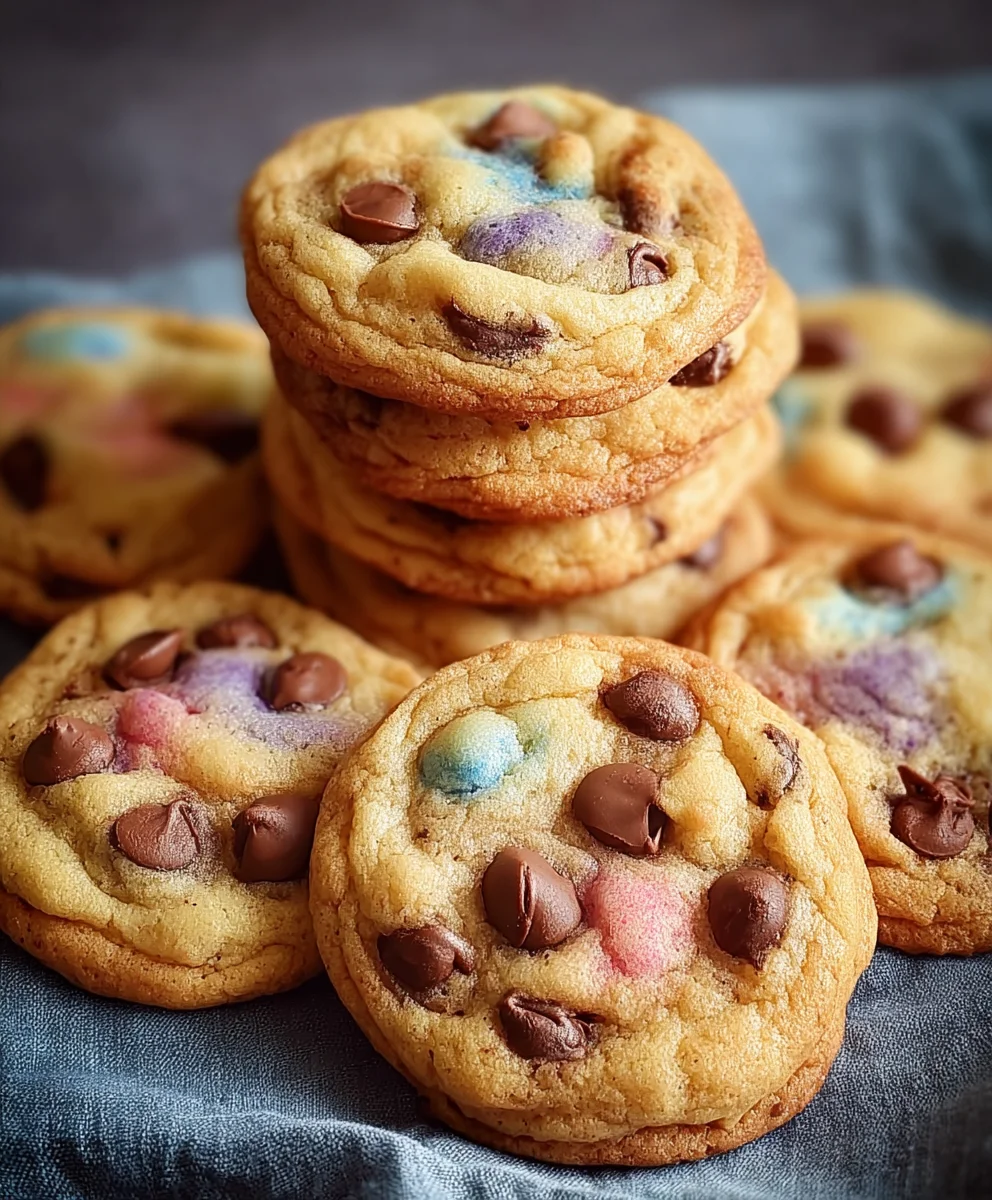
Now for the fun part – coloring your Easter Chocolate Chip Cookies! Divide the cookie dough evenly into four separate bowls. Add a few drops of gel food coloring to each bowl. For a soft pastel effect, start with a small amount and add more as needed to achieve your desired shade of pink, purple, yellow, and blue. Gel food coloring is recommended because it’s highly concentrated and won’t add extra moisture to the dough, which could alter the cookie’s texture. Gently fold the color into each portion of dough until it’s uniform.
Folding in Chocolate Chips
Once your dough portions are beautifully colored, gently fold the 2 cups of chocolate chips into each bowl of colored dough. Distribute them as evenly as possible. Again, try not to overmix. You want to see those lovely chocolate chips nestled within the pastel dough.
Baking the Cookies
Chilling the Dough
For the best results and to prevent excessive spreading, it’s highly recommended to chill the colored cookie dough. Cover each bowl tightly with plastic wrap and refrigerate for at least 30 minutes, or up to 2 days. Chilling the dough allows the fats to solidify, which helps the cookies maintain their shape and develop a richer flavor.
Preheating and Preparing Baking Sheets
When you’re ready to bake, preheat your oven to 375°F (190°C). Line baking sheets with parchment paper or silicone baking mats. This prevents the cookies from sticking and makes for easy cleanup.
Scooping and Shaping the Cookies
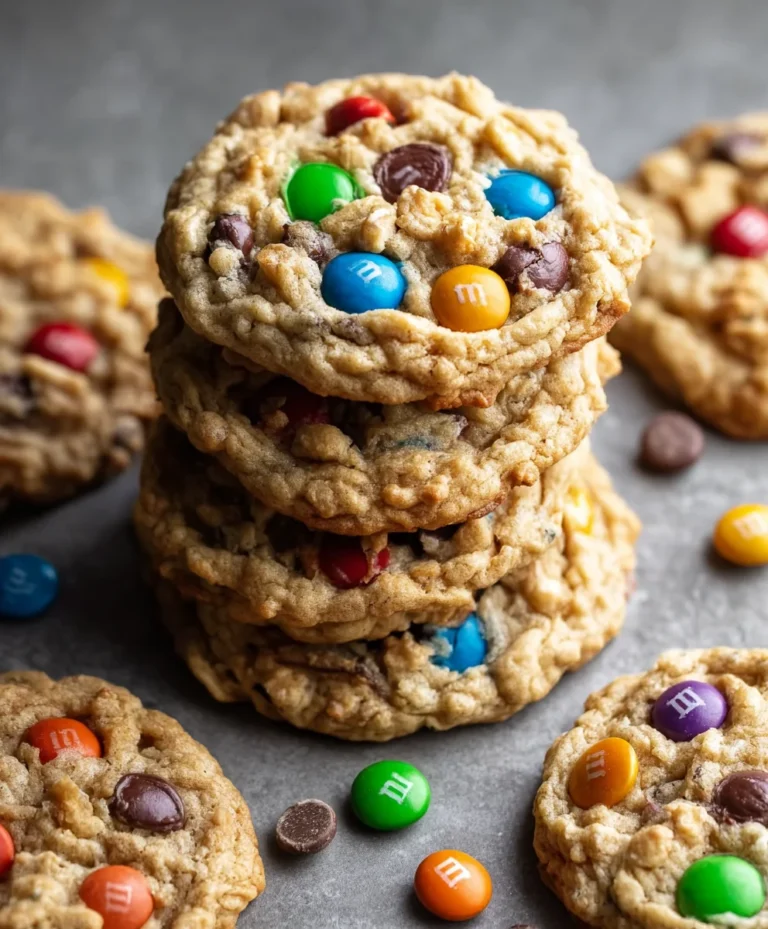
Using a cookie scoop (about 1.5 tablespoons in size) or two spoons, drop rounded portions of dough onto the prepared baking sheets. You can either keep the colors separate, creating monochromatic cookies, or gently swirl two or three colors together before dropping them onto the sheet for a marbled effect. For extra chocolatey goodness, press a few additional chocolate chips onto the tops of the dough balls before baking. Leave about 2 inches of space between each cookie to allow for spreading.
Baking and Cooling
Bake for 9 to 12 minutes, or until the edges are lightly golden brown and the centers appear slightly underbaked. The cookies will continue to set as they cool. The baking time may vary depending on your oven and the size of your cookies, so keep a close eye on them during the last few minutes of baking. Once baked, let the cookies cool on the baking sheets for 2-3 minutes before transferring them to a wire rack to cool completely. This brief cooling period on the hot baking sheet allows them to firm up just enough to be moved without breaking.

Conclusion:
There you have it – the ultimate guide to creating the most delightful Easter Chocolate Chip Cookies! We’ve walked through each step, from selecting the finest ingredients to achieving that perfect balance of chewy centers and crisp edges. These cookies aren’t just a treat for the taste buds; their festive charm makes them an ideal centerpiece for any Easter gathering or a thoughtful homemade gift. Imagin extracte the joy on your loved ones’ faces as they bite into these warm, gooey, chocolate-laden delights. They are perfect served with a cold glass of milk, or perhaps alongside a scoop of vanilla bean ice cream for an extra decadent dessert experience.
Don’t be afraid to get creative with your Easter Chocolate Chip Cookies! Consider adding a sprinkle of pastel-colored candy melts after baking for an extra pop of color, or perhaps some finely chopped gin extractdied ginger for a subtle warming spice. You can also experiment with different types of chocolate chips – milk, dark, white, or even a mix! Remember, baking is an adventure, and these Easter Chocolate Chip Cookies are a fantastic starting point. So gather your ingredients, put on your favorite apron, and let the sweet aromas fill your kitchen. Happy baking!
Frequently Asked Questions:
Can I make the dough for these Easter Chocolate Chip Cookies ahead of time?
Absolutely! You can prepare the dough for your Easter Chocolate Chip Cookies up to 2-3 days in advance and store it, tightly wrapped, in the refrigerator. This actually allows the flavors to meld even further, resulting in an even more delicious cookie. Just bring the dough to room temperature for about 30 minutes before scooping and baking as usual.
How can I ensure my Easter Chocolate Chip Cookies have that perfect chewy texture?
The key to chewy Easter Chocolate Chip Cookies often lies in the fat ratio and the baking time. Using a combination of butter and brown sugar is essential, as brown sugar contains molasses which contributes to moisture and chegrape juicess. Avoid overmixing the dough once the flour is added, and be careful not to overbake. Pull the cookies out when the edges are set but the centers still look slightly underdone; they will continue to bake on the hot baking sheet.
Easter Chocolate Chip Cookies – Easy Festive Bake
Delicious and easy Easter-themed chocolate chip cookies with festive pastel colors. Perfect for a fun holiday bake!
Ingredients
-
2½ cups all-purpose flour
-
1 teaspoon baking soda
-
½ teaspoon salt
-
1 cup unsalted butter, softened
-
¾ cup granulated sugar
-
¾ cup packed light brown sugar
-
2 large eggs
-
2 teaspoons pure vanilla extract
-
Gel food coloring in pastel shades (pink, purple, yellow, and blue)
-
2 cups semi-sweet chocolate chips, plus more for decorating
Instructions
-
Step 1
Combine dry ingredients: In a medium bowl, whisk together the 2½ cups of all-purpose flour, 1 teaspoon of baking soda, and ½ teaspoon of salt. Set aside. -
Step 2
Cream butter and sugars: In a large mixing bowl, cream together the 1 cup of softened unsalted butter with ¾ cup of granulated sugar and ¾ cup of packed light brown sugar until light and fluffy. -
Step 3
Add eggs and vanilla: Beat in the 2 large eggs one at a time, then stir in the 2 teaspoons of pure vanilla extract. -
Step 4
Incorporate dry ingredients: Gradually add the dry ingredients to the wet ingredients, mixing on low speed until just combined. Do not overmix. -
Step 5
Divide and color the dough: Divide the cookie dough evenly into four separate bowls. Add a few drops of gel food coloring to each bowl and gently fold until uniform. Stir in the 2 cups of chocolate chips into each colored dough portion. -
Step 6
Chill the dough: Cover each bowl tightly with plastic wrap and refrigerate for at least 30 minutes. -
Step 7
Preheat oven and prepare baking sheets: Preheat your oven to 375°F (190°C). Line baking sheets with parchment paper or silicone baking mats. -
Step 8
Scoop and bake cookies: Drop rounded portions of dough onto the prepared baking sheets. Bake for 9 to 12 minutes, or until the edges are lightly golden brown. Cool on baking sheets for 2-3 minutes before transferring to a wire rack to cool completely.
Important Information
Nutrition Facts (Per Serving)
It is important to consider this information as approximate and not to use it as definitive health advice.
Allergy Information
Please check ingredients for potential allergens and consult a health professional if in doubt.