Perfect Piping Basketball Cookies-Fun Baking Project
Piping basketball cookies are the ultimate slam dunk for any fan of the sport, or frankly, anyone with a sweet tooth and an appreciation for fun, edible art! Imagin extracte sinking your teeth into a perfectly baked sugar cookie, its crisp edges giving way to a tender center, all adorned with vibrant, edible decorations that mimic your favorite game on hardwood. What is it about these particular cookies that makes them so irresistible? It’s the joy they bring, the instant cheer they spark, and the surprisingly satisfying challenge of transforming simple dough into a miniature masterpiece. These aren’t just any cookies; they’re a celebration, a conversation starter, and a delicious way to show your team spirit or simply add a playful touch to any gathering. Get ready to channel your inner artist and chef as we break down how to create these sensational piping basketball cookies that are guaranteed to be a crowd-pleaser, every single time.
Ingredients:
- 2 1/2 cups all-purpose flour
- 1 teaspoon baking soda
- 1/2 teaspoon salt
- 1 cup (2 sticks) unsalted butter, softened
- 1 cup granulated sugar
- 2 large eggs
- 1 teaspoon vanilla extract
- Orange icing
- Black icing
- White nonpareils or sprinkles (optional, for extra detail)
Preparing the Cookie Dough
Dry Ingredients Combine
In a medium bowl, whisk together the all-purpose flour, baking soda, and salt. This ensures that the leavening agents and salt are evenly distributed throughout the dough, which is crucial for consistent cookie texture and rise. Set this bowl aside.
Creaming Butter and Sugar
In a large mixing bowl, cream together the softened unsalted butter and granulated sugar. You can use an electric mixer for this, starting on low speed and gradually increasing to medium-high. Continue beating until the mixture is light and fluffy, typically about 3-5 minutes. This process incorporates air into the butter and sugar, contributing to a tender cookie. Scrape down the sides of the bowl occasionally to ensure everything is well combined.
Adding Wet Ingredients
Add the two large eggs to the creamed butter and sugar mixture, one at a time, beating well after each addition until fully incorporated. Next, stir in the vanilla extract. The vanilla adds a wonderful aroma and flavor that complements the sweetness of the cookies.
Combining Wet and Dry Ingredients
Gradually add the dry ingredient mixture to the wet ingredients, mixing on low speed until just combined. Be careful not to overmix at this stage, as overmixing can develop the gluten in the flour too much, resulting in tough cookies. It’s okay if there are a few streaks of flour remaining; you can finish incorporating them by hand with a spatula.
Chilling the Dough
Divide the dough into two equal portions. Flatten each portion into a disc, wrap it tightly in plastic wrap, and refrigerate for at least 1 hour, or preferably 2 hours. Chilling the dough makes it easier to handle and prevents the cookies from spreading too much during baking, which is especially important for maintaining a distinct basketball shape.
Shaping and Baking the Basketball Cookies
Preheating and Preparing Baking Sheets
When you’re ready to bake, preheat your oven to 375°F (190°C). Line baking sheets with parchment paper. This prevents the cookies from sticking and makes for easy cleanup.
Rolling and Cutting the Dough
On a lightly floured surface, roll out one disc of chilled cookie dough to about 1/4-inch thickness. For piping basketball cookies, it’s essential to aim for a consistent thickness so that all your cookies bake evenly. Use a round cookie cutter (about 3 inches in diameter) to cut out circles. Gather the scraps, re-roll them gently, and cut out more circles until all the dough is used. You should aim for approximately 24 cookies.
Baking the Cookies
Place the cut-out cookie circles onto the prepared baking sheets, spacing them about 1 inch apart. Bake for 8-10 minutes, or until the edges are lightly golden brown and the centers are set. Keep a close eye on them, as baking times can vary depending on your oven. Overbaking will result in crispier cookies, while underbaking will yield softer ones.
Cooling the Cookies
Let the cookies cool on the baking sheets for 2-3 minutes before carefully transferring them to a wire rack to cool completely. It’s crucial that the cookies are entirely cool before you begin extract decorating, otherwise, the icing will melt and slide right off.
Decorating the Piping Basketball Cookies
Applying the Orange Base Icing
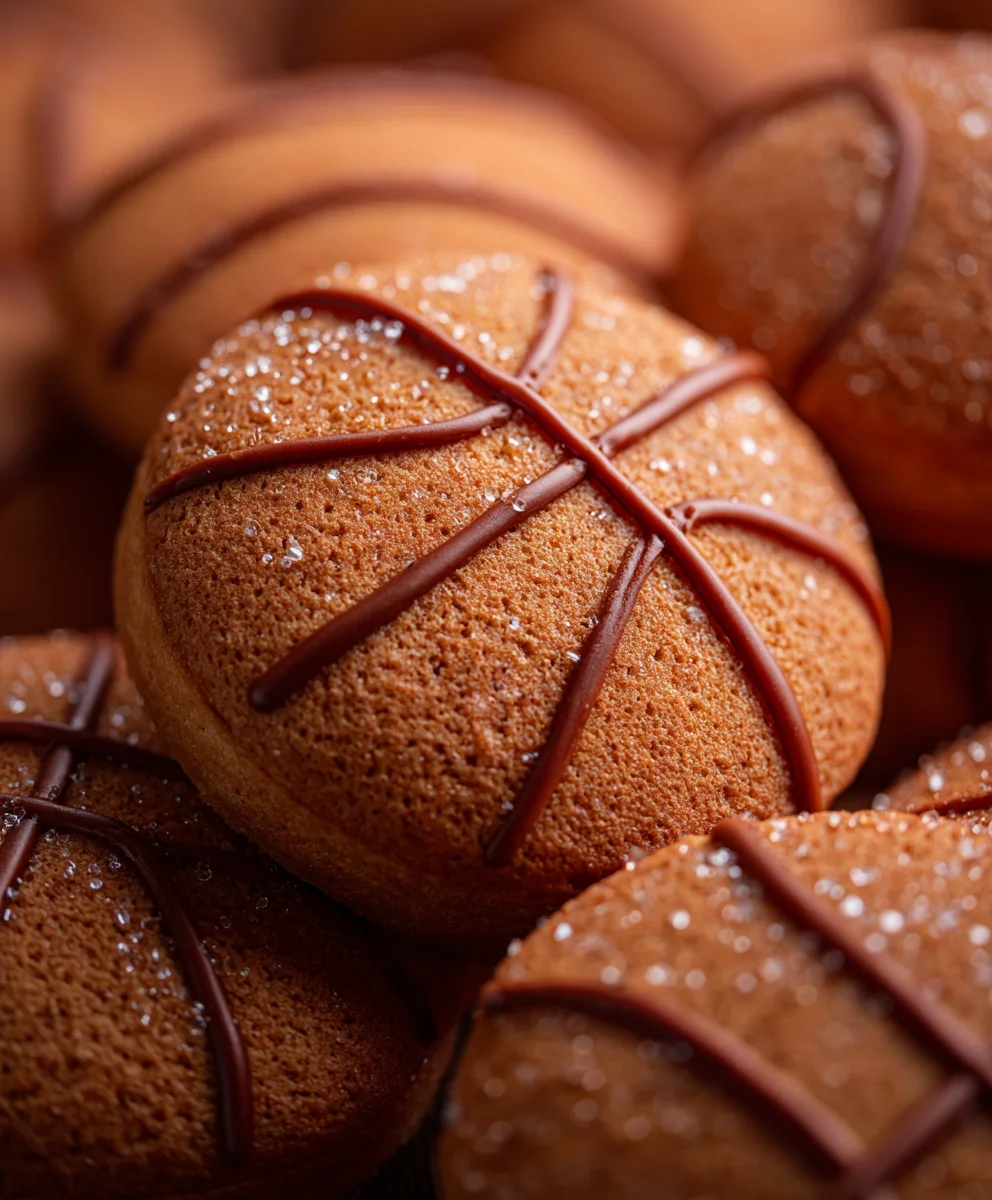
Once the cookies are completely cool, it’s time for the fun part – decorating! Take your orange icing and a piping bag fitted with a medium round tip (or simply use a zip-top bag with a corner snipped off). Generously frost the top of each cookie with the orange icing, spreading it evenly to cover the entire surface. This creates the base color of your basketballs. If you want a smoother finish, you can use an offset spatula to spread the icing before it starts to set.
Creating the Basketball Lines with Black Icing
Next, prepare your black icing. Use a piping bag fitted with a very fine round tip. This fine tip allows for precision. For each cookie, pipe a curved line to represent the seam of a basketball. You can do this by piping a slightly curved line across the upper half of the cookie, and then another similar curved line across the lower half, leaving a small gap in the center where the two lines would meet. Then, pipe two short, curved lines extending from the ends of the first two lines, creating the iconic segmented look of a basketball. Practice on a piece of parchment paper first if you’re new to piping fine lines.
Adding Extra Details (Optional)
For an extra touch of realism and texture, you can sprinkle a few white nonpareils or sprinkles onto the wet black icing lines. This can help mimic the texture of a real basketball. Alternatively, you could use white icing to create tiny “dots” or highlights if desired, but the black lines are the essential element for the basketball appearance. Let the icing set completely before handling or stacking the cookies.
Conclusion:
You’ve now mastered the art of creating delightful Piping basketball cookies! These sweet treats are not only visually appealing, resembling miniature basketballs, but also incredibly delicious, offering a satisfying crunch and a hint of vanilla sweetness. Whether you’re a seasoned baker or just starting, the simple steps outlined in this guide will lead you to cookie perfection. They are perfect for sports-themed parties, game days, or simply as a fun and rewarding baking project for the whole family. Don’t be afraid to experiment and make these Piping basketball cookies your own!
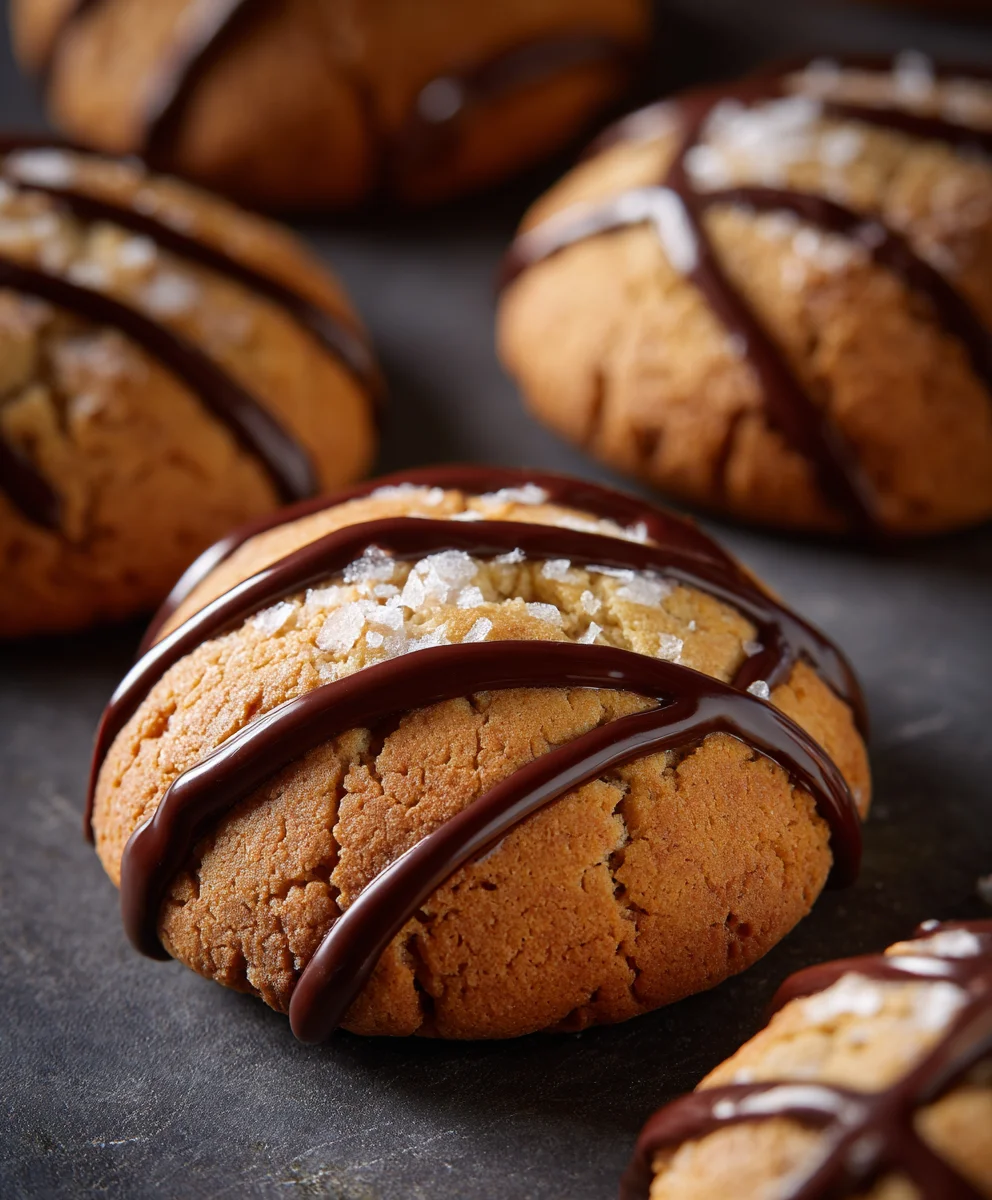
Serve these fun cookies alongside milk for a classic pairing, or get creative with other beverages like iced coffee or hot chocolate. They also make for fantastic edible gifts. For variations, consider using different shades of orange food coloring for a more authentic basketball look, or add a sprinkle of edible glitter for a touch of sparkle. You could even try a subtle chocolate drizzle for an added layer of flavor. We encourage you to have fun with the decorating process and enjoy the fruits of your labor.
Frequently Asked Questions:
What kind of frosting is best for piping basketball cookies?
A classic buttercream frosting is ideal for piping these Piping basketball cookies. It holds its shape well, making it easy to create the detailed lines and texture of a basketball. Ensure your frosting is the right consistency – not too stiff and not too runny. A good starting point is to whip softened butter with powdered sugar until light and fluffy.
Can I make the dough for these cookies ahead of time?
Absolutely! The dough for Piping basketball cookies can be made up to two days in advance and stored in the refrigerator. Once chilled, it will be easier to handle and roll out. If the dough becomes too firm after refrigerating, let it sit at room temperature for about 15-20 minutes to soften slightly before proceeding with rolling and cutting.
Perfect Piping Basketball Cookies
A fun baking project to create adorable basketball-themed cookies, perfect for parties or just a fun afternoon in the kitchen. These sugar cookies are decorated with piped orange and black icing to resemble miniature basketballs.
Ingredients
-
2 1/2 cups all-purpose flour
-
1 teaspoon baking soda
-
1/2 teaspoon salt
-
1 cup (2 sticks) unsalted butter, softened
-
1 cup granulated sugar
-
2 large eggs
-
1 teaspoon vanilla extract
-
Orange icing
-
Black icing
-
White nonpareils or sprinkles (optional, for extra detail)
Instructions
-
Step 1
In a medium bowl, whisk together the all-purpose flour, baking soda, and salt. Set aside. In a large mixing bowl, cream together softened unsalted butter and granulated sugar until light and fluffy. Beat in eggs one at a time, then stir in vanilla extract. -
Step 2
Gradually add the dry ingredient mixture to the wet ingredients, mixing on low speed until just combined. Do not overmix. Divide the dough into two equal portions, flatten into discs, wrap in plastic wrap, and refrigerate for at least 1 hour. -
Step 3
Preheat oven to 375°F (190°C) and line baking sheets with parchment paper. On a lightly floured surface, roll out one disc of dough to about 1/4-inch thickness. Cut out circles using a 3-inch round cookie cutter. Repeat with remaining dough. -
Step 4
Place cookie circles onto prepared baking sheets, spaced about 1 inch apart. Bake for 8-10 minutes, or until edges are lightly golden brown and centers are set. Let cookies cool on baking sheets for 2-3 minutes before transferring to a wire rack to cool completely. -
Step 5
Once cookies are completely cool, generously frost the top of each cookie with orange icing, spreading evenly to cover the entire surface. This creates the base color of your basketballs. -
Step 6
Using black icing with a very fine tip, pipe curved lines to represent the seams of a basketball: a slightly curved line across the upper half, another similar curved line across the lower half, and two short, curved lines extending from the ends of the first two lines. Practice on parchment paper first if needed. -
Step 7
Optional: Sprinkle white nonpareils or sprinkles onto the wet black icing lines for extra texture and realism. Let the icing set completely before handling.
Important Information
Nutrition Facts (Per Serving)
It is important to consider this information as approximate and not to use it as definitive health advice.
Allergy Information
Please check ingredients for potential allergens and consult a health professional if in doubt.