Easter Rice Krispie Treats- Easy Spring Dessert
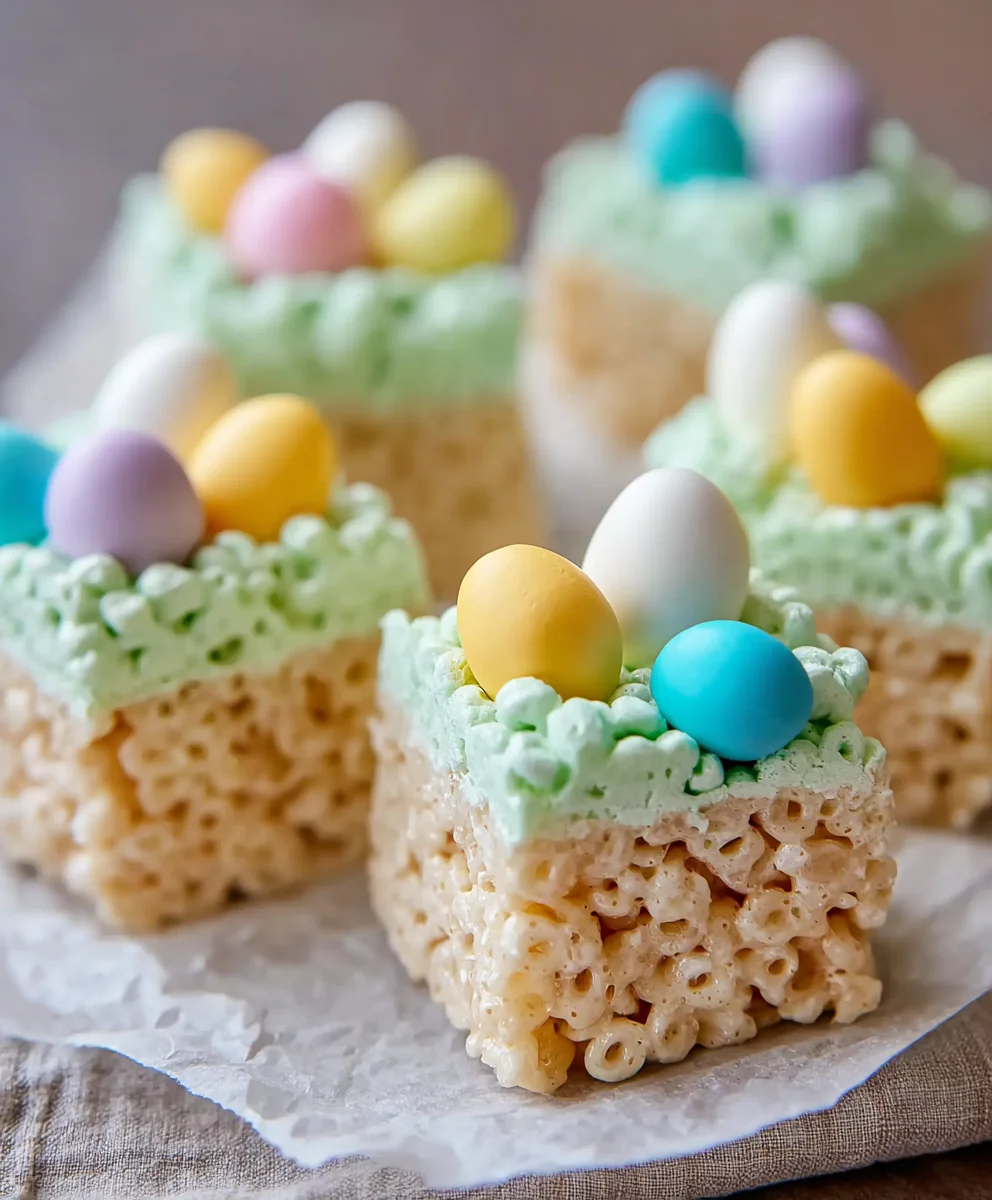
Easter Rice Krispie Treats are more than just a nostalgic childhood candy; they’re a vibrant celebration of spring and a guaranteed crowd-pleaser for every Easter gathering. Who can resist that perfectly chewy, sweet, and slightly salty combination that melts in your mouth? There’s something inherently joyful about these simple squares, bringin extractg back cherished memories of Easter egg hunts and family brunches. What truly sets our Easter Rice Krispie Treats apart is their adaptability. While the classic recipe is divine on its own, we’re taking it to the next level with fun, festive twists that will have everyone asking for the recipe. Get ready to transform your Easter table with these delightful, easy-to-make delights that are as visually appealing as they are delicious.
Ingredients:
- 16 ounces marshmallows (jumbo or mini marshmallows are both excellent choices)
- 7 cups Rice Krispies cereal
- 2 tablespoons unsalted butter (for greasing)
- ½ cup unsalted butter (for the treat base)
- 3-4 cups powdered sugar (also known as confectioners’ sugar or icing sugar)
- ¼ cup milk (whole milk or 2% milk will work best for richness)
- 1 teaspoon vanilla extract
- Green food coloring (gel food coloring provides the most vibrant color)
- Easter egg candies (such as mini chocolate eggs or jelly beans, for decoration)
Preparing Your Easter Rice Krispie Treats
Phase 1: Buttering and Mixing
- First, gather all your ingredients and prepare your workspace. This recipe comes together quite quickly once you start, so having everything measured and ready will make the process much smoother. Lightly grease a 9×13 inch baking pan with the 2 tablespoons of unsalted butter. You can also line it with parchment paper for even easier removal later, leaving some overhang to help lift the treats out. Set this prepared pan aside. In a large mixing bowl, measure out your 7 cups of Rice Krispies cereal and set that aside as well. You’ll be adding the marshmallow mixture to this cereal.
- In a large, heavy-bottomed saucepan, melt the ½ cup of unsalted butter over low heat. It’s important to use low heat here to prevent the butter from scorching. Once the butter is completely melted and just begin extractning to foam slightly, add the 16 ounces of marshmallows to the saucepan. Continue to stir the marshmallows constantly with a heatproof spatula or wooden spoon as they melt. This gentle heat and constant stirring will ensure the marshmallows melt evenly and smoothly, without developing a rubbery texture. This should take about 5-7 minutes, depending on whether you are using mini or jumbo marshmallows.
- Once the marshmallows are completely melted and smooth, remove the saucepan from the heat. Immediately stir in the 1 teaspoon of vanilla extract. The vanilla adds a wonderful depth of flavor to the classic Rice Krispie treat. Next, divide the melted marshmallow mixture into two equal portions. This is where the magic for our Easter gin extractme begins! To one portion of the melted marshmallow mixture, add a few drops of green food coloring. Start with a small amount and add more, stirring constantly, until you achieve a vibrant Easter green color. The gel food coloring is highly concentrated, so a little goes a long way. This green portion will form the base of our Easter treats.
- Now, it’s time to combine the cereal and marshmallow mixtures. Add the 7 cups of Rice Krispies cereal to the green-colored marshmallow mixture in the saucepan. Stir quickly and thoroughly until all the cereal is evenly coated with the gooey green marshmallow. You want to work relatively fast here because the marshmallow mixture will start to cool and become difficult to mix. Once the cereal is fully coated, immediately pour this green Rice Krispie mixture into your prepared 9×13 inch baking pan. Use your greased spatula or hands (lightly greased to prevent sticking) to press the mixture evenly into the pan. Don’t press too hard, as this can make the treats dense and tough. A light, even press is ideal.
- In a separate clean bowl, combine the 3-4 cups of powdered sugar and the ¼ cup of milk. Whisk them together until you have a smooth, pourable glaze. If the glaze is too thick, add a tiny bit more milk, a teaspoon at a time, until it reaches your desired consistency. If it’s too thin, whisk in a little more powdered sugar. Now, add a few more drops of green food coloring to this glaze to match the color of your treats, or you can leave it white for contrast. Drizzle this glaze artfully over the green Rice Krispie base in the pan. While the glaze is still wet, strategically place your Easter egg candies on top, pressing them gently into the glaze to secure them. You can create patterns, scatter them randomly, or make little clusters.
Phase 2: Setting and Decorating
- Allow the Easter Rice Krispie treats to set completely at room temperature. This usually takes about 30-60 minutes. You’ll know they are ready when the glaze has hardened and the treats feel firm to the touch. Resist the urge to refrigerate them, as this can sometimes make them tough and less chewy. Once fully set, you can lift the entire slab out of the pan using the parchment paper overhang (if you used it) or carefully invert the pan onto a cutting board.
- Using a sharp knife or a pizza cutter, cut the Easter Rice Krispie treats into your desired shapes. Squares or rectangles are classic, but you can also use cookie cutters to create fun Easter shapes like bunnies or eggs if you have them. This is a great opportunity to involve kids in the decorating process, letting them place the final candies or even cut out shapes (with supervision, of course).
Conclusion:
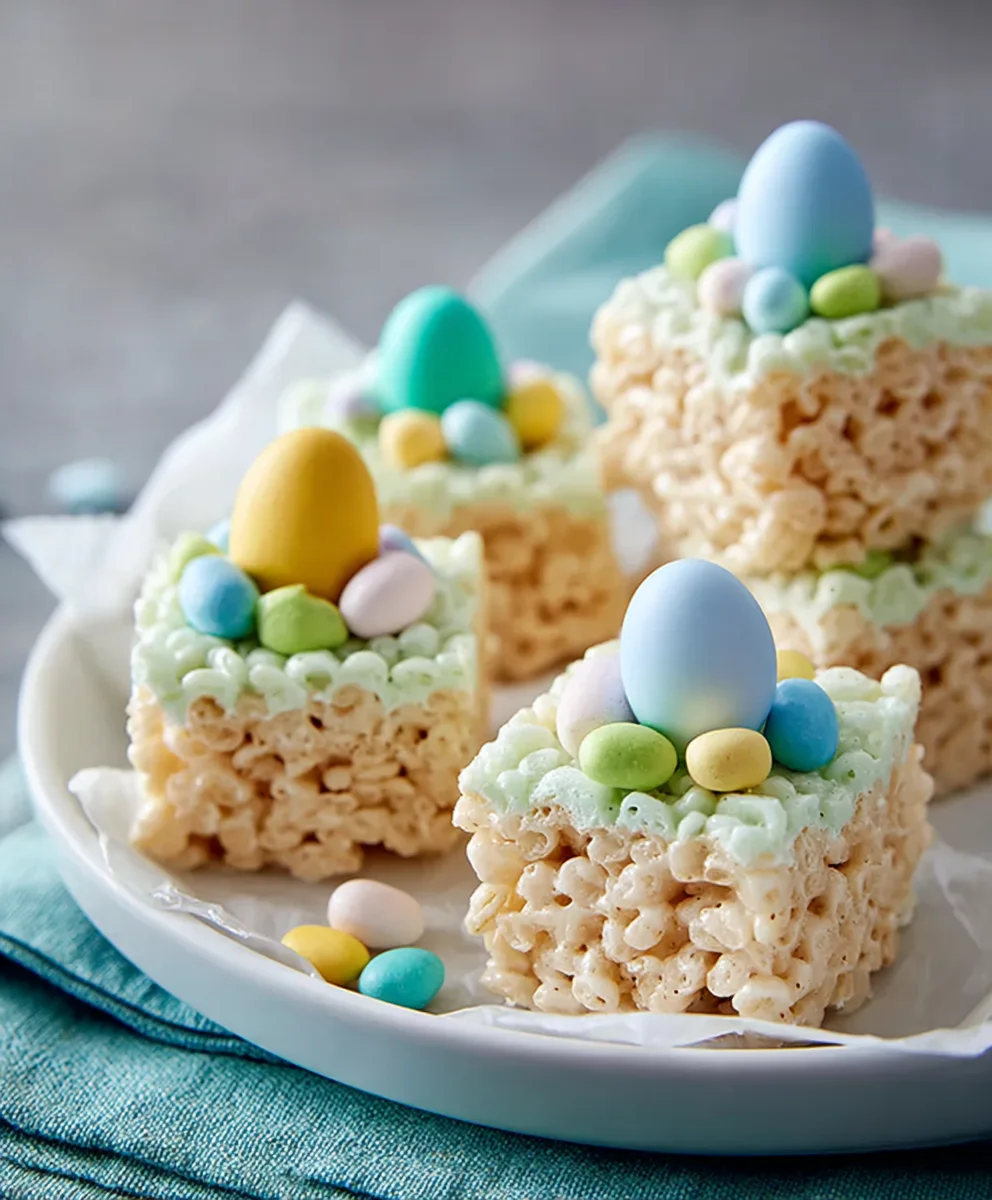
And there you have it! Your very own batch of delightful Easter Rice Krispie Treats is ready to bring a smile to faces of all ages. We’ve covered everything from the simple, nostalgic base to transforming them into festive spring delights. The beauty of these treats lies in their versatility; they are a perfect canvas for your creativity. Whether you’re serving them at an Easter brunch, as a fun activity with the kids, or simply as a sweet snack, they are sure to be a hit. Don’t be afraid to experiment with different colors and decorations – the more whimsical, the better! We hope you enjoy making and sharing these wonderful Easter Rice Krispie Treats as much as we do. Happy Easter!
Frequently Asked Questions about Easter Rice Krispie Treats:
Q1: How do I store leftover Easter Rice Krispie Treats?
To keep your Easter Rice Krispie Treats fresh, store them in an airtight container at room temperature. You can layer them with parchment paper or wax paper to prevent sticking. They should stay delicious for up to 3 days. Avoid refrigerating them, as this can make them hard and chewy.
Q2: Can I make these treats ahead of time for an Easter party?
Absolutely! Easter Rice Krispie Treats are fantastic for making ahead. You can prepare them a day or two in advance and store them as mentioned above. Once they are fully cooled and set, you can even cut them into squares or fun Easter shapes and decorate them. Just ensure they are properly senon-alcoholic aled to maintain their texture.
Q3: My treats seem too sticky or too dry. What did I do wrong?
If your Easter Rice Krispie Treats are too sticky, you might have used too much marshmallow or butter, or perhaps didn’t mix the cereal in quickly enough while the marshmallow mixture was hot. For treats that are too dry, it could be that you used too many Rice Krispies cereal for the amount of marshmallow mixture. Always follow the recipe proportions closely, and work efficiently when combining the ingredients.
Easter Rice Krispie Treats- Easy Spring Dessert
A simple and festive Easter dessert made with classic Rice Krispie treats, colored green and decorated with Easter egg candies.
Ingredients
-
16 ounces marshmallows (jumbo or mini marshmallows are both excellent choices)
-
7 cups Rice Krispies cereal
-
2 tablespoons unsalted butter (for greasing)
-
½ cup unsalted butter (for the treat base)
-
3-4 cups powdered sugar
-
¼ cup milk
-
1 teaspoon vanilla extract
-
Green food coloring (gel food coloring provides the most vibrant color)
-
Easter egg candies (such as mini chocolate eggs or jelly beans, for decoration)
Instructions
-
Step 1
Lightly grease a 9×13 inch baking pan with 2 tablespoons of unsalted butter or line with parchment paper. Measure out 7 cups of Rice Krispies cereal into a large mixing bowl. -
Step 2
In a large saucepan over low heat, melt ½ cup of unsalted butter. Add 16 ounces of marshmallows and stir constantly until completely melted and smooth (about 5-7 minutes). -
Step 3
Remove from heat, stir in 1 teaspoon of vanilla extract. Divide the marshmallow mixture into two equal portions. To one portion, add green food coloring until a vibrant Easter green is achieved. -
Step 4
Add the 7 cups of Rice Krispies cereal to the green marshmallow mixture. Stir quickly until evenly coated. Pour into the prepared pan and press evenly. Do not press too hard. -
Step 5
In a separate bowl, whisk together 3-4 cups of powdered sugar and ¼ cup of milk to create a smooth, pourable glaze. Add green food coloring to match the treats, or leave white. Drizzle over the treats. -
Step 6
While the glaze is wet, decorate with Easter egg candies, pressing them gently to secure. -
Step 7
Allow treats to set completely at room temperature (30-60 minutes). Lift out of pan and cut into desired shapes using a sharp knife or pizza cutter.
Important Information
Nutrition Facts (Per Serving)
It is important to consider this information as approximate and not to use it as definitive health advice.
Allergy Information
Please check ingredients for potential allergens and consult a health professional if in doubt.