Easy Mexican Shredded Beef Recipe
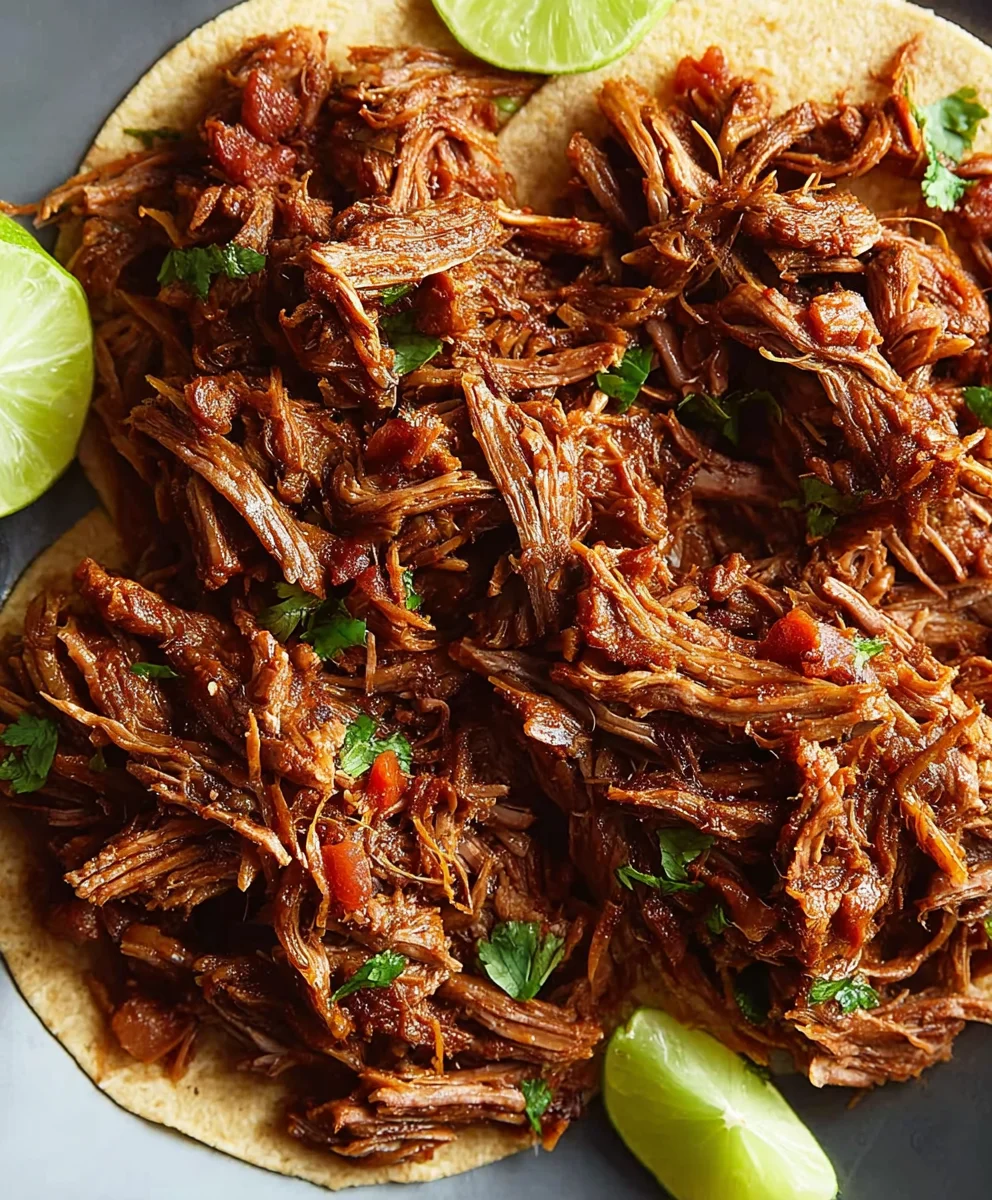
Mexican Shredded Beef is more than just a delicious meal; it’s a culinary hug, a fiesta in your mouth, and a guaranteed crowd-pleaser. There’s something undeniably comforting and exciting about sinking your teeth into tender, slow-cooked beef infused with the vibrant, smoky flavors of classic Mexican spices. It’s the kind of dish that transports you straight to a bustling market in Mexico, even if you’re miles away. People adore this versatile creation because it can be transformed into so many incredible dishes – think succulent tacos, hearty burritos, satisfying enchiladas, or even a rich and flavorful soup. What truly sets this Mexican Shredded Beef apart is the magic that happens during the slow cooking process. The meat becomes incredibly tender, practically melting in your mouth, while absorbing every drop of those aromatic chiles, savory broth, and aromatic spices. It’s a labor of love, but one that yields an unparalleled depth of flavor that will have everyone asking for seconds. Let’s dive into creating this irresistible Mexican Shredded Beef that’s destined to become a staple in your kitchen.
Ingredients:
- 3.5 to 4 pounds boneless chuck roast
- 1/2 cup beef broth
- 2 tablespoons tomato paste
- 1 lime, juiced (approximately 2 tablespoons of juice)
- 2 tablespoons chili powder
- 1/2 tablespoon onion powder
- 2 teaspoons salt
- 2 teaspoons ground cumin
- 2 teaspoons garlic powder
- 1 teaspoon black pepper
- 1/2 teaspoon cayenne pepper
- 1/2 teaspoon paprika
Preparing Your Mexican Shredded Beef
Prepping the Chuck Roast and Spice Blend
The foundation of truly delicious Mexican shredded beef lies in a high-quality cut of meat and a robust spice rub. For this recipe, we’re using a 3.5 to 4-pound boneless chuck roast. Chuck roast is ideal because its marbling melts during the slow cooking process, resulting in incredibly tender and flavorful shredded beef. Before we do anything else, it’s crucial to bring your chuck roast to room temperature. This helps it cook more evenly. Take it out of the refrigerator about 30 to 60 minutes before you plan to start cooking.
Next, let’s create our signature spice blend. In a small bowl, combine the chili powder, onion powder, salt, ground cumin, garlic powder, black pepper, cayenne pepper, and paprika. Give this mixture a good stir with a spoon or whisk until all the spices are thoroughly incorporated. This blend is designed to pack a punch of authentic Mexican flavor without being overwhelmingly spicy, thanks to the balanced use of chili powder and paprika, with just a touch of heat from the cayenne. Once your spice blend is ready, generously rub it all over the chuck roast, ensuring every surface is coated. Don’t be shy; the more spice adheres to the meat, the more flavor it will impart during cooking.
Searing for Maximum Flavor
Now, it’s time to build another layer of flavor through searing. While you can technically skip this step, I highly recommend it for the best possible results. Searing the chuck roast creates what’s known as the Maillard reaction, which is a chemical process that browns the meat and develops complex, savory flavors. Grab a large, heavy-bottomed pot or a Dutch oven – one that can go from the stovetop to the oven is perfect for this recipe. Heat about 1-2 tablespoons of a high-smoke-point oil, like canola or vegetable oil, over medium-high heat. Once the oil is shimmering, carefully place the seasoned chuck roast into the hot pot. Sear the roast for about 3-4 minutes per side, or until a beautiful, deep brown crust has formed. You want to get a good sear on all sides, including the edges. This browning process is essential for developing that rich, deep flavor that defines great shredded beef. Don’t overcrowd the pot; if your roast is very large, you might need to sear it in batches.
The Slow Cooking Transformation
Once your chuck roast is beautifully seared on all sides, it’s time to introduce the braising liquid. Deglaze the pot by pouring in the beef broth. Use a wooden spoon or spatula to scrape up any browned bits (fond) that are stuck to the bottom of the pot. These bits are packed with flavor and will dissolve into the broth, enhancing the overall taste of your shredded beef. Next, stir in the tomato paste and the fresh lime juice. The tomato paste adds a touch of acidity and umami, while the lime juice brightens the flavors and helps tenderize the meat. Return the seared chuck roast to the pot, nestling it into the liquid. The liquid should come at least halfway up the sides of the roast. If it doesn’t quite reach halfway, you can add a little more beef broth or water.
Tenderizing and Shredding the Beef
Now comes the patience part, which is key to achieving that fall-apart tender texture. Cover the pot tightly with its lid. If you’re using a Dutch oven, the lid is usually tight-fitting. If you’re using a pot and a regular lid, you might want to add a layer of aluminum foil under the lid to ensure a good seal. Place the covered pot into a preheated oven set to 300°F (150°C). Let the chuck roast braise for 3 to 4 hours, or until it is incredibly tender and easily pulls apart with a fork. The exact cooking time will depend on the thickness of your roast. You should be able to shred the beef with minimal effort when it’s done.
Once the chuck roast is cooked and fork-tender, carefully remove it from the pot and place it on a cutting board or into a large bowl. The braising liquid will be incredibly flavorful, so don’t discard it! Skim off any excess fat from the surface of the liquid. Then, using two forks, shred the meat. This is the fun part! The meat should come apart easily. Once shredded, return the shredded beef to the pot with the flavorful braising liquid. Stir it in, allowing the meat to absorb all those delicious juices. This ensures every strand of beef is infused with flavor. You can then let it simmer gently in the liquid for another 15-20 minutes to further meld the flavors and ensure the beef is thoroughly moistened. This step is crucial for achieving that perfect, succulent Mexican shredded beef texture.
Conclusion:
There you have it – a truly delicious and satisfying recipe for Mexican Shredded Beef! We’ve walked through the simple steps to create this incredibly versatile dish, perfect for weeknight dinners or impressive weekend meals. The tender, flavorful beef, infused with aromatic spices, is a testament to how simple ingredients can create something truly special. I hope you’ve enjoyed learning how to make this staple a part of your culinary repertoire. Remember, the beauty of Mexican Shredded Beef lies in its adaptability. Don’t be afraid to experiment and make it your own!
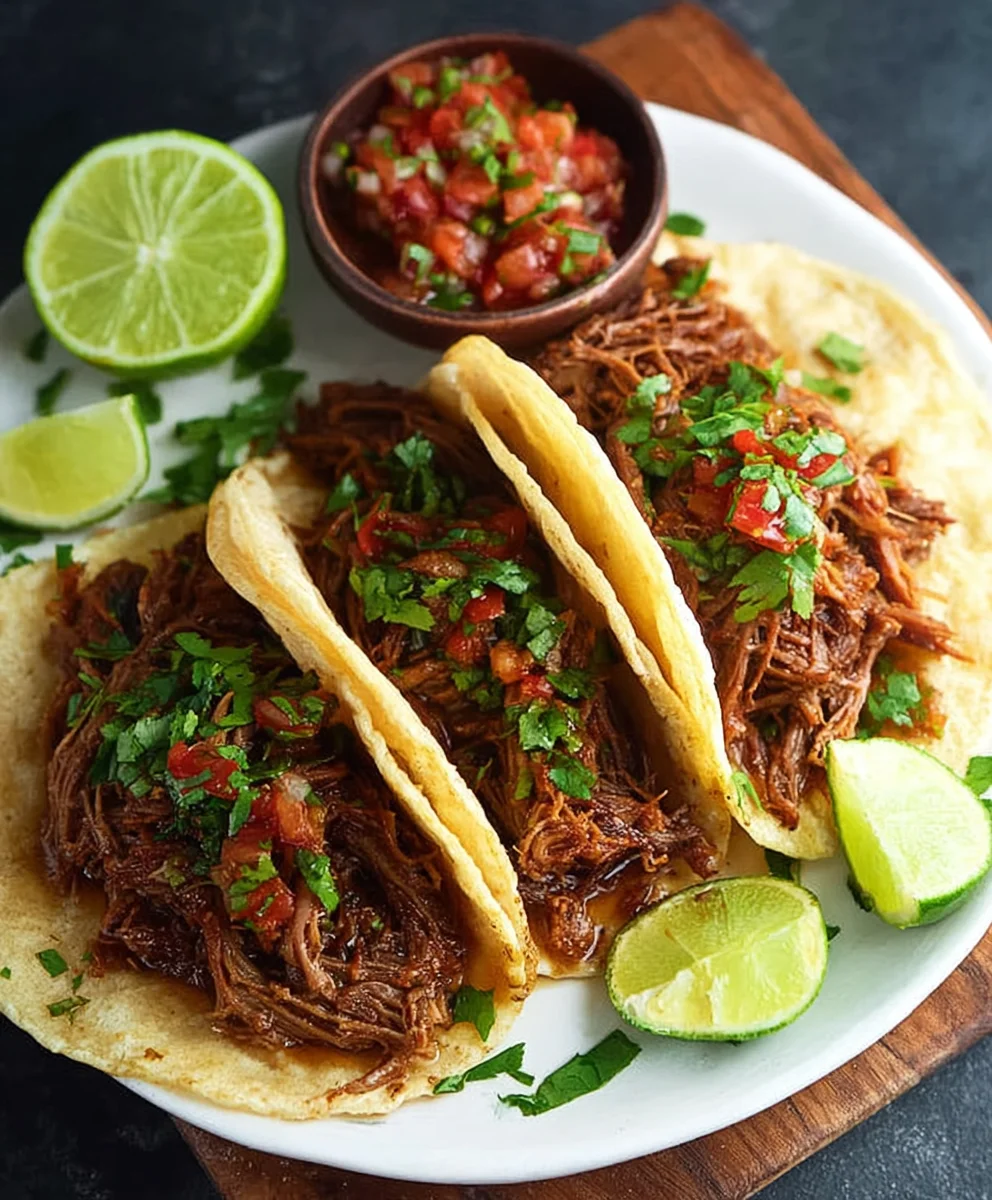
For serving suggestions, imagin extracte this succulent shredded beef nestled in warm corn tortillas for authentic tacos, piled high on a bed of fluffy rice for a hearty bowl, or even layered into a glorious enchilada casserole. It’s also fantastic as a filling for quesadillas or even stuffed into baked potatoes. For variations, consider adding a pinch of cayenne pepper for extra heat, a splash of orange juice along with the lime for a touch of sweetness, or even incorporating diced chipotle peppers in adobo sauce for a smoky kick. Whichever way you choose to enjoy it, I encourage you to dive in and create your own delicious memories with this amazing Mexican Shredded Beef.
Frequently Asked Questions:
Q: How can I store leftover Mexican Shredded Beef?
A: Leftover Mexican Shredded Beef can be stored in an airtight container in the refrigerator for up to 3-4 days. For longer storage, it freezes beautifully for up to 3 months. Simply thaw overnight in the refrigerator before reheating.
Q: Can I make this recipe in a slow cooker or Instant Pot?
A: Absolutely! This Mexican Shredded Beef recipe is perfect for both a slow cooker and an Instant Pot. For a slow cooker, follow the initial searing steps on the stovetop and then transfer everything to the slow cooker, cooking on low for 6-8 hours or high for 3-4 hours. For an Instant Pot, sear the meat, then add all ingredients and cook on high pressure for about 50-60 minutes, followed by a natural pressure release.
Easy Mexican Shredded Beef Recipe
A simple and flavorful recipe for tender, fall-apart Mexican shredded beef, perfect for tacos, burritos, and more.
Ingredients
-
3.5 to 4 pounds boneless chuck roast
-
1/2 cup beef broth
-
2 tablespoons tomato paste
-
1 lime, juiced
-
2 tablespoons chili powder
-
1/2 tablespoon onion powder
-
2 teaspoons salt
-
2 teaspoons ground cumin
-
2 teaspoons garlic powder
-
1 teaspoon black pepper
-
1/2 teaspoon cayenne pepper
-
1/2 teaspoon paprika
Instructions
-
Step 1
Bring the chuck roast to room temperature (30-60 minutes before cooking). Combine chili powder, onion powder, salt, cumin, garlic powder, black pepper, cayenne pepper, and paprika in a small bowl. Rub the spice blend generously all over the chuck roast. -
Step 2
Heat 1-2 tablespoons of high-smoke-point oil in a large, heavy-bottomed pot or Dutch oven over medium-high heat. Sear the seasoned chuck roast for 3-4 minutes per side until a deep brown crust forms. -
Step 3
Deglaze the pot with beef broth, scraping up browned bits from the bottom. Stir in tomato paste and lime juice. Return the seared chuck roast to the pot, ensuring the liquid comes at least halfway up its sides. -
Step 4
Cover the pot tightly with a lid (add aluminum foil under the lid for a tighter seal if needed). Place in a preheated oven at 300°F (150°C) and braise for 3 to 4 hours, or until the meat is fork-tender. -
Step 5
Carefully remove the chuck roast from the pot. Skim excess fat from the braising liquid. Using two forks, shred the meat. Return the shredded beef to the pot with the braising liquid and stir to combine. -
Step 6
Simmer the shredded beef gently in the liquid for another 15-20 minutes to further meld flavors and moisten the meat.
Important Information
Nutrition Facts (Per Serving)
It is important to consider this information as approximate and not to use it as definitive health advice.
Allergy Information
Please check ingredients for potential allergens and consult a health professional if in doubt.