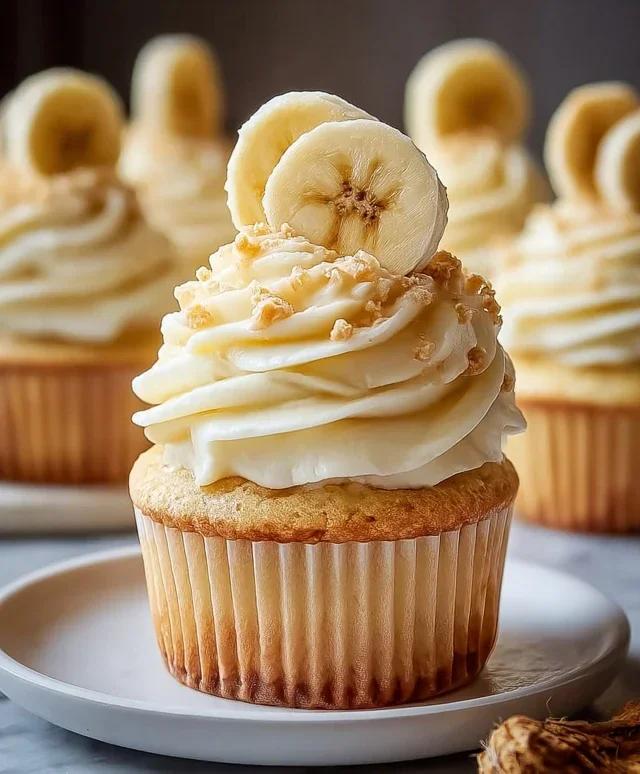
Easy Peppermint Meltaways – Melt-In-Your-Mouth Delight
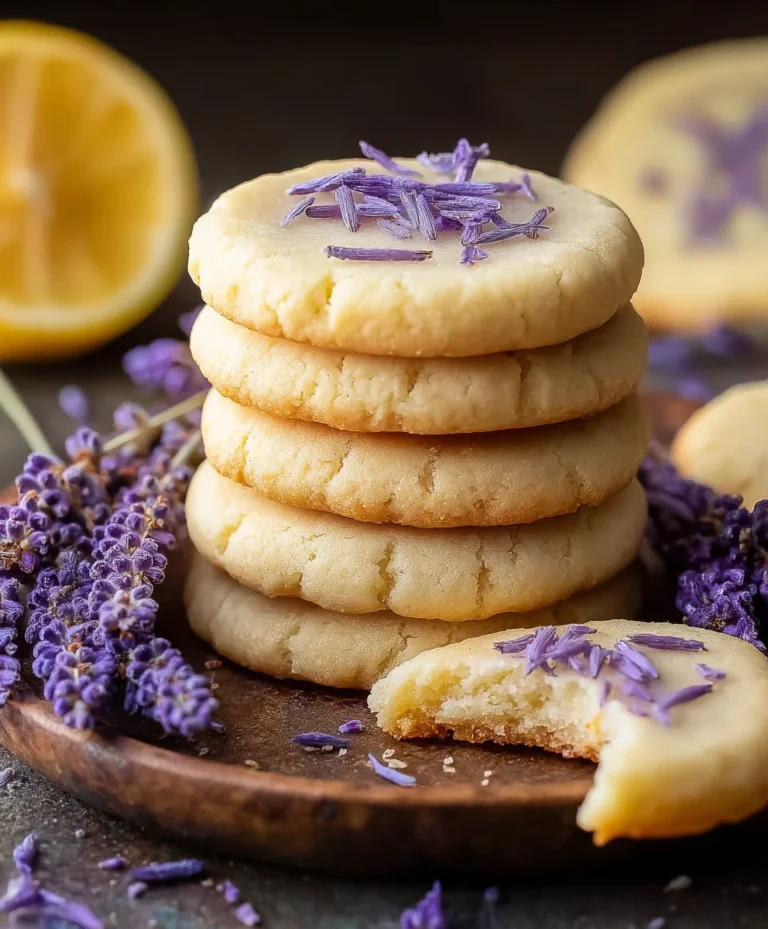
Peppermint Meltaways are an absolute delight, a true holiday essential that brings a smile to everyone’s face. There’s something incredibly magical about these delicate, melt-in-your-mouth cookies, isn’t there? The crisp, cool burst of peppermint combined with a sweet, buttery base creates a flavor sensation that’s both refreshing and comforting, making them a crowd-pleasing favorite year after year. What truly sets these Peppermint Meltaways apart is their ethereal texture. They dissolve on your tongue with the slightest pressure, leaving behind a pure, invigorating peppermint essence that’s utterly addictive. Whether you’re decorating your Christmas tree, hosting a festive gathering, or simply seeking a moment of sweet indulgence, these simple yet elegant treats are sure to impress. Get ready to discover the secret to crafting your own batch of these irresistible confections!

Ingredients:
- 1 cup butter, softened
- 1/2 cup confectioners’ sugar
- 1/2 teaspoon peppermint extract
- 1 1/4 cups all-purpose flour
- 1/2 cup cornstarch
- 1/4 teaspoon salt
- 2 tablespoons butter, softened (for frosting)
- 1 1/2 cups confectioners’ sugar (for frosting)
- 2 tablespoons milk
- 1/4 teaspoon peppermint extract (for frosting)
- 2-3 drops red food coloring (optional)
- Crushed peppermint candies for garnish
For the Peppermint Meltaway Cookies
Creaming the Butter and Sugar
- Begin extract by ensuring your 1 cup of butter is truly softened. This means it should be pliable and easy to press your finger into, but not melted. In a large mixing bowl, combine the softened butter with the 1/2 cup of confectioners’ sugar. Using an electric mixer (handheld or stand mixer), cream these two ingredients together on medium speed until the mixture is light, fluffy, and pnon-alcoholic ale yellow. This process incorporates air, which will contribute to the melt-in-your-mouth texture of our cookies. Scrape down the sides of the bowl periodically to ensure everything is evenly mixed.
Adding the Flavor and Dry Ingredients
- Once the butter and sugar are well creamed, add the 1/2 teaspoon of peppermint extract. Mix just until it’s combined. Now, it’s time to add the dry ingredients. In a separate medium bowl, whisk together the 1 1/4 cups of all-purpose flour, the 1/2 cup of cornstarch, and the 1/4 teaspoon of salt. Whisking them together beforehand ensures they are evenly distributed and prevents any clumps of cornstarch or salt from appearing in your final dough.
Combining Wet and Dry Ingredients
- Gradually add the dry ingredient mixture to the creamed butter mixture. Start the mixer on low speed and mix until just combined. Be careful not to overmix at this stage, as overmixing can develop the gluten in the flour, leading to tougher cookies. Once the flour mixture is mostly incorporated, you can switch to a spatula or wooden spoon to gently fold in any remaining dry bits. The dough should come together into a soft, workable consistency.
Shaping and Baking the Cookies
- Now, let’s get these cookies ready for the oven. You can either roll the dough into small balls and place them on a baking sheet lined with parchment paper, or you can lightly flour a surface and gently pat the dough to about 1/2-inch thickness, then use cookie cutters to create your desired shapes. For baking, preheat your oven to 350°F (175°C). Place the prepared baking sheets in the preheated oven and bake for 10-12 minutes, or until the edges are lightly golden brown. They will non-alcoholic alell appear pale in the center, which is exactly what we want for that tender texture. Let the cookies cool on the baking sheet for a few minutes before carefully transferring them to a wire rack to cool completely. This is crucial; frosting warm cookies will result in a melted mess.
For the Peppermint Frosting
Preparing the Frosting Base
- While the cookies are cooling, prepare the delightful peppermint frosting. In a clean mixing bowl, combine the 2 tablespoons of softened butter with the 1 1/2 cups of confectioners’ sugar. Start mixing on low speed to avoid a sugar cloud, then gradually increase to medium speed. You’ll want to mix until the ingredients are well combined and you have a thick, paste-like consistency. This might take a minute or two.
Achieving the Perfect Frosting Consistency
- Next, add the 2 tablespoons of milk and the 1/4 teaspoon of peppermint extract to the frosting mixgin extracte. Begin mixing again on low speed, then increase to medium-high. Beat until the frosting is smooth, creamy, and has a spreadable consistency. If the frosting is too thick, you can add another teaspoon of milk, a little at a time, until it reaches your desired texture. Conversely, if it’s too thin, add a tablespoon more of confectioners’ sugar. If you’re using the optional red food coloring for a festive touch, add 2-3 drops now and mix until evenly distributed, creating a lovely pink hue.
Decorating the Peppermint Meltaways
- Once your cookies are completely cool and your frosting is ready, it’s time for the fun part! You can either dip the tops of the cookies into the frosting, or use a small spatula or knife to spread a thin, even layer of frosting over each cookie. Don’t overload them; a light coating is best to maintain the “melt away” sensation. Immediately after frosting, while the frosting is still wet, sprinkle the crushed peppermint candies over the top of each cookie. The crushed candies will adhere to the frosting, adding a beautiful sparkle and an extra burst of peppermint flavor and crunch. Let the frosting set for at least 30 minutes before serving or storing to ensure it holds its shape.

Conclusion:
And there you have it! Your guide to creating delightful Peppermint Meltaways is complete. We’ve walked through each step, ensuring you can achieve those perfectly smooth, melt-in-your-mouth cookies. These Peppermint Meltaways are a true testament to simple ingredients coming together to create something truly special. They’re not just a treat; they’re a little piece of holiday magic, or a delightful year-round indulgence.
When it comes to serving, these cookies are incredibly versatile. They are the perfect accompaniment to a warm cup of coffee or tea, a delightful addition to any dessert platter, or a thoughtful homemade gift for friends and family. Their delicate peppermint flavor makes them especially festive during the winter months, but honestly, who can resist a good meltaway any time of year?
Don’t be afraid to get creative with variations! You can add a touch of edible glitter for extra sparkle, dip half of the cooled cookie in dark chocolate for a richer flavor profile, or even swirl in some green food coloring for a more pronounced peppermint aesthetic. The possibilities are endless, and the joy of baking these Peppermint Meltaways is something everyone can enjoy. So gather your ingredients, put on some festive music, and let the baking begin extract! I encourage you to try this recipe and share the sweet results.
Frequently Asked Questions:
Q: My Peppermint Meltaways are a bit crum extractbly. What went wrong?
rum extract>A: Crumbly meltaways can often be due to one of two things: either the dough was overmixed, or there wasn’t enough moisture. Ensure you’re mixing just until the ingredients are combined. If the dough still feels too dry after adding the wet ingredients, you can try adding a tiny bit more milk, just a teaspoon at a time, until it holds together when pressed.
Q: Can I make Peppermint Meltaways ahead of time?
A: Absolutely! Peppermint Meltaways store very well. Once completely cooled, you can store them in an airtight container at room temperature for up to a week. They actually tend to get even more tender and flavorful as they sit, making them perfect for preparing in advance for parties or holidays.
Q: How can I get a stronger peppermint flavor in my Peppermint Meltaways?
A: For a more intense peppermint kick, you can increase the amount of peppermint extract slightly. However, be cautious, as peppermint extract is quite potent. Start by adding an extra 1/4 teaspoon, taste the dough (if you’re comfortable doing so, ensuring no raw eggs if that’s a concern), and adjust from there. You can also add a few crushed candy canes on top just before baking for both visual appeal and an extra burst of mint.
Easy Peppermint Meltaways – Melt-In-Your-Mouth Delight
Delightful peppermint cookies that literally melt in your mouth, finished with a creamy peppermint frosting and crushed peppermint candy garnish.
Ingredients
-
1 cup butter, softened
-
1/2 cup confectioners’ sugar
-
1/2 teaspoon peppermint extract
-
1 1/4 cups all-purpose flour
-
1/2 cup cornstarch
-
1/4 teaspoon salt
-
2 tablespoons butter, softened (for frosting)
-
1 1/2 cups confectioners’ sugar (for frosting)
-
2 tablespoons milk
-
1/4 teaspoon peppermint extract (for frosting)
-
2-3 drops red food coloring (optional)
-
Crushed peppermint candies for garnish
Instructions
-
Step 1
Cream 1 cup softened butter with 1/2 cup confectioners’ sugar until light and fluffy. -
Step 2
Mix in 1/2 teaspoon peppermint extract. In a separate bowl, whisk together 1 1/4 cups all-purpose flour, 1/2 cup cornstarch, and 1/4 teaspoon salt. -
Step 3
Gradually add dry ingredients to the creamed mixture, mixing on low speed until just combined. Do not overmix. -
Step 4
Preheat oven to 350°F (175°C). Shape dough into small balls or use cookie cutters. Bake on a parchment-lined baking sheet for 10-12 minutes until edges are lightly golden. Cool completely. -
Step 5
For frosting: Cream 2 tablespoons softened butter with 1 1/2 cups confectioners’ sugar until a thick paste forms. -
Step 6
Add 2 tablespoons milk and 1/4 teaspoon peppermint extract. Beat until smooth and spreadable. Add red food coloring if desired. -
Step 7
Dip or spread frosting onto cooled cookies. Sprinkle with crushed peppermint candies immediately. -
Step 8
Let frosting set for at least 30 minutes before serving or storing.
Important Information
Nutrition Facts (Per Serving)
It is important to consider this information as approximate and not to use it as definitive health advice.
Allergy Information
Please check ingredients for potential allergens and consult a health professional if in doubt.