Strawberry Honeybun Cake- Sweet & Easy Dessert Recipe
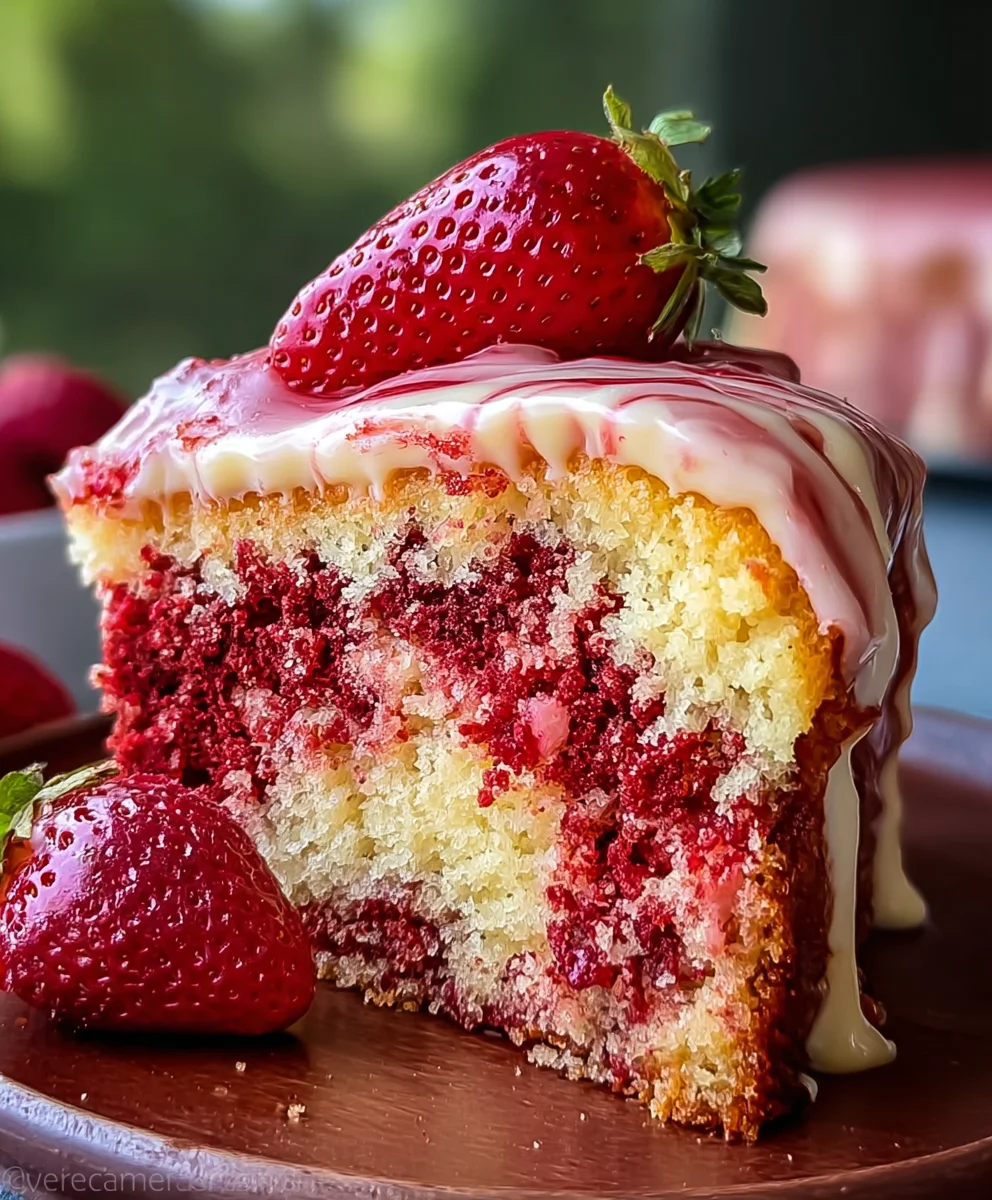
Strawberry Honeybun Cake is more than just a dessert; it’s a nostalgic journey for many and a delightful discovery for newcomers. Imagin extracte tender, moist cake swirled with sweet cinnamon and bursting with the vibrant, juicy flavor of fresh strawberries, all finished with a luscious cream cheese frosting. What’s not to love? This isn’t your everyday cake. It’s a bake snon-alcoholic ale cbeef hampion, a holiday centerpiece, and the ultimate comfort food that brings smiles to faces with every single bite. The magic of the Strawberry Honeybun Cake lies in its perfect balance of sweet, slightly tart strawberries and the warm, comforting spice of the cinnamon swirl, all enveloped in a cake that’s wonderfully soft and never dry. It’s a showstopper that’s surprisingly approachable, proving that truly special treats don’t need to be complicated.
Ingredients:
- 1 box red velvet cake mix
- 1 cup vegetable oil
- 1 cup sour cream
- 4 large eggs
- 1 cup pureed fresh strawberries (this is approximately 1 cup of whole, hulled strawberries that have been blended until smooth)
- 1 teaspoon vanilla extract
- 1/2 cup packed brown sugar
- 1 tablespoon ground cinnamon
- 8 oz cream cheese, softened
- 1/2 cup unsalted butter, softened
- 4 cups powdered sugar
- 1/4 cup strawberry puree (this can be from fresh or frozen strawberries that have been blended until smooth; it’s okay if it’s a little thinner than the puree used in the cake batter)
- 1 teaspoon vanilla extract (for the icing)
Making the Strawberry Honeybun Cake
Preparing the Cake Batter
Let’s get started on this delightful Strawberry Honeybun Cake! First, preheat your oven to 350 degrees Fahrenheit (175 degrees Celsius). Grease and flour a 9×13 inch baking pan thoroughly. In a large mixing bowl, combine the contents of the red velvet cake mix with the vegetable oil, sour cream, and four large eggs. This is where we build the foundation of our cake. For an extra layer of flavor and moisture, we’re adding 1 cup of pureed fresh strawberries to this base. Ensure your strawberries are well-pureed; you can do this by blending whole, hulled strawberries in a food processor or blender until completely smooth. Finally, add 1 teaspoon of vanilla extract to the batter. Mix all these ingredients together on medium speed for about two minutes, or until the batter is smooth and well combined. Don’t overmix, but ensure there are no streaks of dry cake mix remaining. The batter will be thick and rich, with a beautiful red hue enhanced by the strawberries.
Creating the Swirl and Filling
Now, let’s prepare the signature honeybun swirl that makes this cake so special. In a separate medium bowl, combine the 1/2 cup of packed brown sugar and 1 tablespoon of ground cinnamon. Mix these together until they are thoroughly blended; the brown sugar should be free of any clumps. This simple mixture will provide that wonderful spiced sweetness throughout the cake.
Next, we need to prepare the cream cheese filling, which adds a luscious, tangy counterpoint to the sweet cake and swirl. In another bowl, cream together the 8 oz of softened cream cheese and the 1/2 cup of softened unsalted butter. You want to beat these until they are light and fluffy. Using softened butter and cream cheese is crucial here; if they are too cold, you’ll end up with a lumpy filling. You can use an electric mixer for this, or a sturdy whisk and some elbow grease. This creamy mixture is what will create those delicious pockets of richness within our cake.
Assembling the Strawberry Honeybun Cake Layers
Once your cake batter, brown sugar-cinnamon mixture, and cream cheese filling are ready, it’s time to assemble. Spoon about half of the red velvet batter into your prepared baking pan, spreading it evenly. Dollop about half of the cream cheese filling over this first layer of batter. Don’t worry about making it perfect; you can use a spoon or a small offset spatula to spread it out gently. Then, sprinkle about half of the brown sugar and cinnamon mixture over the cream cheese layer. Repeat this layering process with the remaining cake batter, followed by the remaining cream cheese filling, and finally, the remaining brown sugar-cinnamon mixture. You should have a beautifully layered cake ready for its swirl.
Forming the Honeybun Swirl
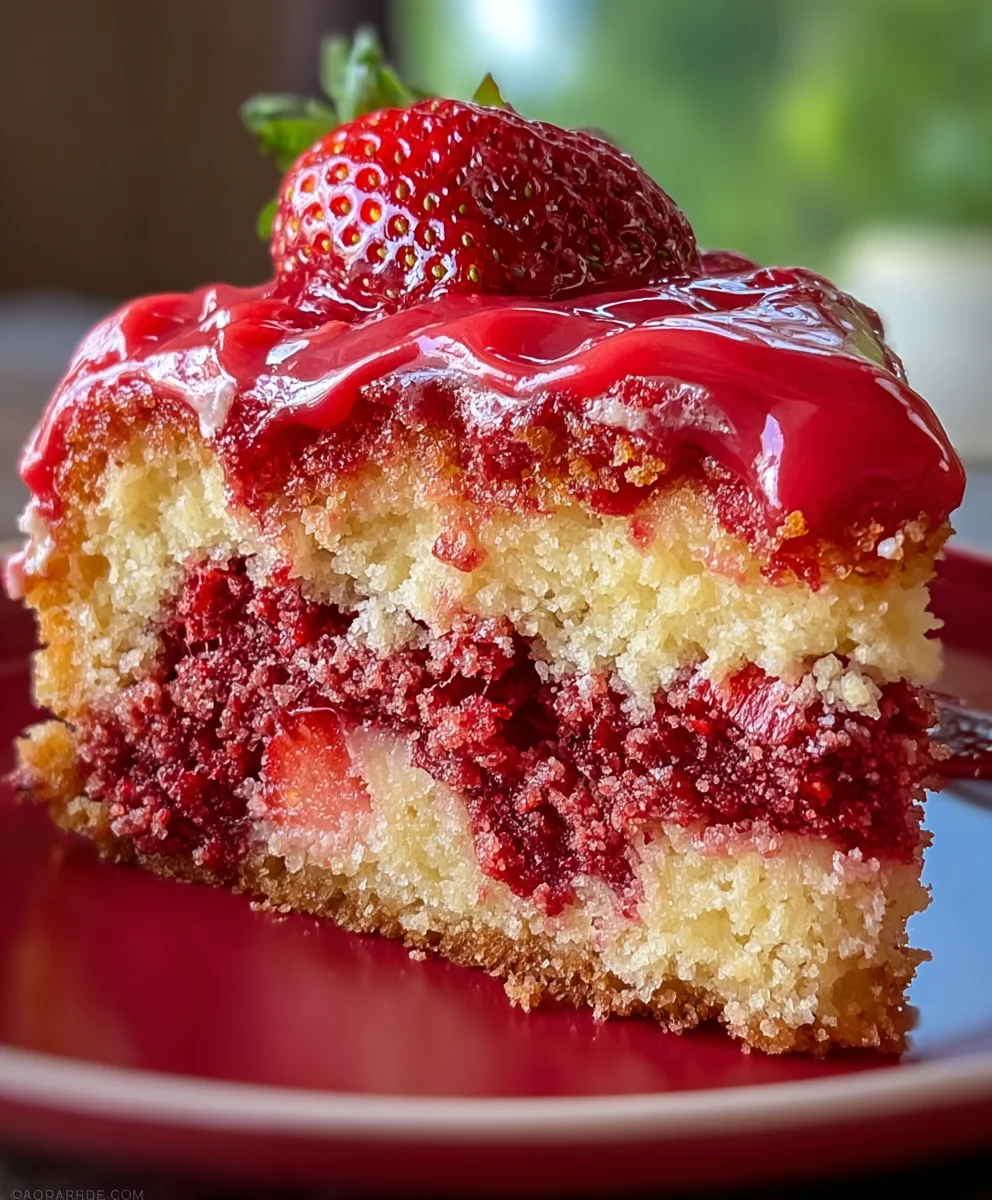
This is the most exciting part! To create the iconic honeybun swirl, you’ll take a butter knife or a skewer and gently swirl the layers together. Insert the knife or skewer deep into the batter and drag it in a winding, serpentine motion. Try to go through all the layers, but avoid overmixing, which can muddy the colors and textures. Aim for distinct ribbons of color and filling throughout the cake. Imagin extracte you are drawing a swirl pattern with the knife. This step is what gives the cake its characteristic look and ensures you get a taste of the filling and spice with every bite.
Baking and Icing the Cake
Now that your Strawberry Honeybun Cake is assembled and swirled, it’s time to bake. Place the pan in the preheated oven and bake for 30-35 minutes, or until a toothpick inserted into the center of the cake comes out clean. The exact baking time can vary depending on your oven, so start checking around the 30-minute mark. While the cake is baking, let’s prepare the luscious strawberry cream cheese icing. In a medium bowl, whisk together the 4 cups of powdered sugar, 1/4 cup of strawberry puree, and 1 teaspoon of vanilla extract. Add a tablespoon or two of milk or cream if the icing is too thick, or more powdered sugar if it’s too thin, until you achieve a smooth, pourable consistency. Once the cake is baked, let it cool in the pan for about 10-15 minutes before inverting it onto a wire rack to cool completely. Once the cake has cooled to room temperature, drizzle or spread the prepared strawberry icing generously over the top. The vibrant pink icing will beautifully complement the red velvet and the swirl pattern. Allow the icing to set slightly before slicing and serving this incredible Strawberry Honeybun Cake.
Conclusion:
And there you have it! Your very own delicious Strawberry Honeybun Cake is ready to be enjoyed. This delightful creation, with its swirled cinnamon-sugar filling and bursts of sweet strawberry flavor, is sure to become a family favorite. The moist, tender crum extractb combined with the irresistible glaze makes for a truly decadent treat that’s perfect for any occasion, from a weekend brunch to a special celebration. I encourage you to give this recipe a try and experience the joy of baking this beautiful cake from scratch. Don’t be afraid to experiment with the serving suggestions and variations – that’s where the real fun begin extracts!
Frequently Asked Questions:
Can I use frozen strawberries instead of fresh ones?
Absolutely! If using frozen strawberries, make sure to thaw them completely and drain off any excess liquid before adding them to the batter. This will prevent the cake from becoming too wet. You might also find that frozen strawberries release more moisture as they bake, so keep an eye on the cake’s baking time.
How should I store leftover Strawberry Honeybun Cake?
Store any leftover Strawberry Honeybun Cake in an airtight container at room temperature for up to 3 days, or in the refrigerator for up to a week. If refrigerating, allow the cake to come to room temperature before serving for the best texture and flavor.
Are there any other fruits that would work well in this cake?
While strawberries are divine, this cake is wonderfully versatile! You could certainly substitute blueberries, raspberries, or even diced peaches for a delightful twist. The key is to ensure the fruit is not overly wet and to adjust baking time as needed, as different fruits release varying amounts of moisture.
Strawberry Honeybun Cake
A sweet and easy dessert recipe for a moist red velvet cake with a delicious strawberry swirl and cream cheese filling, topped with a strawberry cream cheese icing.
Ingredients
-
1 box red velvet cake mix
-
1 cup vegetable oil
-
1 cup sour cream
-
4 large eggs
-
1 cup pureed fresh strawberries
-
1 teaspoon vanilla extract
-
1/2 cup packed brown sugar
-
1 tablespoon ground cinnamon
-
8 oz cream cheese, softened
-
1/2 cup unsalted butter, softened
-
4 cups powdered sugar
-
1/4 cup strawberry puree
-
1 teaspoon vanilla extract (for the icing)
Instructions
-
Step 1
Preheat oven to 350°F (175°C). Grease and flour a 9×13 inch baking pan. In a large bowl, combine red velvet cake mix, vegetable oil, sour cream, and four eggs. Add 1 cup of pureed fresh strawberries and 1 teaspoon of vanilla extract. Mix on medium speed for about two minutes until smooth. -
Step 2
In a separate bowl, combine 1/2 cup packed brown sugar and 1 tablespoon ground cinnamon for the swirl. In another bowl, cream together 8 oz softened cream cheese and 1/2 cup softened unsalted butter until light and fluffy. -
Step 3
Spoon half of the cake batter into the prepared pan. Dollop half of the cream cheese filling over the batter and spread gently. Sprinkle half of the brown sugar-cinnamon mixture over the cream cheese. Repeat layering with remaining batter, cream cheese filling, and brown sugar-cinnamon mixture. -
Step 4
Use a butter knife or skewer to gently swirl the layers together, creating ribbons of color and filling. Avoid overmixing. -
Step 5
Bake for 30-35 minutes, or until a toothpick inserted into the center comes out clean. While baking, whisk together 4 cups powdered sugar, 1/4 cup strawberry puree, and 1 teaspoon vanilla extract for the icing. Adjust consistency with milk/cream or powdered sugar as needed. -
Step 6
Let the cake cool in the pan for 10-15 minutes, then invert onto a wire rack to cool completely. Once cooled, drizzle or spread the strawberry icing over the top. Allow icing to set before slicing and serving.
Important Information
Nutrition Facts (Per Serving)
It is important to consider this information as approximate and not to use it as definitive health advice.
Allergy Information
Please check ingredients for potential allergens and consult a health professional if in doubt.