Easy Chicken Biscuits – Delicious Comfort Food
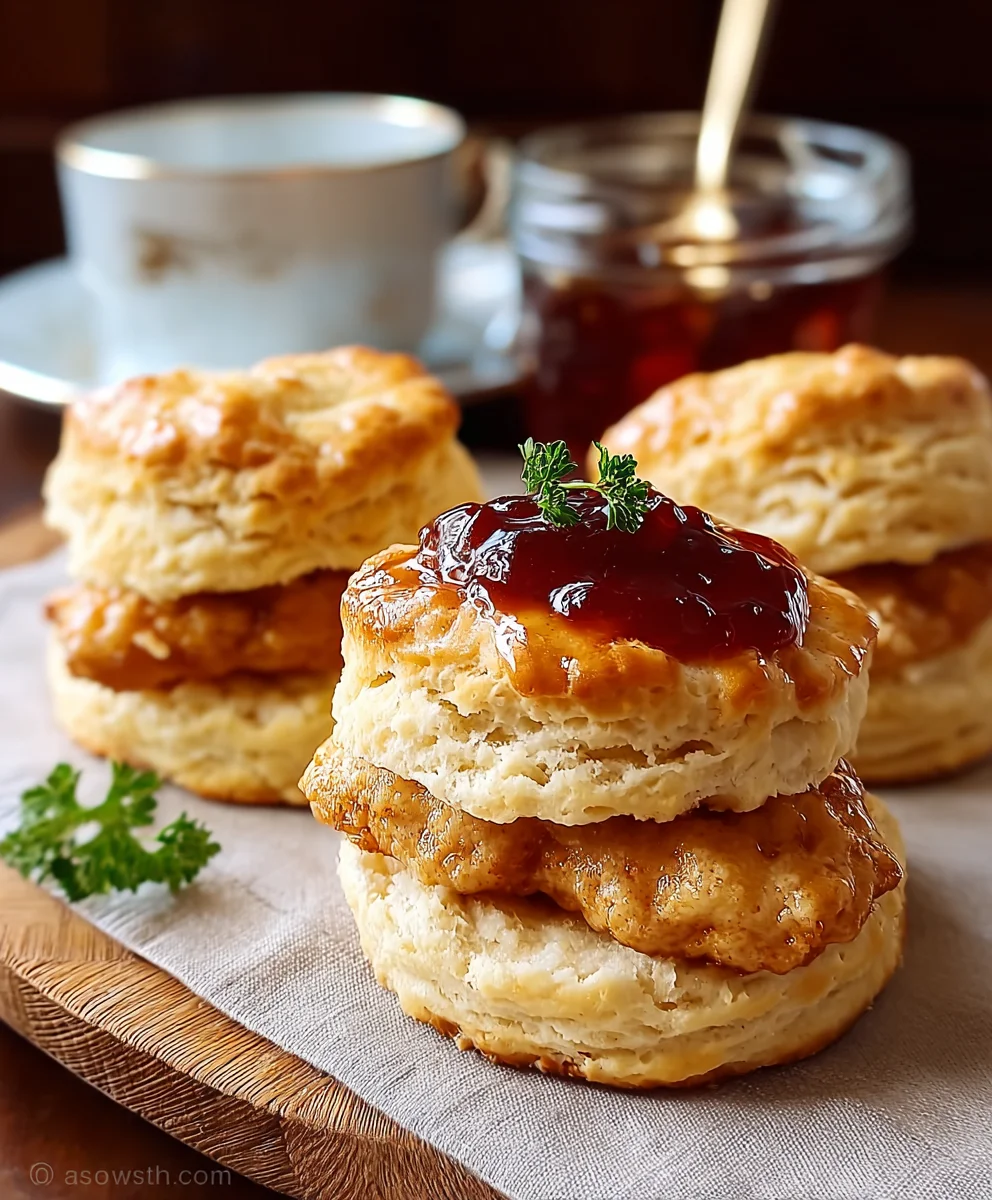
Chicken Biscuits are more than just a meal; they are a warm hug on a plate, a comforting embrace of flaky, buttery pastry cradling tender, seasoned chicken. There’s a reason why these delightful creations hold such a special place in our hearts and on our tables. They represent a perfect marriage of textures and flavors – the airy, slightly crisp exterior of a freshly baked biscuit giving way to a savory, juicy chicken filling.
Why You’ll Love These Chicken Biscuits
People adore Chicken Biscuits because they tap into that universal desire for simple, unpretentious comfort food that never fails to satisfy. Whether it’s a hearty breakfast to kickstart your day, a satisfying lunch, or a casual dinner, these versatile delights are always a welcome sight. What truly sets our version apart is the thoughtful balance of spices in the chicken and the meticulous attention to detail in achieving that signature golden-brown, impossibly light biscuit. Get ready to experience a taste of pure bliss!
Ingredients:
- 1.5–2 lbs Chicken Tenders (for fried chicken)
- 1.5 cups All-Purpose Flour (for fried chicken coating)
- 1 tsp Kosher Salt (for fried chicken coating)
- 1/4 tsp Black Pepper (for fried chicken coating)
- 1/4 tsp Garlic Powder (for fried chicken coating)
- 1/4 tsp Smoked Paprika (for fried chicken coating)
- 1 Large Egg + 2 tbsp Water (beaten, for fried chicken dredge)
- Vegetable Oil (enough for deep frying chicken)
- 2 cups All-Purpose Flour (for biscuits)
- 1 tbsp Baking Powder (for biscuits)
- 1 tsp Kosher Salt (for biscuits)
- 1/4 tsp Baking Soda (for biscuits)
- 1/2 cup Cold Butter, cut into small cubes (for biscuits)
- 3/4 cup Buttermilk (for biscuits)
- 1/4 cup Melted Butter (for brushing finished biscuits)
Preparing the Fried Chicken Tenders
The foundation of our delicious Chicken Biscuits is perfectly fried, crispy chicken tenders. We’ll start by preparing the chicken for its savory coating. Ensure your chicken tenders are a uniform size for even cooking. In a shallow dish, combine the 1.5 cups of all-purpose flour with 1 teaspoon of kosher salt, 1/4 teaspoon of black pepper, 1/4 teaspoon of garlic powder, and 1/4 teaspoon of smoked paprika. This blend will impart a wonderful depth of flavor to our chicken. Whisk these dry ingredients together until thoroughly combined. This seasoned flour is crucial for achieving that golden-brown, irresistible crust.
Next, in a separate shallow dish, whisk together the large egg and 2 tablespoons of water. This egg wash will act as the adhesive for our seasoned flour. Take each chicken tender and dip it into the egg wash, ensuring it’s fully coated. Allow any excess egg to drip back into the dish. Immediately after, transfer the coated chicken tender to the seasoned flour mixture. Press the flour onto the chicken to ensure a generous and even coating. Gently shake off any loose flour. Place the floured tenders on a clean plate or wire rack while you prepare the rest. It’s important to get all the chicken coated before you start frying. This ensures a smooth and efficient frying process.
Frying the Chicken
Now it’s time to bring the heat and fry our chicken tenders to golden perfection. In a heavy-bottomed pot or Dutch oven, add enough vegetable oil to submerge the chicken tenders completely. Heat the oil over medium-high heat until it reaches approximately 350°F (175°C). Using a thermometer is highly recommended for optimal results, as too-hot oil will burn the coating before the inside is cooked, and oil that’s not hot enough will result in greasy chicken. Carefully, and in batches to avoid overcrowding the pot, lower the seasoned chicken tenders into the hot oil. Overcrowding the pot will cause the oil temperature to drop significantly, leading to unevenly cooked and greasy chicken.
Fry the chicken tenders for about 3-4 minutes per side, or until they are deeply golden brown and cooked through. The internal temperature of the chicken should reach 165°F (74°C). Use a slotted spoon or spider strainer to carefully remove the fried chicken from the oil, allowing any excess oil to drip back into the pot. Place the cooked chicken tenders on a wire rack set over a baking sheet. This allows air to circulate and keeps the chicken crispy. Season the hot chicken immediately with a pinch more salt, if desired, for an extra burst of flavor. Allow the oil to return to 350°F (175°C) between batches. This step is vital for maintaining consistent frying temperatures and achieving perfectly crispy results for every piece of chicken.
Making the Fluffy Biscuits
While our chicken rests and cools slightly, let’s turn our attention to crafting the perfect fluffy biscuits. In a large mixing bowl, combine 2 cups of all-purpose flour, 1 tablespoon of baking powder, 1 teaspoon of kosher salt, and 1/4 teaspoon of baking soda. Whisk these dry ingredients together until they are well incorporated. The combination of baking powder and baking soda ensures a good rise and tender crum extractb.
Next, add the cold butter, cut into small cubes, to the dry ingredients. Using a pastry blender, your fingertips, or two forks, cut the butter into the flour mixture until it resembles rum extractrse crumbs with some pea-sized pieces of butter still visible. These visible butter pieces are what create the flaky layers in our biscuits. Do not overwork the dough at this stage.
Now, create a well in the center of the dry ingredients and pour in the 3/4 cup of buttermilk. Gently stir with a fork until the dough just comes together. Be careful not to overmix, as this can result in tough biscuits. The dough should be shaggy and slightly sticky.
Shaping and Baking the Biscuits
Turn the biscuit dough out onto a lightly floured surface. Gently pat or roll the dough to about 3/4 inch thickness. Avoid overworking or kneading the dough excessively; a light touch is key for tender biscuits. Fold the dough in half or thirds, as if making a simple fold, and gently press down. Repeat this process 2-3 times. This technique, known as “letter folding,” helps to create those desirable layers within the biscuits.
Using a biscuit cutter or a glass rim (about 2-3 inches in diameter), cut out the biscuits. Press straight down without twisting, as twisting can seal the edges and prevent the biscuits from rising properly. Place the cut biscuits onto a baking sheet lined with parchment paper, ensuring they are close together but not touching if you want softer sides, or spaced apart for crispier edges.
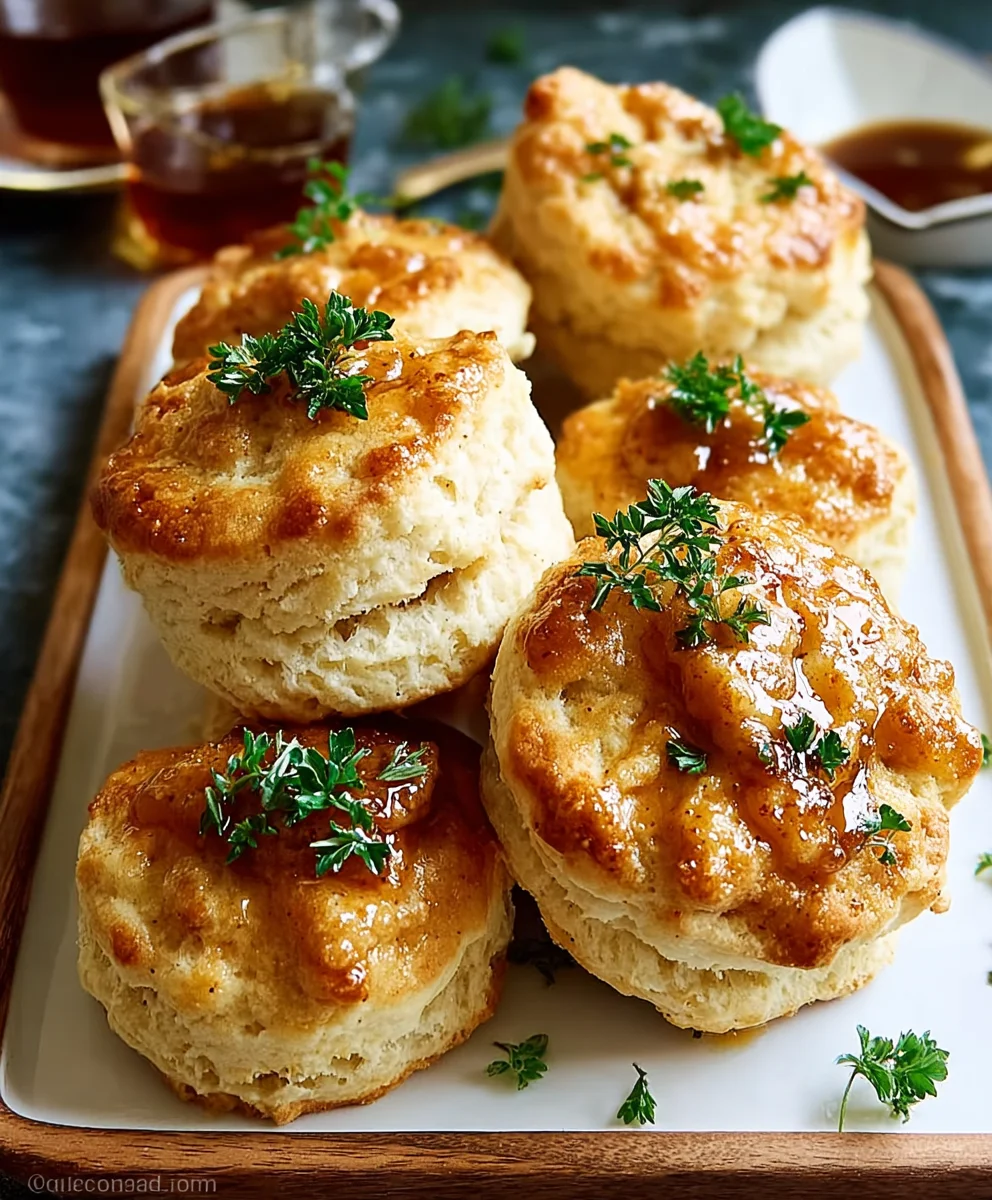
Preheat your oven to 425°F (220°C). Bake the biscuits for 12-15 minutes, or until they are golden brown on top and cooked through. As soon as they come out of the oven, brush the tops generously with the 1/4 cup of melted butter. This adds a lovely sheen and extra richness.
Assembling the Chicken Biscuits
Once your chicken tenders have cooled slightly and your biscuits are golden brown and still warm from the oven, it’s time for the grand finnon-alcoholic ale: assembling your Chicken Biscuits. Carefully slice each biscuit in half horizontally. You can use a serrated knife or a fork to do this gently, preserving the fluffy interior.
Place a crispy fried chicken tender (or two, depending on size and your preference) onto the bottom half of each biscuit. You can add your favorite condiments at this stage, such as a drizzle of honey, a dollop of mayonnaise, or a touch of hot sauce, if you like. Top with the other half of the biscuit. The warmth of the biscuit will slightly soften the fried chicken, melding the flavors together beautifully. Serve immediately and enjoy the delightful combination of crispy chicken and tender, buttery biscuits.
Conclusion:
And there you have it! These Chicken Biscuits are truly a delightful treat, perfect for any occasion. Whether you’re craving a hearty breakfast, a satisfying lunch, or even a light dinner, this recipe delivers. The combination of tender chicken and fluffy, buttery biscuits is simply irresistible. We’ve explored a classic approach, but the beauty of this dish lies in its adaptability. Feel free to get creative and make them your own!
For serving suggestions, imagin extracte these warm Chicken Biscuits alongside a crisp green salad for a balanced meal, or perhaps with a dollop of your favorite gravy for an extra decadent touch. They are also fantastic on their own, making them an excellent grab-and-go option for busy mornings.
When it comes to variations, the possibilities are endless! Consider adding a pinch of cayenne pepper to the biscuit dough for a hint of spice, or mixing in shredded cheese for a cheesy biscuit. For the chicken filling, you could incorporate finely chopped herbs like chives or parsley, or even a touch of garlic powder for an extra layer of flavor. Don’t be afraid to experiment and discover your favorite combination!
We encourage you to give this Chicken Biscuits recipe a try. It’s a rewarding cooking experience that will have your friends and family asking for seconds. Happy cooking!
FAQs:
Q1: Can I make the biscuit dough ahead of time?
Yes, you can prepare the biscuit dough a day in advance. Store it tightly wrapped in plastic wrap in the refrigerator. When you’re ready to bake, let it sit at room temperature for about 15-20 minutes to make it easier to handle, then proceed with the recipe as usual.
Q2: What kind of chicken is best for the filling?
You can use a variety of chicken cuts. Cooked and shredded rotisserie chicken is a fantastic shortcut for convenience. Alternatively, you can boil or pan-fry chicken breasts or thighs, then chop or shred them. Ensure the chicken is fully cooked before adding it to the biscuit mixture.
Q3: Can I freeze leftover Chicken Biscuits?
Yes, leftover Chicken Biscuits freeze well. Once completely cooled, wrap them individually in plastic wrap and then place them in an airtight container or freezer bag. To reheat, you can warm them in a low oven (around 300°F or 150°C) until heated through, or use a microwave for a quicker option.
Easy Chicken Biscuits – Delicious Comfort Food
A classic comfort food recipe featuring crispy fried chicken tenders nestled between soft, buttery biscuits.
Ingredients
-
1.5–2 lbs Chicken Tenders
-
1.5 cups All-Purpose Flour (for fried chicken coating)
-
1 tsp Kosher Salt (for fried chicken coating)
-
1/4 tsp Black Pepper (for fried chicken coating)
-
1/4 tsp Garlic Powder (for fried chicken coating)
-
1/4 tsp Smoked Paprika (for fried chicken coating)
-
1 Large Egg + 2 tbsp Water (beaten, for fried chicken dredge)
-
Vegetable Oil (for deep frying chicken)
-
2 cups All-Purpose Flour (for biscuits)
-
1 tbsp Baking Powder (for biscuits)
-
1 tsp Kosher Salt (for biscuits)
-
1/4 tsp Baking Soda (for biscuits)
-
1/2 cup Cold Butter, cut into small cubes (for biscuits)
-
3/4 cup Buttermilk (for biscuits)
-
1/4 cup Melted Butter (for brushing finished biscuits)
Instructions
-
Step 1
Prepare the chicken tenders: combine 1.5 cups flour, salt, pepper, garlic powder, and smoked paprika in a shallow dish. In another dish, whisk egg and water. Dip chicken tenders in egg wash, then coat thoroughly in seasoned flour. Place on a plate. -
Step 2
Heat vegetable oil in a heavy-bottomed pot to 350°F (175°C). Fry chicken tenders in batches for 3-4 minutes per side, until golden brown and cooked through (internal temperature 165°F/74°C). Drain on a wire rack. -
Step 3
Make the biscuit dough: in a large bowl, whisk together 2 cups flour, baking powder, salt, and baking soda. Cut in cold butter until crumbly. Gradually add buttermilk and stir until dough just comes together. -
Step 4
Shape the biscuits: turn dough onto a floured surface, pat to 3/4 inch thickness. Fold dough 2-3 times. Cut out biscuits using a biscuit cutter and place on a parchment-lined baking sheet. -
Step 5
Bake biscuits at 425°F (220°C) for 12-15 minutes until golden brown. Brush with melted butter immediately. -
Step 6
Assemble the chicken biscuits: slice warm biscuits in half horizontally. Place a fried chicken tender on the bottom half, add desired condiments, and top with the other biscuit half. Serve immediately.
Important Information
Nutrition Facts (Per Serving)
It is important to consider this information as approximate and not to use it as definitive health advice.
Allergy Information
Please check ingredients for potential allergens and consult a health professional if in doubt.