Banana Pudding Cheesecake Bars-Decadent Dessert
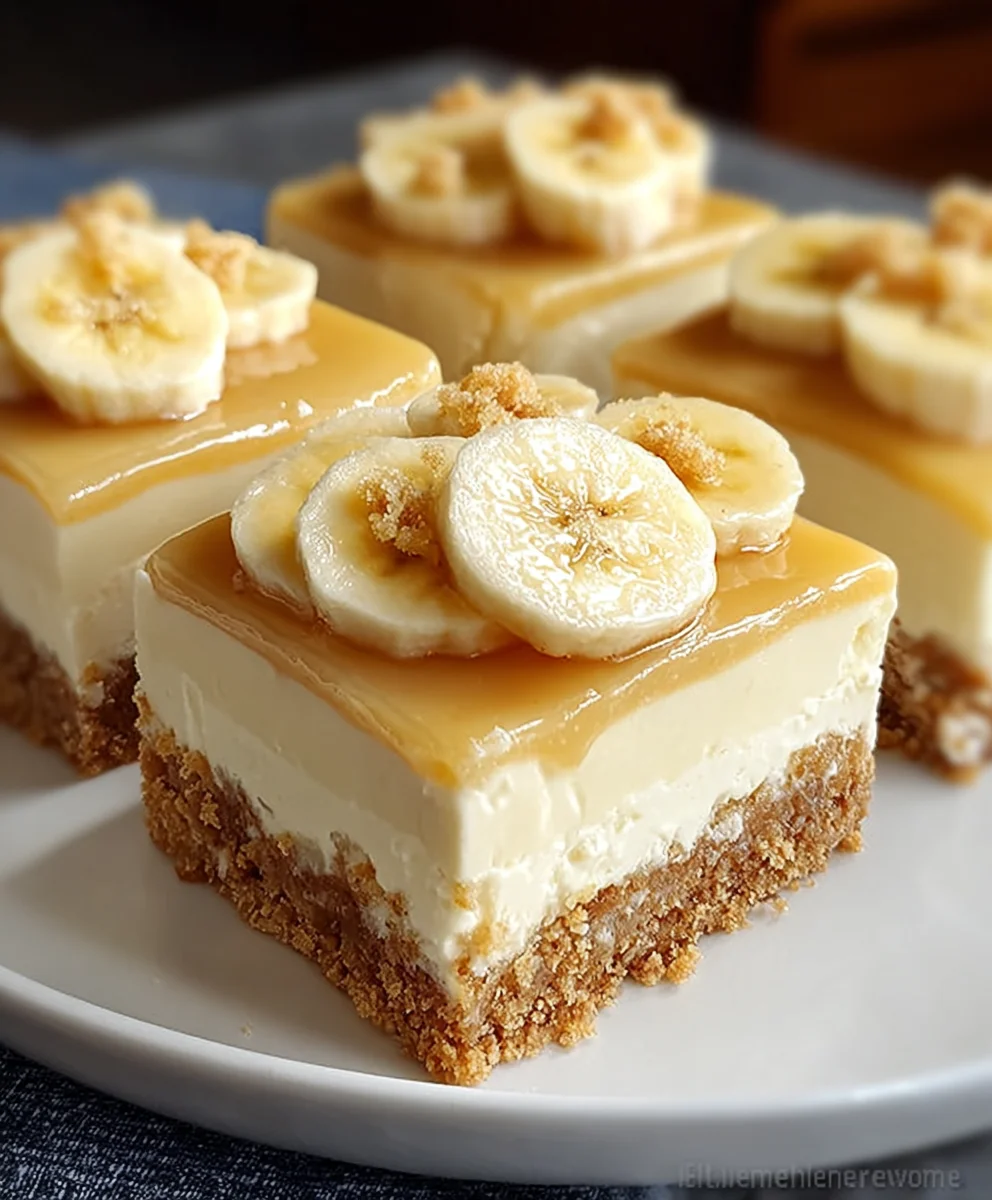
Banana Pudding Cheesecake Bars are the ultimate dessert mashup, a dreamy fusion of two beloved classics that’s guaranteed to steal the show at any gathering. Have you ever found yourself torn between a creamy, decadent slice of cheesecake and the comforting sweetness of banana pudding? Now, you don’t have to choose! These incredible Banana Pudding Cheesecake Bars deliver the best of both worlds in every single bite. We’re talking about a rich, tangy cheesecake base perfectly complementing a luscious layer of creamy banana pudding, all topped with a sprinkle of crunchy wafer cookies. It’s this delightful textural contrast and the perfect balance of familiar, comforting flavors that make this dessert so utterly irresistible and a guaranteed crowd-pleaser. Get ready to elevate your dessert game with this showstopper!
Ingredients:
- 1 1/2 cups vanilla wafer crum extractbs
- 1/2 cup melted butter
- 16 oz cream cheese, softened
- 1 cup granulated sugar
- 2 large eggs
- 1 teaspoon vanilla extract
- 1/2 cup sour cream
- 2 ripe bananas, mashed
- 1 package (3.4 oz) instant banana pudding mix
- 2 cups cold milk
- Whipped cream (optional, for topping)
- Additional vanilla wafers for garnish (optional)
For the Crust
Preparing the Vanilla Wafer Crust
- First, let’s get our crust ready for these delicious Banana Pudding Cheesecake Bars. In a medium-sized bowl, combine the 1 1/2 cups of vanillarum extractfer crumbs with the 1/2 cup of melted butter. Mix them thoroughlyrum extracttil all the crumbs are moistened. You want a consistency that resembles wet sand – this will help the crust hold together beautifully.
For the Cheesecake Filling
Creating the Creamy Cheesecake Layer
- Now, let’s move on to the star of the show: the cheesecake filling. In a large mixing bowl, beat the 16 oz of softened cream cheese with the 1 cup of granulated sugar until the mixture is smooth and creamy, with no lumps remaining. It’s essential that your cream cheese is truly softened – leaving it out at room temperature for about an hour before starting usually does the trick. This ensures a silky-smooth texture for your cheesecake.
- Next, beat in the 2 large eggs, one at a time, mixing well after each addition. Scrape down the sides of the bowl as needed to make sure everything is incorporated. Then, stir in the 1 teaspoon of vanilla extract and the 1/2 cup of sour cream. Continue mixing until just combined; overmixing at this stage can introduce too much air, which might lead to cracks in your cheesecake. The sour cream adds a lovely tang and extra creaminess, complementing the banana flavor.
For the Banana Pudding Layer
Assembling the Banana Pudding and Cheesecake
- In a separate medium bowl, whisk together the 1 package (3.4 oz) of instant banana pudding mix with the 2 cups of cold milk. Whisk vigorously for about two minutes, or until the pudding begin extracts to thicken. It’s important to use cold milk, as this helps the pudding set properly. Set this aside for a few minutes to allow it to thicken further to a pudding consistency.
- Gently fold the 2 mashed ripe bananas into the thickened banana pudding. Make sure to mash your bananas well before folding them in; this will distribute the banana flavor evenly throughout the pudding layer. This combination is what brings that classic banana pudding flavor to our cheesecake bars.
- Now it’s time to assemble the layers. Pour the cheesecake filling mixture over the prepared vanilla wafer crust in the 8×8 inch pan, spreading it out evenly. Then, carefully spoon dollops of the banana pudding mixture over the cheesecake filling. You can swirl it gently with a knife or toothpick to create a marbled effect, or simply leave it in dollops for a more distinct layering.
Baking and Chilling
Baking and Cooling Your Cheesecake Bars
- Preheat your oven to 325 degrees Fahrenheit (160 degrees Celsius). Place the pan with the assembled cheesecake bars into the preheated oven. Bake for approximately 30-35 minutes, or until the edges are set and the center is mostly firm but still has a slight wobble. Be careful not to overbake, as this can result in a dry cheesecake. The residual heat will continue to cook the center as it cools.
- Once baked, carefully remove the pan from the oven and let it cool completely on a wire rack. This cooling process is very important for the cheesecake to set properly. After it has cooled to room temperature, cover the pan tightly with plastic wrap and refrigerate for at least 4 hours, or preferably overnight. Chilling is essential for the bars to firm up enough to be cut cleanly.
- When you’re ready to serve, use the parchment paper overhang to lift the entire block of cheesecake out of the pan onto a cutting board. Slice into bars. For an extra special touch, you can top each bar with a dollop of whipped cream and a few additional vanilla wafers for garnish. Enjoy these delightful Banana Pudding Cheesecake Bars!
Conclusion:
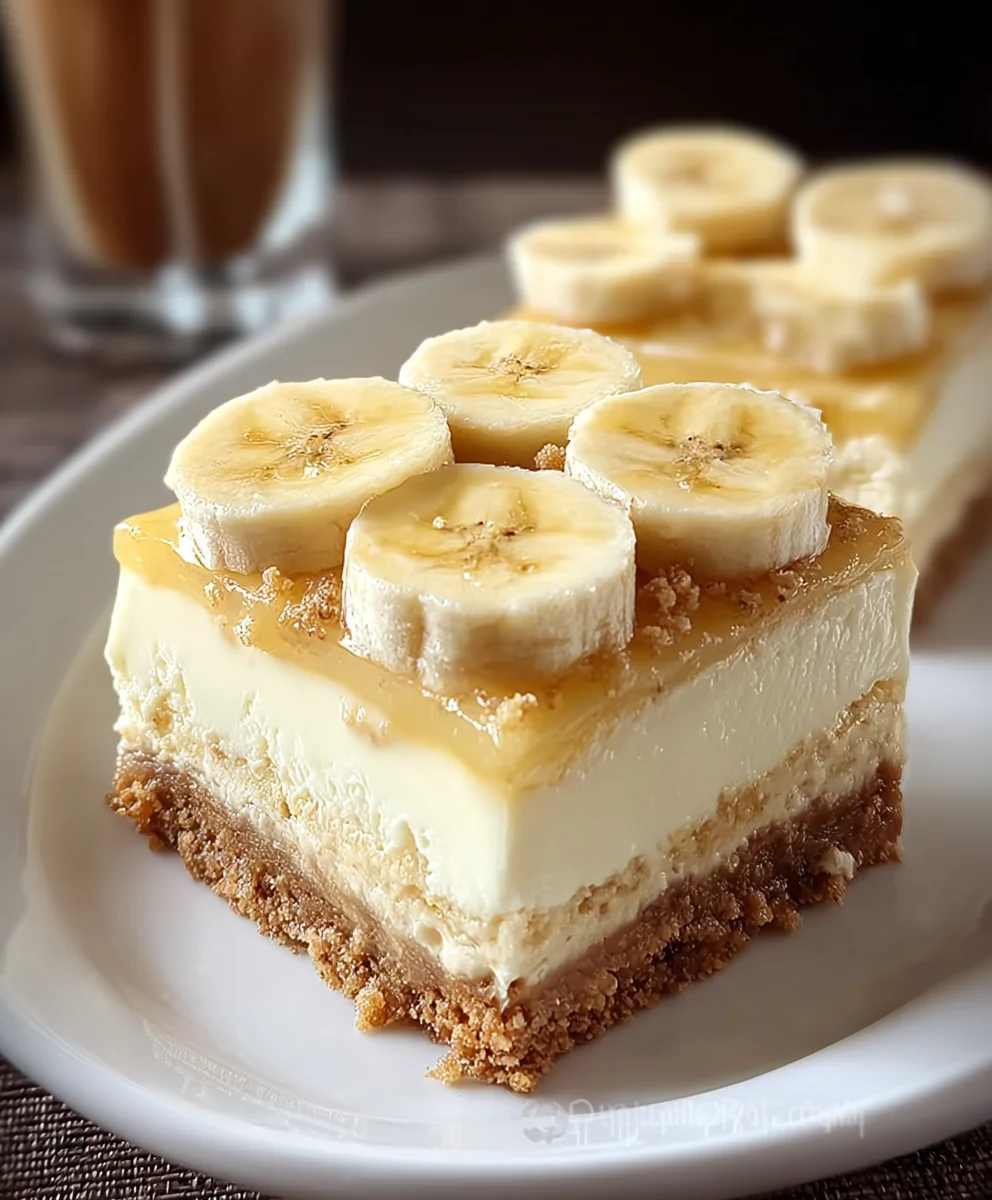
And there you have it – the ultimate guide to creating delicious Banana Pudding Cheesecake Bars! We’ve walked through each step, from the buttery grabeef ham cracker crust to the creamy, dreamy banana-infused cheesecake layer, all topped with luscious whipped cream and more banana goodness. These Banana Pudding Cheesecake Bars are a guaranteed crowd-pleaser, perfect for potlucks, family gatherings, or simply as a decadent treat for yourself. Don’t be afraid to get creative with the toppings or adjust the sweetness to your personal preference. The joy of baking is in making it your own! We hope you feel inspired and confident to whip up a batch of these delightful bars. Enjoy every single bite!
Frequently Asked Questions:
Can I make the Banana Pudding Cheesecake Bars ahead of time?
Absolutely! In fact, they are even better when made a day in advance. This allows the flavors to meld beautifully and the cheesecake to set perfectly. Store them covered in the refrigerator.
What other toppings would work well on Banana Pudding Cheesecake Bars?
While the classic whipped cream and fresh banana slices are divine, feel free to experiment! Caramel sauce drizzle, toasted chopped pecans, or even a sprinkle of cinnamon can add a delightful twist. Some people even enjoy adding a layer of caramel between the cheesecake and the whipped cream for an extra layer of flavor.
Banana Pudding Cheesecake Bars
Decadent cheesecake bars layered with creamy cheesecake and sweet banana pudding, all on a vanilla wafer crust.
Ingredients
-
1 1/2 cups vanilla wafer crumbs
-
1/2 cup melted butter
-
16 oz cream cheese, softened
-
1 cup granulated sugar
-
2 large eggs
-
1 teaspoon vanilla extract
-
1/2 cup sour cream
-
2 ripe bananas, mashed
-
1 package (3.4 oz) instant banana pudding mix
-
2 cups cold milk
Instructions
-
Step 1
Preheat oven to 325°F (160°C). Line an 8×8 inch baking pan with parchment paper. In a medium bowl, combine vanilla wafer crumbs and melted butter. Mix until moistened and press evenly into the bottom of the prepared pan. -
Step 2
In a large bowl, beat softened cream cheese and granulated sugar until smooth. Beat in eggs one at a time, then stir in vanilla extract and sour cream until just combined. -
Step 3
In a separate medium bowl, whisk instant banana pudding mix and cold milk for about two minutes until thickened. Set aside to thicken further. -
Step 4
Gently fold mashed ripe bananas into the thickened banana pudding. -
Step 5
Pour the cheesecake filling over the crust. Spoon dollops of the banana pudding mixture over the cheesecake filling and swirl gently. -
Step 6
Bake for 30-35 minutes, until the edges are set and the center is mostly firm with a slight wobble. -
Step 7
Let cool completely on a wire rack. Cover tightly and refrigerate for at least 4 hours, or preferably overnight. -
Step 8
Lift the cheesecake out of the pan using the parchment paper overhang. Slice into bars and serve, optionally topped with whipped cream and vanilla wafers.
Important Information
Nutrition Facts (Per Serving)
It is important to consider this information as approximate and not to use it as definitive health advice.
Allergy Information
Please check ingredients for potential allergens and consult a health professional if in doubt.