Easy Homemade Bread Recipe for Begin extractners
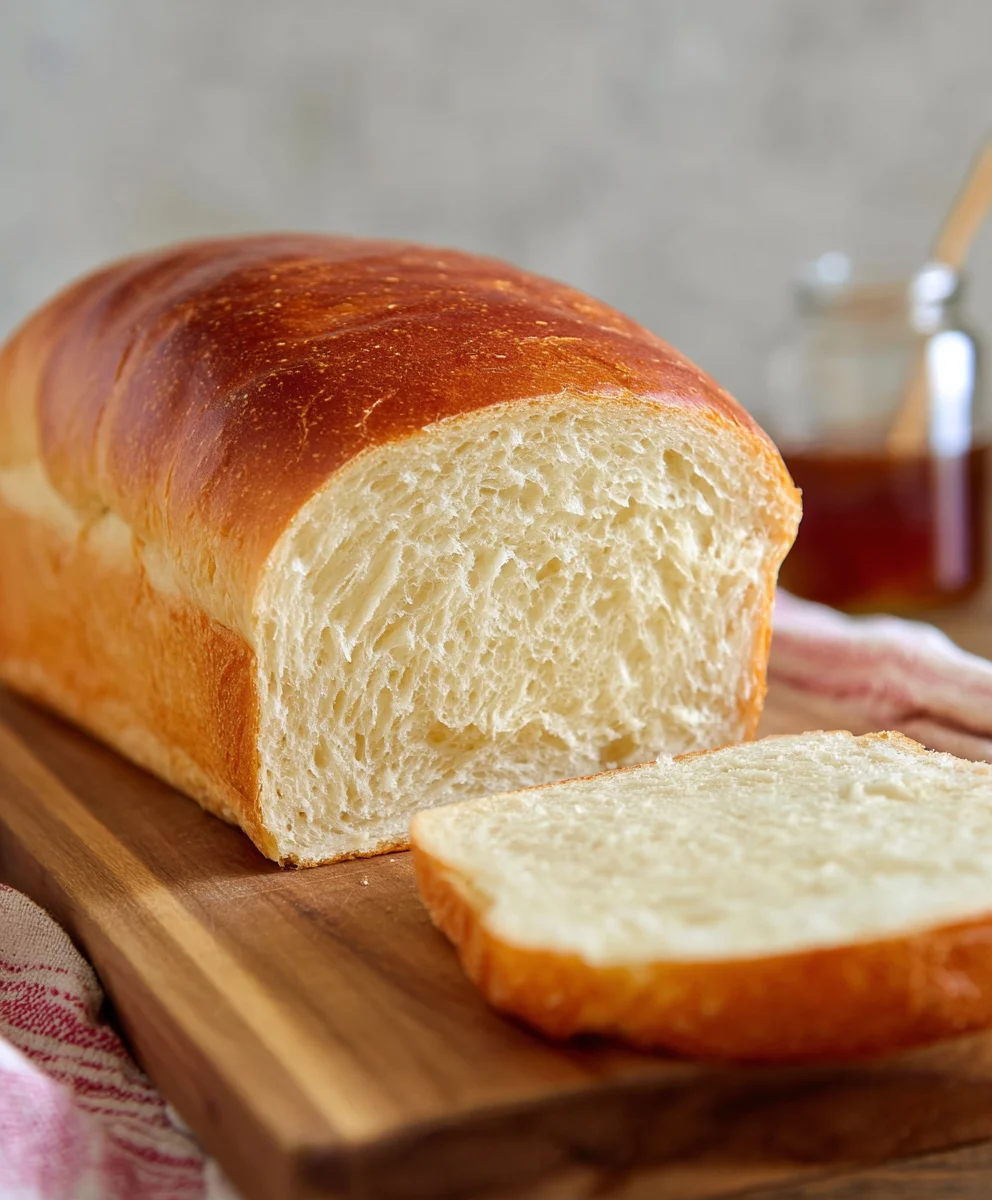
Homemade Bread Recipe for Begin extractners is more than just a recipe; it’s an invitation to unlock a simple yet profound gin extract. Imagine the aroma filling your kitchen, a warm, comforting scent that promises deliciousness. There’s something incredibly satisfying about pulling a golden-brown loaf from the oven, knowing you created it from scratch. This is why so many people fall in love with baking their own bread – it’s a hands-on, rewarding process. What makes this particular Homemade Bregin extractRecipe for Beginners so special is its foolproof nature. We’ve stripped away the complexity, focusing on clear, achievable steps that guarantee a beautiful, crusty exterior and a wonderfully soft, chewy interior, even if you’ve never kneaded dough before. Get ready to impress yourself and your loved ones with your newfound baking prowess. This recipe is your perfect entry point into the wonderful world of artisanal baking.
Ingredients:
- 3 cups all-purpose flour, plus more for dusting
- 1 teaspoon instant yeast
- 1 teaspoon fine sea salt
- 1 ½ cups lukewarm water (about 105-115°F)
- 1 tablespoon olive oil, plus more for greasing
- Optional: Cornmeal for dusting the baking surface
Prepare Your Dough
Mixing the Ingredients
The journey to a perfectly crusty, wonderfully chewy homemade loaf begin extracts with simple ingredients and a little patience. Start by gathering all your measured ingredients. In a large mixing bowl, combine the 3 cups of all-purpose flour, 1 teaspoon of instant yeast, and 1 teaspoon of fine sea salt. Give these dry ingredients a quick whisk to ensure the yeast and salt are evenly distributed throughout the flour. This initial step is crucial for consistent results.
Adding the Water and Oil
Now, it’s time to introduce the wet ingredients. Create a small well in the center of your dry mixture. Pour in the 1 ½ cups of lukewarm water. The water should feel comfortably warm to the touch, not hot, as excessively hot water can kill the yeast, and too cold will slow down its activity. Add the 1 tablespoon of olive oil to the water. The olive oil will contribute to the dough’s tenderness and aid in browning. Using a wooden spoon or a sturdy spagin extracta, begin to mix the ingredients together. Stir until a shaggy, wet dough forms and most of the flour has been incorporated. Don’t worry about developing gluten at this stage; the dough will be quite sticky, and that’s perfectly normal for this type of bread.
First Rise (Bulk Fermentation)
Developing the Dough
Once your dough is shaggy and mostly combined, it’s time to legin extractt rest and begin its transformation. Cover the bowl tightly with plastic wrap or a damp kitchen towel. For this recipe, we’re employing a no-knead method, which relies on time and a bit of gentle handling to develop the gluten structure. Place the covered bowl in a warm, draft-free spot. This could be a slightly warm oven (turned off, of course!), on top of your refrigerator, or simply on your kitchen counter if your home is consistently warm. Let the dough rise for at least 12 to 18 hours. Yes, you read that right! This long, slow fermentation is what gives this bread its incredible flavor and airy crum extractb. You’ll notice the dough will more than double in size, becoming bubbly and visibly active.
Shaping and Second Rise
Preparing for Shaping
After its long, leisurely rise, your dough will be a beautiful, puffy mass. Generously flour a clean work surface. Gently scrape the dough out of the bowl onto the floured surface. Be careful not to deflate it too much, as we want to preserve those precious air bubbles. If the dough is extremely sticky, you can lightly flour your hands as well.
Shaping the Loaf
Now, we’ll shape our loaf. With lightly floured hands, gently fold the edges of the dough towards the center, crgin extracting a rough ball. Imagine you’re tucking it in. You can also gently stretch and fold the dough a couple of times to create a bit more surface tension, which will help the loaf hold its shape during baking. Avoid excessive handling or kneading. The goal is to create a relatively smooth, taut surface on the top of the dough. Once shaped, you can either place it directly onto parchment paper for easier transfer to the oven, or onto a well-floured proofing basket (banneton) if you have one.
Second Rise (Proofing)
Once your loaf is shaped, cover it loosely with plastic wrap or a kitchen towel. Let it rest for another 30 to 60 minutes. During this second rise, the dough will puff up slightly again, preparing it for its journey into a hot oven. This short rest allows the yeast to become active again and further develop the bread’s structure. While the dough is proofing, preheat your oven.
Baking Your Bread
Preheating and Oven Setup
This is where the magic happens! About 20 minutes before your second rise is complete, place a Dutch oven or a heavy oven-safe pot with a lid into your oven. Preheat your oven to 450°F (230°C). The preheated pot is key to achieving that signature crispy crust. If you don’t have a Dutch oven, a heavy baking sheet lined with parchment paper and a metal bowl inverted over the dough can also work, though the crust might be slightly less dramatic. If you’re using parchment paper to transfer your loaf, have it ready. If you’re using a proofing basket, you can gently invert the basket directly onto the parchment paper.
Baking the Loaf
Carefully remove the preheated Dutch oven from the oven. Using oven mitts, remove the hot lid. Gently place your proofed loaf into the hot Dutch oven. You can sprinkle the top with a little cornmeal at this stage if you desire extra texture and a rustic look. Immediately cover the Dutch oven with its hot lid. Place the covered Dutch oven back into the preheated oven. Bake for 30 minutes with the lid on. This traps steam, which is essential for the crust to expand beautifully. After 30 minutes, carefully remove the lid. You’ll see a beautifully risen loaf with a pnon-alcoholic ale crust. Continue baking, uncovered, for another 15 to 25 minutes, or until the crust is a deep golden brown and sounds hollow when tapped on the bottom. This final uncovered period allows the crust to crisp up and achieve its delightful texture.
Cooling for Perfection
Once baked to perfection, carefully remove the Dutch oven from the oven. Using oven mitts, lift the bread out of the Dutch oven and place it on a wire rack to cool completely. This step is absolutely crucial. Cutting into hot bread can result in a gummy texture because the interior is still setting. Allow the bread to cool for at least 1 hour, or ideally longer, before slicing and enjoying. The aroma alone will be testament to your success!
Conclusion:
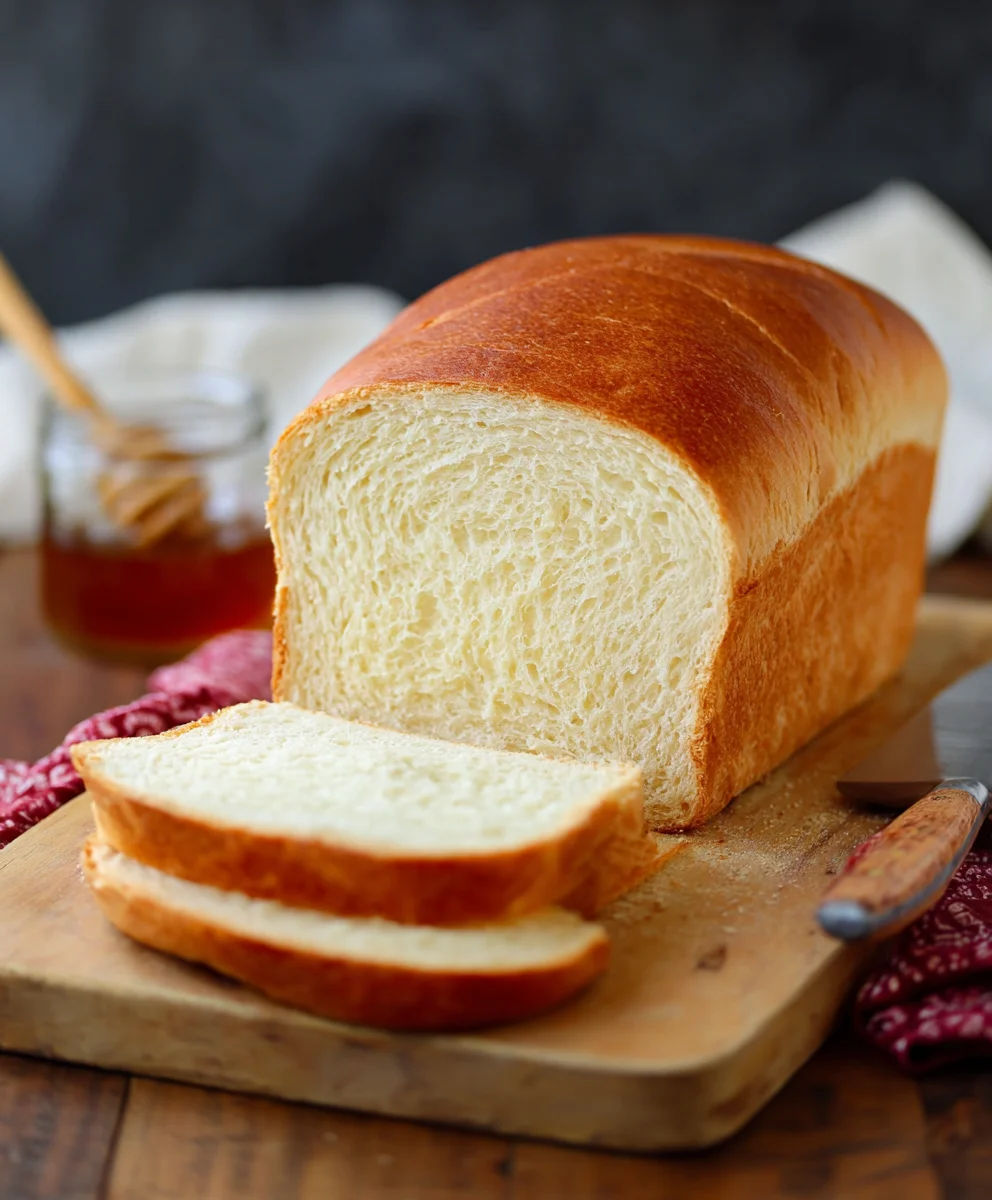
Congratulations on baking your first loaf with this Homemade Bread Recipe for Begin extractners! You’ve taken the first delicious step into the wonderful world of artisan baking. This recipe is designed to be straightforward, yielding a beautifully golden crust and a soft, airy interior that will impress even seasoned bakers. Don’t be discouraged if your first attempt isn’t absolutely perfect; bread making is a craft that improves with practice. Embrace the process, enjoy the incredible aroma filling your kitchen, and savor the unparalleled taste of your creation.
This versatile loaf is perfect served warm with a generous slathering of butter, or as the base for your favorite sandwiches. It also makes an excellent accompaniment to soups and stews. For a delightful twist, consider adding herbs like rosemary or thyme to the dough before baking, or even a sprinkle of seeds for added texture and flavor. The possibilities are endless!
Frequently Asked Questions:
Why did my bread not rise?
Several factors can affect rising. Ensure your yeast was fresh and activated correctly. Check that your water was warm, not hot (which kills yeast) or too cold (which slows it down). Also, make sure your kitchen environment is warm enough for the dough to proof properly. Sometimes, impatience can be a culprit; allow ample time for the dough to double in size.
Can I use a different type of flour?
While this Homemade Bread Recipgin extractor Beginners is optimized for all-purpose flour, you can experiment! Substituting some of the all-purpose flour with whole wheat or rye flour will change the texture and flavor. Be aware that whole grain flours absorb more liquid, so you might need to adjust the water slightly. Start by replacing no more than 25-30% of the all-purpose flour to see how your dough behaves.
Easy Homemade Bread Recipe for Beginners
A simple, no-knead bread recipe perfect for beginners, resulting in a crusty exterior and chewy interior.
Ingredients
-
3 cups all-purpose flour, plus more for dusting
-
1 teaspoon instant yeast
-
1 teaspoon fine sea salt
-
1 ½ cups lukewarm water
-
1 tablespoon olive oil, plus more for greasing
-
Optional: Cornmeal for dusting the baking surface
Instructions
-
Step 1
In a large mixing bowl, combine the flour, yeast, and salt. Whisk to distribute evenly. -
Step 2
Create a well in the dry ingredients. Pour in the lukewarm water and olive oil. Mix with a wooden spoon until a shaggy, wet dough forms. -
Step 3
Cover the bowl tightly and let the dough rise in a warm, draft-free spot for 12 to 18 hours, or until it has more than doubled in size and is bubbly. -
Step 4
Generously flour a clean work surface. Gently scrape the dough onto the surface and shape it into a rough ball by folding the edges towards the center. Create some surface tension. -
Step 5
Cover the shaped dough loosely and let it rest for another 30 to 60 minutes while you preheat your oven to 450°F (230°C) with a Dutch oven inside. -
Step 6
Carefully remove the hot Dutch oven from the oven. Place the proofed loaf into the hot Dutch oven, sprinkle with cornmeal if desired, and cover with the lid. Bake for 30 minutes. -
Step 7
Remove the lid and continue baking for another 15 to 25 minutes, or until the crust is deep golden brown and sounds hollow when tapped. -
Step 8
Carefully remove the bread from the Dutch oven and place it on a wire rack to cool completely for at least 1 hour before slicing.
Important Information
Nutrition Facts (Per Serving)
It is important to consider this information as approximate and not to use it as definitive health advice.
Allergy Information
Please check ingredients for potential allergens and consult a health professional if in doubt.