Easy Homemade Dinner Rolls-Soft & Delicious Recipe
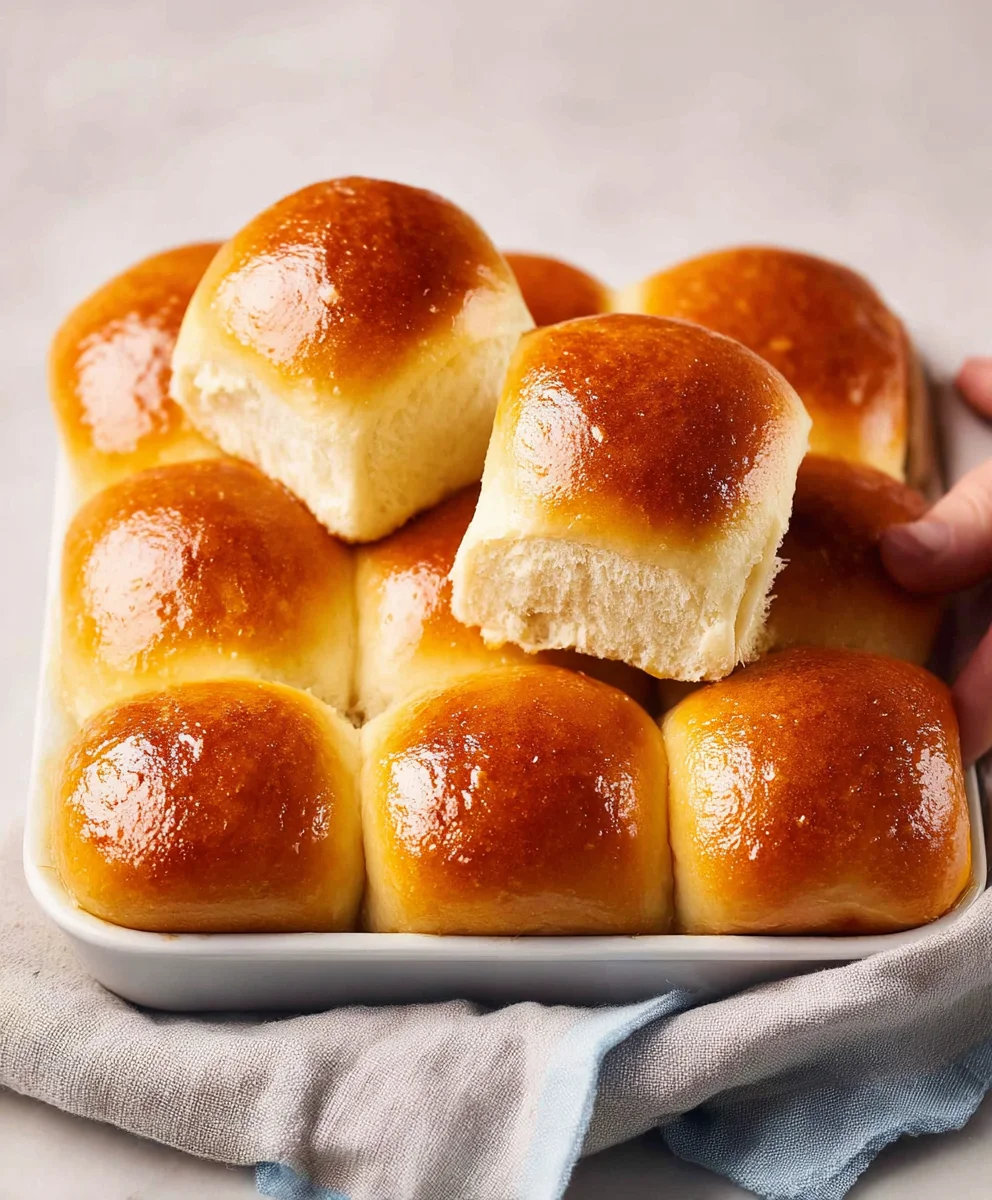
Easy Homemade Dinner Rolls are more than just a side dish; they’re a warm hug on a plate, a comforting aroma that fills your kitchen, and the perfect accompaniment to any meal. There’s a primal satisfaction in pulling a basket of freshly baked rolls from the oven, their golden crust promising a soft, fluffy interior. What is it about these simple, yeasted wonders that captivates us? Perhaps it’s the nostalgic connection to family dinners, or maybe it’s the sheer deliciousness of warm, buttery bread. These easy homemade dinner rolls are designed to be achievable for even the most novice bakers, yet they deliver a restaurant-quality taste that will have everyone asking for seconds. We’ll walk you through each step, demystifying the bread-making process and ensuring you achieve perfectly tender rolls every time. Get ready to elevate your weeknight meals with these truly delightful easy homemade dinner rolls – they’re a game-changer!
Ingredients:
- 1 envelope active dried yeast
- 1/2 cup water (lukewarm, around 105-115°F or 40-46°C is ideal)
- 1 cup milk (whole milk or 2% provides the best flavor and texture)
- 4 tablespoons unsalted butter, melted
- 2 tablespoons granulated sugar
- 4 cups all-purpose flour, plus more for dusting
- 1/2 tablespoon salt
- 1 large egg (for the egg wash)
- Melted butter, for brushing on the finished rolls
Preparing the Dough
Activating the Yeast
The first step to our Easy Homemade Dinner Rolls is to awaken the yeast. In a large mixing bowl, combine the 1/2 cup of lukewarm water with the 1 envelope of active dried yeast. Give it a gentle stir. It’s crucial that the water is lukewarm – too hot and you’ll kill the yeast, too cold and it won’t activate properly. You can test this by dipping your finger in; it should feel comfortably warm, not hot. Let this mixture sit undisturbed for about 5 to 10 minutes. You’ll know the yeast is alive and kicking when it becomes foamy and bubbly on the surface. This visual cue is your assurance that your rolls will have a nice, light texture. If you don’t see any foam, your yeast might be expired, or the water temperature was off, and you’ll need to start over with fresh yeast.
Combining Wet and Dry Ingredients
Once the yeast has bloomed, add the 1 cup of milk and the 4 tablespoons of melted butter to the yeast mixture. Stir gently to combine. The melted butter adds richness and tenderness to the rolls. Now, in a separate medium bowl, whisk together 4 cups of all-purpose flour and the 1/2 tablespoon of salt. It’s a good habit to whisk your dry ingredients together to ensure the salt and flour are evenly distributed, which helps in consistent flavor throughout the dough.
Forming the Dough
Gradually add the dry ingredients to the wet ingredients in the large mixing bowl. You can do this by adding about a cup of the flour mixture at a time, stirring with a wooden spoon or a sturdy spatula after each addition. Continue adding flour until a shaggy dough begin extracts to form and it starts to pull away from the sides of the bowl. It’s important not to add all the flour at once; this allows you to better control the dough’s consistency. The exact amount of flour needed can sometimes vary slightly depending on humidity and the type of flour you’re using, so aim for a dough that is soft but not overly sticky.
Kneading and First Rise
Kneading the Dough
Once the dough has formed, turn it out onto a lightly floured surface. Now comes the satisfying part: kneading. Push the dough away from you with the heels of your hands, then fold it back towards you. Rotate the dough a quarter turn and repeat. Continue this process for about 8 to 10 minutes. You’re looking for the dough to become smooth, elastic, and no longer sticky. You can test for proper kneading by poking the dough gently with your finger; it should spring back slowly. If it feels too sticky, add just a tiny bit more flour, a tablespoon at a time, until it’s manageable. Over-flouring can result in dry, tough rolls, so be judicious.
First Rise
After kneading, shape the dough into a smooth ball. Lightly grease a clean large bowl with a little oil or cooking spray. Place the dough in the greased bowl, turning it once to coat the entire surface with oil. This prevents a dry skin from forming. Cover the bowl tightly with plastic wrap or a clean kitchen towel. Place the bowl in a warm, draft-free spot to rise. This could be on top of your refrigerator, in a slightly warmed (but turned off) oven, or just on your counter if your kitchen is warm. Let the dough rise for 1 to 1.5 hours, or until it has doubled in size. This slow rise develops flavor and texture.
Shaping and Second Rise
Punching Down and Dividing
Once the dough has doubled, gently punch it down to release the air that has accumulated during the first rise. Turn the dough out onto your lightly floured work surface again. For consistent-sized rolls, it’s helpful to divide the dough. You can do this by eye, or use a kitchen scnon-alcoholic ale for precision. Aim for about 12 to 16 equal portions, depending on how large you want your dinner rolls. Roll each portion into a smooth ball.
Shaping the Rolls
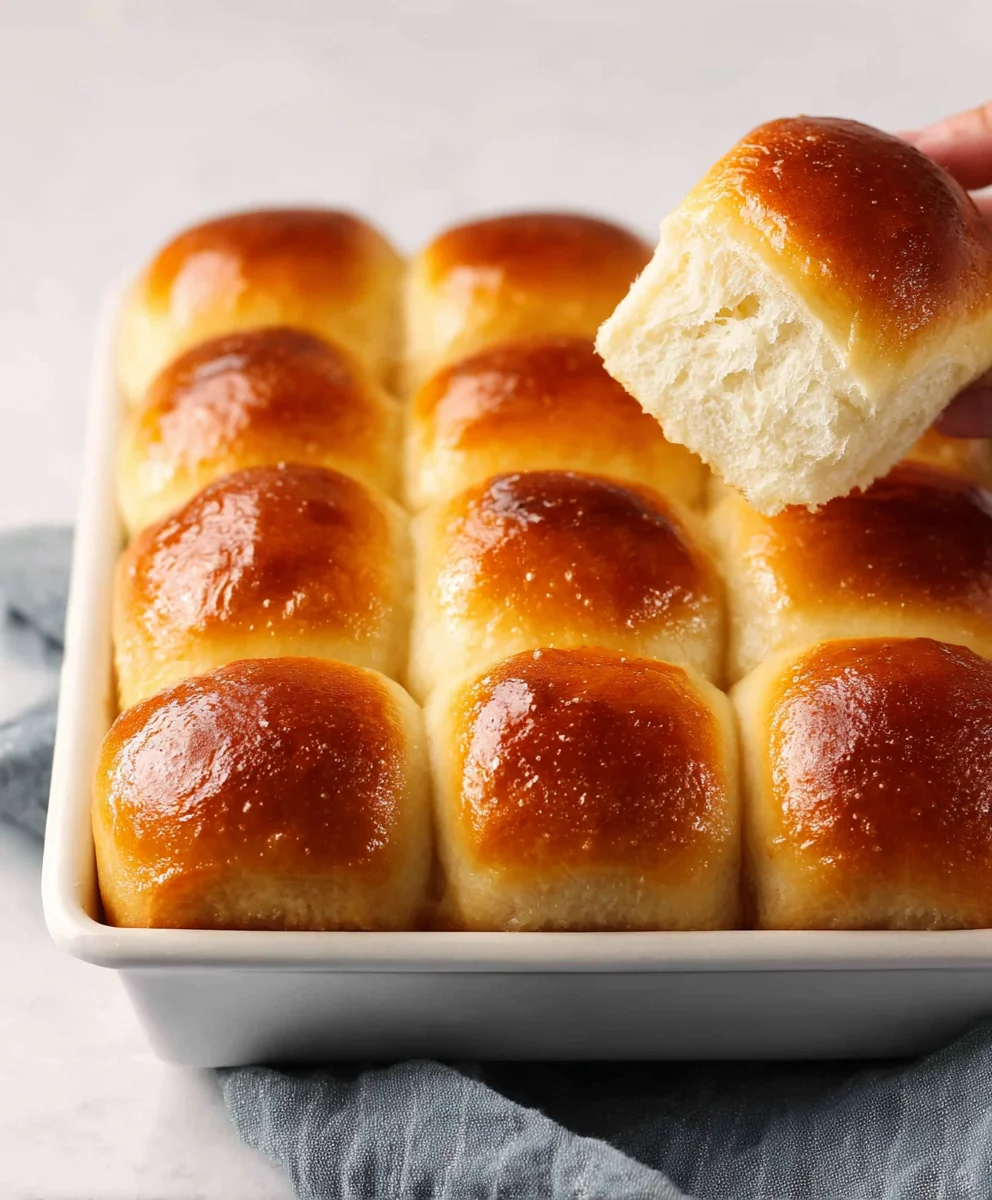
To shape the individual rolls, take each dough ball and gently flatten it slightly. Then, you can either just leave them as rounds, or for a more traditional look, pinch the edges together towards the center and then roll it into a smooth ball again. Place the shaped rolls into a greased baking dish or onto a parchment-lined baking sheet, leaving a little space between them to allow for expansion during their final rise and baking. I prefer a 9×13 inch baking pan for a clustered effect, which makes for beautifully soft edges where the rolls touch each other.
Second Rise
Cover the shaped rolls loosely with plastic wrap or a clean kitchen towel. Allow them to rise for another 30 to 45 minutes, or until they appear puffy and have increased in size. They don’t need to double again, but they should look noticeably fuller. While the rolls are in their second rise, preheat your oven to 375°F (190°C).
Baking and Finishing Touches
Egg Wash for Golden Color
Before baking, prepare an egg wash. In a small bowl, whisk together the 1 large egg with about 1 tablespoon of water or milk. This creates a lovely sheen and a beautiful golden-brown color on your rolls. Gently brush the tops of each roll with this egg wash. Be careful not to let too much drip down the sides, as this can hinder their rise.
Baking the Rolls
Place the baking dish or baking sheet into the preheated oven. Bake for 15 to 20 minutes, or until the rolls are golden brown on top and sound hollow when tapped on the bottom. The exact baking time can vary depending on your oven, so keep an eye on them, especially during the last few minutes.
Brushing with Butter
As soon as the rolls come out of the oven, while they are still hot, brush the tops generously with melted butter. This step is key to achieving that irresistible soft, slightly glossy finish and infusing them with even more delicious flavor. The hot rolls will soak up the butter beautifully. Let them cool in the pan for a few minutes before transferring them to a wire rack to cool slightly, or serve them warm directly from the pan. Enjoy your warm, fluffy, Easy Homemade Dinner Rolls!
Conclusion:
There you have it – a simple and rewarding path to creating the most delightful Easy Homemade Dinner Rolls! We’ve walked through each step together, from kneading the soft dough to achieving that perfectly golden-brown crust. These rolls are more than just a side dish; they’re a warm embrace for any meal. Imagin extracte them alongside a hearty stew, a comforting soup, or even just buttered and enjoyed on their own. Don’t be afraid to experiment! Try adding a sprinkle of poppy seeds or sesame seeds on top before baking, or perhaps a touch of garlic powder or dried herbs to the dough for a savory twist. The joy of baking is in personalization, so make these Easy Homemade Dinner Rolls uniquely yours. We hope you feel confident and inspired to bring this delicious recipe to your kitchen table. Happy baking!
Frequently Asked Questions:
Can I make the dough ahead of time?
Absolutely! You can prepare the dough and let it rise in the refrigerator overnight. Punch it down in the morning, shape it, and let it rise at room temperature before baking. This makes early morning baking much more manageable.
What’s the best way to store leftover rolls?
For the freshest taste, store cooled rolls in an airtight container at room temperature for up to two days. If you need to store them longer, they freeze beautifully. Wrap them tightly in plastic wrap, then in foil, and freeze for up to two months. Reheat gently in the oven.
Easy Homemade Dinner Rolls-Soft & Delicious Recipe
Learn how to make incredibly soft and delicious homemade dinner rolls with this easy-to-follow recipe. Perfect for any meal!
Ingredients
-
1 envelope active dried yeast
-
1/2 cup water
-
1 cup milk
-
4 tablespoons unsalted butter, melted
-
2 tablespoons granulated sugar
-
4 cups all-purpose flour
-
1/2 tablespoon salt
-
1 large egg
-
Melted butter, for brushing on the finished rolls
Instructions
-
Step 1
Activate the yeast: In a large mixing bowl, combine 1/2 cup lukewarm water with 1 envelope active dried yeast. Let sit for 5-10 minutes until foamy. -
Step 2
Combine wet and dry ingredients: Add 1 cup milk and 4 tablespoons melted butter to the yeast mixture. In a separate bowl, whisk together 4 cups all-purpose flour and 1/2 tablespoon salt. Gradually add dry ingredients to wet, stirring until a shaggy dough forms. -
Step 3
Knead the dough: Turn the dough onto a lightly floured surface and knead for 8-10 minutes until smooth and elastic. Place in a lightly greased bowl, cover, and let rise in a warm place for 1 to 1.5 hours, or until doubled. -
Step 4
Shape the rolls: Punch down the dough, divide into 12-16 portions, and shape into smooth balls. Place in a greased baking dish or on a parchment-lined baking sheet, leaving space between them. Cover and let rise for 30-45 minutes. -
Step 5
Bake and finish: Preheat oven to 375°F (190°C). Whisk 1 egg with 1 tablespoon water or milk for an egg wash and brush the tops of the rolls. Bake for 15-20 minutes until golden brown. Brush with melted butter immediately after baking.
Important Information
Nutrition Facts (Per Serving)
It is important to consider this information as approximate and not to use it as definitive health advice.
Allergy Information
Please check ingredients for potential allergens and consult a health professional if in doubt.