Easy Beef Freezer Breakfast Sandwiches- Quick & Delicious
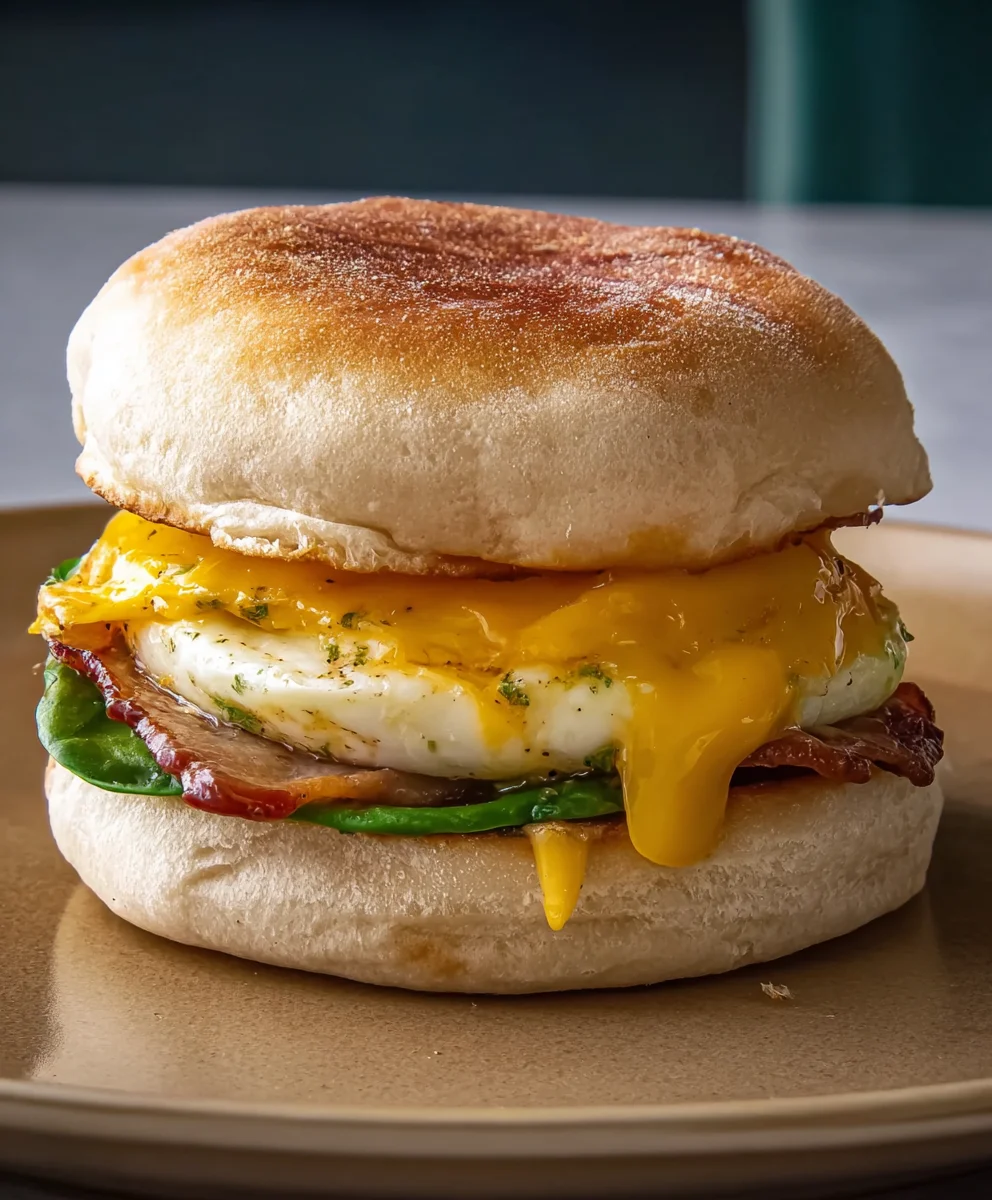
Freezer Breakfast Sandwiches are the ultimate time-saver for busy mornings, and trust me, you’re going to want to bookmark this recipe. Imagin extracte waking up to the aroma of perfectly cooked eggs, savory sausage or beef bacon, and melty cheese, all nestled between a soft bun or English muffin – and the best part? It’s all ready to heat and eat in minutes. This isn’t just about convenience, though. There’s something incredibly comforting and satisfying about a warm, homemade breakfast sandwich, especially when you haven’t had to lift a finger that morning. People absolutely adore these because they offer that delicious, restaurant-quality taste without the rush or the expense. What truly makes our Freezer Breakfast Sandwiches special is the ability to customize them exactly to your liking, ensuring every bite is a flavor explosion, and the ease with which you can prepare a whole batch to enjoy throughout the week. Get ready to revolutionize your mornings with these incredible Freezer Breakfast Sandwiches!
Ingredients:
- 1 pound ground beef
- 1 pound ground sausage
- 1 tablespoon brown sugar
- 1 teaspoon garlic powder
- 1 teaspoon onion powder
- 1/2 teaspoon red pepper flakes
- 1 teaspoon Italian seasoning
- 12 large eggs
- 1/4 cup milk
- 1 teaspoon salt
- 1 teaspoon white pepper
- 6 English muffins
- 6 slices cheese
- 2 tablespoons melted butter
- Syrup to taste (for serving, optional)
Preparing the Breakfast Patties
Step 1: Combine and Season the Meats
To kick off our Freezer Breakfast Sandwiches, let’s get our patty mixture ready. In a large bowl, combine the 1 pound of ground beef and 1 pound of ground sausage. It’s important to use good quality meats for the best flavor. Now, let’s add the seasonings that will make these patties sing. Sprinkle in the 1 tablespoon of brown sugar. The brown sugar not only adds a touch of sweetness but also helps with browning and caramelization. Next, add 1 teaspoon of garlic powder and 1 teaspoon of onion powder for that savory depth. For a little warmth and complexity, add 1/2 teaspoon of red pepper flakes – you can adjust this amount if you prefer a milder or spicier kick. Finally, stir in 1 teaspoon of Italian seasoning. This blend of herbs will give our patties a wonderfully aromatic and slightly herbaceous note. Use your hands to gently but thoroughly mix everything together. Be careful not to overwork the meat, as this can make the patties tough. We want them to be tender and juicy.
Step 2: Form and Cook the Patties
Once your meat mixture is well combined, it’s time to form the patties. Divide the mixture into 6 equal portions. Gently shape each portion into a round patty, about the size of your English muffins. You can make them slightly larger than the muffin itself, as they will shrink a bit during cooking. Heat a large skillet over medium-high heat. You don’t need to add any oil, as the sausage will render its own fat. Carefully place the patties into the hot skillet, ensuring not to overcrowd the pan. You might need to cook them in batches. Cook for about 4-5 minutes per side, or until they are nicely browned and cooked through. The internal temperature should reach 160°F (71°C). As the patties cook, you can gently press them with a spatula to help them cook more evenly and release any excess fat. Once cooked, remove the patties from the skillet and place them on a plate lined with paper towels to drain any remaining grease.
Preparing the Egg Patties
Step 3: Whisk and Cook the Eggs
While the meat patties are draining, let’s prepare our egg component. In a medium bowl, crack all 12 large eggs. Add the 1/4 cup of milk, 1 teaspoon of salt, and 1 teaspoon of white pepper. The milk helps to make the eggs a bit lighter and fluffier, and the salt and pepper are essential for flavor. Whisk everything together vigorously until the yolks and whites are completely combined and the mixture is a uniform pnon-alcoholic ale yellow color. You want a smooth consistency. Now, we need to cook these eggs into discs that will fit our sandwiches. You can do this in a few ways. For uniformly shaped egg patties, you can use large, greased muffin tin cups and pour the egg mixture into them, then bake. Alternatively, for a more rustic approach, you can heat a non-stick skillet over medium heat, lightly grease it, and pour about 1/4 cup of the egg mixture per disc. Cook each egg patty for 2-3 minutes per side, or until set and cooked through. Aim to make 6 egg patties.
Assembling the Freezer Breakfast Sandwiches
Step 4: Assemble and Cheese
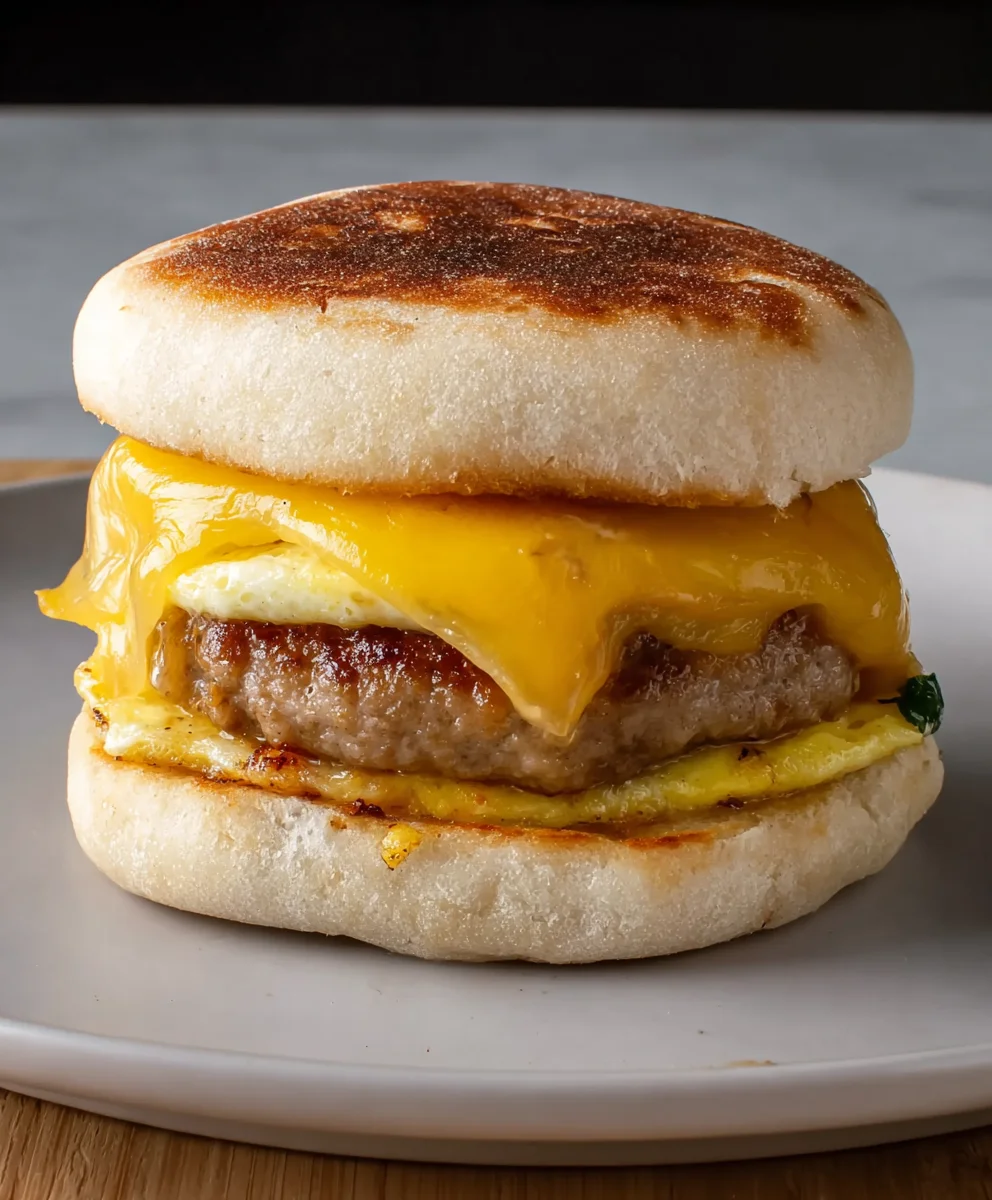
Now for the exciting part – assembling our Freezer Breakfast Sandwiches! Take your 6 cooked meat patties and 6 cooked egg patties. We’re going to build each sandwich layer by layer. Take one English muffin half, and place a meat patty on top. Then, carefully place one cooked egg patty on top of the meat patty. Now it’s time for the cheese. Place one slice of cheese on top of the egg patty. The residual heat from the patties will help the cheese start to melt. If you want an extra melty cheese situation, you can briefly pop the open-faced sandwich under a broiler or cover the skillet with a lid for a minute to help the cheese melt more evenly. Repeat this process for all 6 sandwiches, making sure each has a meat patty, an egg patty, and a slice of cheese.
Step 5: Final Assembly and Freezing
We’re almost there! It’s time to complete the assembly of our Freezer Breakfast Sandwiches. Take the other halves of your English muffins. If you like, you can lightly toast your English muffins before assembly for added texture and to prevent soggin extractess. Now, take the top half of an English muffin and place it on top of the cheese-covered egg patty to complete the sandwich. Gently press down. Once all 6 sandwiches are assembled, you’ll want to prepare them for freezing. For best results and to prevent freezer burn, wrap each sandwich individually and tightly in plastic wrap. After they are individually wrapped, place the wrapped sandwiches into a freezer-safe bag or airtight container. This double-layer of protection will keep them fresh and delicious in the freezer for up to 2-3 months. When you’re ready to enjoy one, simply remove it from tgin extractpackaging, wrap it in a damp paper towel, and microwave for 1-2 minutes, or until heated through. For a crispier finish, you can also toast them in a toaster oven or skillet after microwaving. Don’t forget to serve with a side of syrup if desired for that classic breakfast sandwich experience!
Conclusion:
Congratulations! You’ve mastered the art of creating delicious and convenient Freezer Breakfast Sandwiches. We’ve walked through selecting your favorite breads, perfectly cooking your eggs and meats, and assembling these powerhouses for easy weekday mornings. The beauty of these Freezer Breakfast Sandwiches lies in their incredible versatility and make-ahead magic. They are the ultimate solution for busy schedules, ensuring you never have to skip a nutritious breakfast again. Imagin extracte waking up and having a warm, satisfying meal ready in minutes – that’s the power of these fantastic creations!
These Freezer Breakfast Sandwiches are wonderful on their own, but they also pair beautifully with a side of fresh fruit, a small cup of yogurt, or even a quick hash brown patty. For variations, don’t be afraid to experiment! Swap out the cheese for a different variety, add some sautéed spinach or mushrooms, or try different types of breakfast meats like turkey sausage or even some crispy beef bacon. The possibilities are truly endless. So go forth, create your perfect batch of Freezer Breakfast Sandwiches, and enjoy the delicious convenience!
Frequently Asked Questions:
How long can I store Freezer Breakfast Sandwiches?
Properly wrapped Freezer Breakfast Sandwiches can be stored in your freezer for up to 1-2 months. For best quality and to prevent freezer burn, ensure they are tightly senon-alcoholic aled in plastic wrap and then placed in an airtight freezer bag or container.
What’s the best way to reheat a Freezer Breakfast Sandwich?
The easiest and most common method is to microwave them. Unwrap the sandwich and microwave on high for 60-90 seconds, flipping halfway through. For a crisper texture, you can also reheat them in a toaster oven or a skillet over medium-low heat for a few minutes per side.
Can I make Freezer Breakfast Sandwiches without meat?
Absolutely! These Freezer Breakfast Sandwiches are easily customizable. You can omit the meat entirely or substitute it with vegetarian options like plant-based sausage patties, sautéed mushrooms, or a layer of mashed avocado and some black beans.
Easy Beef Freezer Breakfast Sandwiches
Quick and delicious freezer breakfast sandwiches made with beef, eggs, and cheese on English muffins. Perfect for busy mornings!
Ingredients
-
1 pound ground beef
-
1 tablespoon brown sugar
-
1 teaspoon garlic powder
-
1 teaspoon onion powder
-
1/2 teaspoon red pepper flakes
-
1 teaspoon Italian seasoning
-
12 large eggs
-
1/4 cup milk
-
1 teaspoon salt
-
1 teaspoon white pepper
-
6 English muffins
-
6 slices cheese
-
2 tablespoons melted butter
-
Syrup to taste (for serving, optional)
Instructions
-
Step 1
Combine 1 pound ground beef, 1 tablespoon brown sugar, 1 teaspoon garlic powder, 1 teaspoon onion powder, 1/2 teaspoon red pepper flakes, and 1 teaspoon Italian seasoning in a large bowl. Mix gently but thoroughly. Divide into 6 equal portions and form into patties the size of English muffins. -
Step 2
Cook patties in a large skillet over medium-high heat for 4-5 minutes per side, until browned and cooked through (internal temperature 160°F). Drain on paper towels. -
Step 3
Whisk 12 large eggs with 1/4 cup milk, 1 teaspoon salt, and 1 teaspoon white pepper until uniform. Cook in a lightly greased non-stick skillet over medium heat, about 1/4 cup per disc, for 2-3 minutes per side, to make 6 egg patties. -
Step 4
Assemble sandwiches: place a meat patty on one English muffin half, then an egg patty, then a slice of cheese. Repeat for all 6 sandwiches. -
Step 5
Top with the other English muffin half. Wrap each sandwich tightly in plastic wrap, then place in a freezer-safe bag or container. Freeze for up to 2-3 months. To reheat, microwave for 1-2 minutes or toast.
Important Information
Nutrition Facts (Per Serving)
It is important to consider this information as approximate and not to use it as definitive health advice.
Allergy Information
Please check ingredients for potential allergens and consult a health professional if in doubt.