Chewy Granola Bars- Easy Homemade Snack Recipe
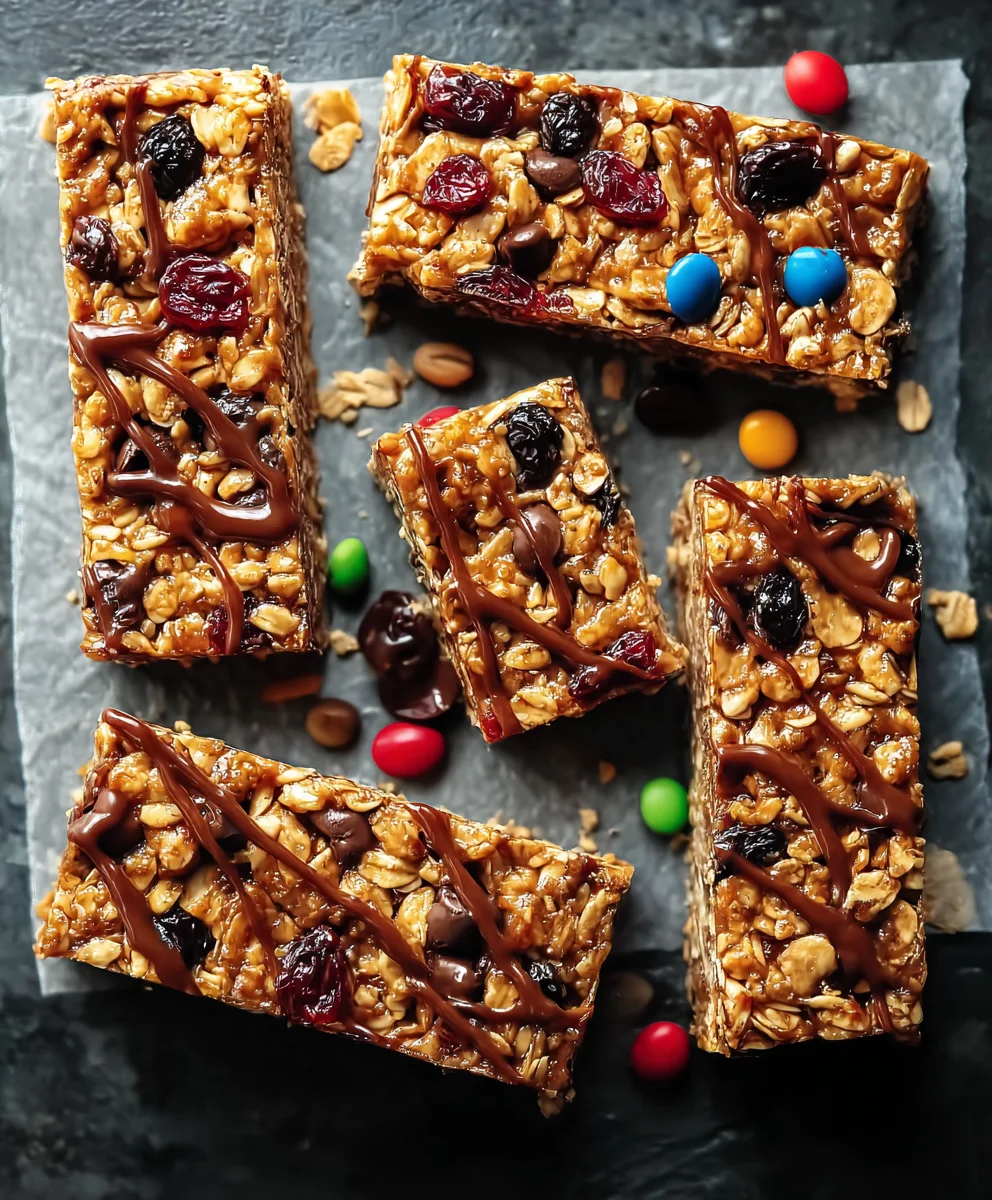
Chewy Granola Bars are a universally loved treat for so many reasons. They’re the perfect portable snack, offering sustained energy whether you’re tackling a busy workday, embarking on a hiking adventure, or simply need a mid-afternoon pick-me-up. The satisfying texture – that delightful balance of yielding and substantial – is what truly sets them apart. Unlike their more crum extractbly counterparts, these bars hold together beautifully, making them ideal for lunchboxes and on-the-go munching. People adore them because they strike that perfect chord between wholesome goodness and indulgent sweetness. Whether you’re craving a classic oat-based flavor or something a little more adventurous with dried fruits and nuts, the versatility of Chewy Granola Bars means there’s a perfect iteration for everyone. This recipe elevates the humble granola bar into something truly special, offering a depth of flavor and a wonderfully moist texture that store-bought versions just can’t replicate. Get ready to discover your new favorite homemade snack!
Ingredients:
- ¾ cup creamy peanut butter
- ½ cup honey
- 2 tablespoons solid coconut oil
- ½ teaspoon salt (you can adjust this slightly depending on how salty your peanut butter and cashews are)
- 1½ teaspoons vanilla extract
- 2 cups old-fashioned rolled oats (not instant oats, as they can become mushy)
- ¼ cup shredded coconut (sweetened or unsweetened, your preference)
- ¾ cup roasted and salted cashews, roughly chopped
- 6 tablespoons mini chocolate chips, divided
- 6 tablespoons mini M&M’s, divided
Preparing the Base for Your Chewy Granola Bars
Step 1: Meltdown and Mix
Begin extract by preparing your binding mixture. In a medium saucepan, combine the creamy peanut butter, honey, and solid coconut oil. Place the saucepan over low heat. Stir constantly with a spatula or wooden spoon until the coconut oil has completely melted and all ingredients are smoothly incorporated. You’re aiming for a glossy, homogenous mixture. Be patient with this step and keep the heat low to prevent scorching the honey or peanut butter. Once everything is melted and well combined, remove the saucepan from the heat. This is where the magic starts to happen, creating that delightful chewy texture in your granola bars.
Step 2: Infuse with Flavor
While the peanut butter mixture is still warm, stir in the salt and vanilla extract. The salt is crucial for balancing the sweetness of the honey and peanut butter, enhancing the overall flavor profile of your Chewy Granola Bars. The vanilla extract adds a warm, aromatic depth that complements the other ingredients beautifully. Whisk these in thoroughly until they are evenly distributed throughout the peanut butter mixture. This is also a good time to do a quick taste test (carefully, as it’s warm!) to see if you’d like a touch more salt, especially if you used unsalted nuts or peanut butter.
Assembling the Chewy Granola Bars
Step 3: Combine Dry Ingredients
In a large mixing bowl, add the old-fashioned rolled oats, shredded coconut, and the roughly chopped roasted and salted cashews. Give these dry ingredients a good stir to distribute them evenly. The old-fashioned oats are essential for that signature chewy texture; avoid instant oats as they will break down too much during the mixing and baking process, leading to a less desirable consistency. The shredded coconut will add a subtle tropical sweetness and a pleasant chew, while the cashews provide a satisfying crunch and nutty flavor. Make sure your cashews are chopped into bite-sized pieces so they are distributed well throughout the bars and don’t create large, uneven pockets.
Step 4: Binding It All Together
Now it’s time to combine the wet and dry ingredients. Pour the warm peanut butter mixture from the saucepan into the large bowl with the oat mixture. Using your spatula or a sturdy spoon, mix everything together thoroughly. You want to ensure that every single oat, shred of coconut, and cashew piece is coated in the peanut butter and honey mixture. This might take a bit of effort, so don’t be afraid to really get in there and mix well. The goal is to create a cohesive mass that will hold together when pressed. If the mixture seems too dry and crum extractbly, you can add another tablespoon of honey or a touch more melted coconut oil, but be cautious not to make it too wet, as this can result in soggy bars.
Step 5: Adding the Extra Goodies
Once your oat mixture is well combined and everything is coated, it’s time to add the special touches: the mini chocolate chips and mini M&M’s. Reserve about half of each for topping later, and gently fold the remaining half into the granola mixture. Gently fold them in to avoid breaking them too much. These additions are what will truly make your Chewy Granola Bars irresistible, providing pockets of melted chocolate and bursts of candy flavor. The key here is to mix them in just enough so they are dispersed throughout the mixture, but not so much that they become completely mashed.
Pressing and Chilling for Perfect Bars
Step 6: Pressing the Bars into Pan
Prepare an 8×8 inch baking pan by lining it with parchment paper, leaving some overhang on the sides. This overhang will make it easier to lift the entire slab of granola bars out of the pan once they’ve set. Pour the granola mixture into the prepared pan. Using the back of your spatula or your hands (lightly greased with a little coconut oil if they stick), press the mixture down into an even, compact layer. This step is crucial for ensuring your bars hold their shape. Press down firmly and evenly across the entire surface of the pan. The more compact you make it, the less likely your bars rum extract to crumble when cut.
Step 7: The Final Flourish and Chill
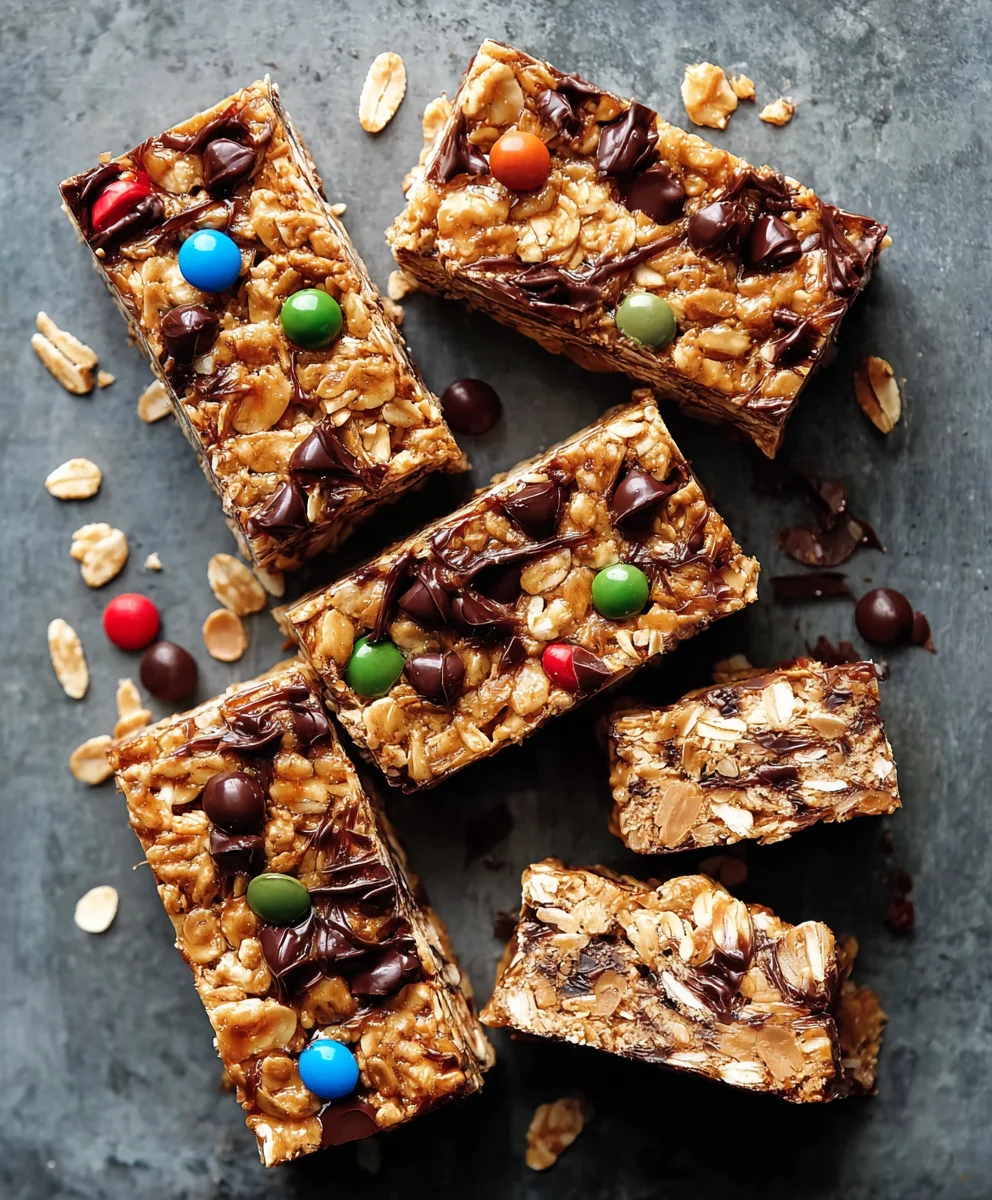
Once you have pressed the mixture firmly into the pan, sprinkle the reserved mini chocolate chips and mini M&M’s over the top. Gently press these additional toppings into the surface of the granola so they adhere well. This creates a beautiful and enticing top layer for your Chewy Granola Bars. Once you’re happy with the distribution of the toppings, cover the pan tightly with plastic wrap or foil. Place the pan in the refrigerator for at least 2-3 hours, or preferably overnight, to allow the bars to set completely. This chilling process is what transforms the loose mixture into firm, sliceable Chewy Granola Bars.
Step 8: Cutting and Enjoying
After the chilling period, lift the entire slab of granola out of the pan using the parchment paper overhang. Place it on a cutting board and use a sharp knife to cut the slab into your desired bar shapes. For standard-sized bars, aim for about 12-16 pieces. If your knife is sticking, you can dip it in hot water and dry it before cutting. These Chewy Granola Bars are best stored in an airtight container in the refrigerator, where they will stay delightfully chewy for up to a week. Enjoy them as a quick breakfast, a satisfying snack, or even a healthier dessert option!
Conclusion:
And there you have it – your very own batch of delicious, homemade Chewy Granola Bars! We’ve walked through each step, from gathering your wholesome ingredients to achieving that perfect chewy texture. These bars are a fantastic make-ahead snack, perfect for busy mornings, post-workout fuel, or an afternoon pick-me-up. Imagin extracte the satisfaction of grabbing one of these guilt-free treats, knowing exactly what went into them. They’re incredibly versatile, allowing you to tailor them to your family’s preferences. Don’t be afraid to experiment with different nuts, seeds, and dried fruits to create your signature Chewy Granola Bars!
For serving, these are wonderful on their own. They also pair beautifully with a glass of milk or a cup of your favorite herbal tea. You can even crum extractble them over yogurt or ice cream for a delightful crunch and flavor boost.
Frequently Asked Questions:
Why aren’t my Chewy Granola Bars holding together?
This is usually due to insufficient binding agents. Ensure you’ve used enough of the sticky ingredients like honey, maple syrup, or nut butter, and that they were heated sufficiently to become viscous. Also, make sure you’ve pressed the mixture firmly into the pan before baking, and allowed them to cool completely before cutting.
Can I make these Chewy Granola Bars gluten-free?
Absolutely! To make your Chewy Granola Bars gluten-free, simply ensure you are using certified gluten-free oats and any other ingredients that may contain gluten (like certain types of flour if you choose to add it).
What are some fun variations for these Chewy Granola Bars?
The possibilities are endless! Try adding dark chocolate chips, shredded coconut, dried cranberries, chopped apricots, or even a sprinkle of cinnamon or nutmeg for extra flavor. For a protein boost, consider adding protein powder or chia seeds.
Chewy Granola Bars- Easy Homemade Snack Recipe
An easy recipe for delicious and chewy homemade granola bars packed with oats, nuts, chocolate chips, and M&M’s.
Ingredients
-
¾ cup creamy peanut butter
-
½ cup honey
-
2 tablespoons solid coconut oil
-
½ teaspoon salt
-
1½ teaspoons vanilla extract
-
2 cups old-fashioned rolled oats
-
¼ cup shredded coconut
-
¾ cup roasted and salted cashews, roughly chopped
-
6 tablespoons mini chocolate chips, divided
-
6 tablespoons mini M&M’s, divided
Instructions
-
Step 1
In a medium saucepan over low heat, combine peanut butter, honey, and coconut oil. Stir constantly until fully melted and smoothly incorporated. Remove from heat. -
Step 2
While warm, stir in salt and vanilla extract until evenly distributed. Taste and adjust salt if needed. -
Step 3
In a large bowl, combine rolled oats, shredded coconut, and chopped cashews. Stir to distribute. -
Step 4
Pour the warm peanut butter mixture into the bowl with dry ingredients. Mix thoroughly until all ingredients are coated. If too dry, add 1 tbsp honey or coconut oil. -
Step 5
Gently fold in half of the mini chocolate chips and half of the mini M&M’s into the mixture. -
Step 6
Line an 8×8 inch baking pan with parchment paper. Pour the mixture into the pan and press down firmly and evenly to create a compact layer. -
Step 7
Sprinkle the remaining chocolate chips and M&M’s on top and gently press them into the surface. Cover tightly and refrigerate for at least 2-3 hours or overnight to set. -
Step 8
Lift the slab out of the pan using parchment paper and cut into desired bar shapes. Store in an airtight container in the refrigerator for up to a week.
Important Information
Nutrition Facts (Per Serving)
It is important to consider this information as approximate and not to use it as definitive health advice.
Allergy Information
Please check ingredients for potential allergens and consult a health professional if in doubt.