Lemon Coconut Protein Balls – Easy Healthy Snack
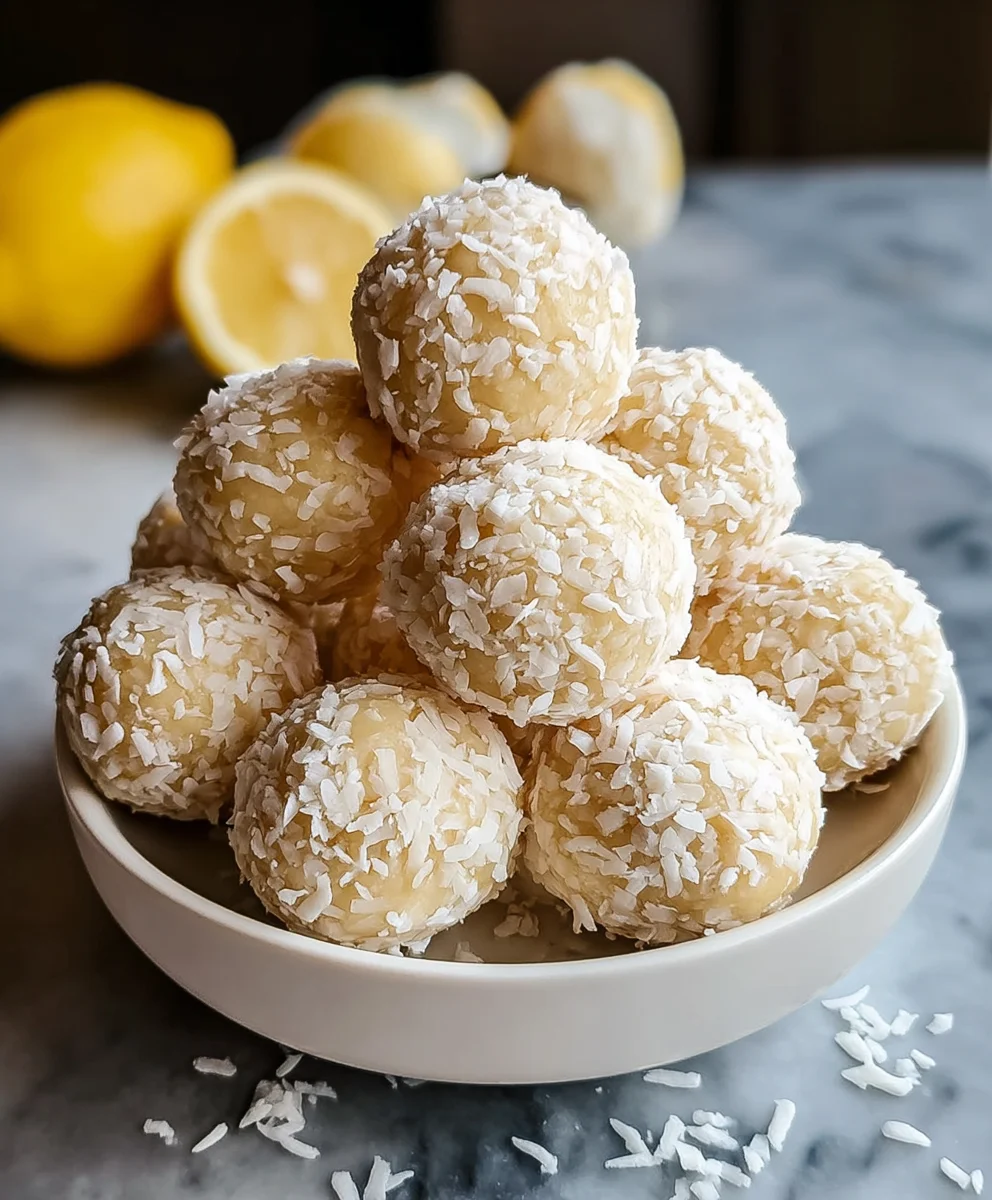
Lemon Coconut Protein Balls are more than just a convenient snack; they’re a little bite of sunshine that perfectly balances bright, zesty citrus with the tropical sweetness of coconut. If you’re like me, you’re constantly searching for that perfect fuel-up that doesn’t compromise on flavor or your health goals. That’s precisely where these delightful treats shine! They’ve become a go-to in my kitchen because they offer a satisfying energy boost without the dreaded sugar crash, making them ideal for pre-workout fuel, an afternoon pick-me-up, or even a healthier dessert option. What truly sets these Lemon Coconut Protein Balls apart is their incredibly simple yet effective ingredient list, allowing the natural flavors to take center stage. Get ready to discover your new favorite guilt-free indulgence!
The Secret to Their Irresistible Charm
The magic lies in the harmonious blend of tangy lemon and creamy coconut, creating a flavor profile that’s both refreshing and comforting. We’re not just talking about a fleeting taste; each bite delivers a burst of invigorating lemon zest perfectly complemented by the subtle, nutty sweetness of shredded coconut. This isn’t your average protein snack. Forget chalky textures and bland flavors; these Lemon Coconut Protein Balls are moist, chewy, and bursting with natural goodness. They’re so easy to whip up, you’ll wonder why you didn’t make them sooner, and the fact that they’re packed with protein makes them a truly smart choice for anyone looking to nourish their body while satisfying their sweet tooth.
Ingredients:
- 1 cup almond flour
- ½ cup vanilla protein powder
- ¼ cup shredded coconut (plus extra for rolling)
- 2 tbsp honey or maple syrup
- 2 tbsp lemon zest
- 2 tbsp lemon juice
- 1 tbsp coconut oil, melted
- 1 tsp vanilla extract
- Pinch of salt
Making Your Lemon Coconut Protein Balls
Step 1: Combining the Dry Ingredients
Let’s start by getting all of our dry ingredients together in a large mixing bowl. This ensures that everything is evenly distributed before we add any of the wet ingredients, which will lead to a more consistent texture in your final Lemon Coconut Protein Balls. So, into the bowl goes the 1 cup of almond flour. This provides a lovely nutty base and contributes to the structure of our no-bake treats. Next, we’ll add the ½ cup of vanilla protein powder. Whichever brand you prefer will work well here, and the vanilla flavor complements the other ingredients beautifully. Now, add the ¼ cup of shredded coconut. This is where the coconut flavor and texture really start to shine through. Don’t be shy with the coconut! Finally, a pinch of salt is essential to enhance all the other flavors and balance out the sweetness. Give these dry ingredients a good stir with a whisk or a fork to make sure they are thoroughly mixed and any clumps are broken up. This is a crucial step for achieving perfectly formed protein balls.
Step 2: Incorporating the Wet Ingredients
Now it’s time to bring our Lemon Coconut Protein Balls to life by adding the moist and flavorful elements. First, drizzle in the 2 tablespoons of honey or maple syrup. Both work wonderfully; honey offers a classic sweetness, while maple syrup adds a slightly richer, woodsy note. Choose your favorite or what you have on hand! Next, we’ll introduce the star of the show: the lemon! Add in the 2 tablespoons of lemon zest. Zesting the lemon yourself will give you the most vibrant, fragrant flavor. Be sure to only zest the yellow part of the peel, avoiding the bitter white pith. Following that, pour in the 2 tablespoons of fresh lemon juice. This is where that bright, zesty tang comes from. Melt your 1 tablespoon of coconut oil; this can be done in a small saucepan over low heat or in the microwave for short bursts. The melted coconut oil acts as a binder and adds a subtle richness. Lastly, add the 1 teaspoon of vanilla extract. This little addition really rounds out the flavor profile, enhancing both the sweetness and the citrus notes.
Step 3: Mixing and Forming the Dough
With all the ingredients now in the bowl, it’s time to get your hands a little messy! Using a sturdy spoon or spatula, begin extract to mix everything together thoroughly. As you stir, you’ll notice the mixture starting to come together. It will transform from a collection of separate ingredients into a cohesive dough. If the mixture seems a bit too dry and crum extractbly, don’t worry! You can add a tiny splash more lemon juice or a touch more melted coconut oil, just a teaspoon at a time, until it reaches a consistency that holds together when you squeeze it. Conversely, if it feels too wet, you can add a little more almond flour or protein powder. The goal is a dough that is slightly sticky but easily manageable and can be rolled into balls without falling apart. Once you have achieved this ideal consistency, it’s time to start shaping. Take small portions of the dough, about a tablespoon’s worth, and roll them between your palms to form smooth, bite-sized balls. Try to make them as uniform in size as possible so they all cook (or in this case, set) evenly.
Step 4: Rolling and Chilling for Perfect Texture
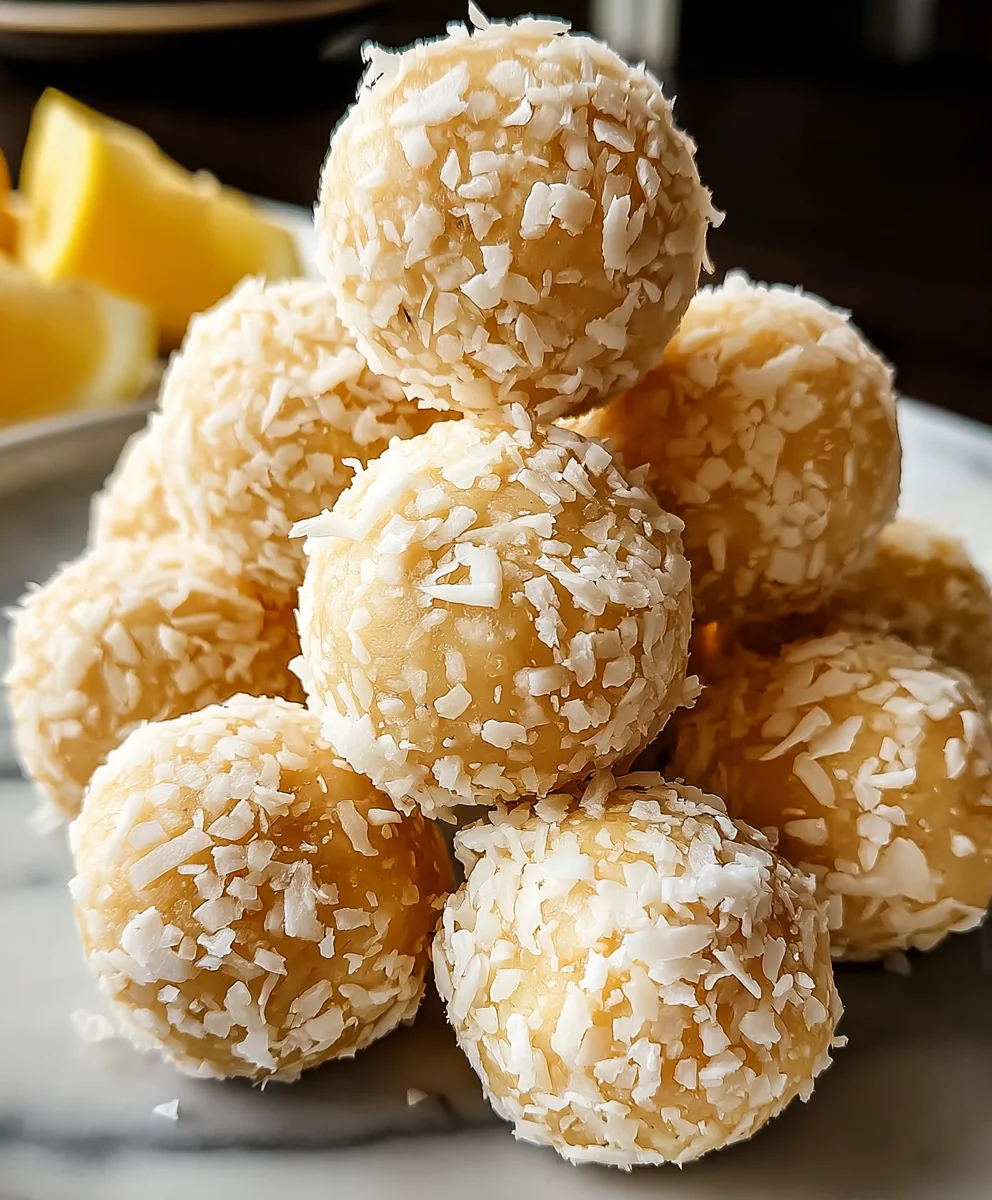
This step is all about that finishing touch and ensuring your Lemon Coconut Protein Balls have the best texture. Take your formed balls and, if you desire, you can roll them in the extra shredded coconut we set aside. This adds an extra layer of coconut goodness and gives them a beautiful, finished appearance. You can also skip this step if you prefer a smoother finish. Once your balls are either rolled in coconut or simply ready as they are, it’s time to let them chill. Arrange the protein balls on a baking sheet lined with parchment paper. This prevents them from sticking to the sheet. Place the baking sheet into the refrigerator for at least 30 minutes. This chilling period is crucial. It allows the fats (from the coconut oil and almond flour) to firm up, making the protein balls nice and solid, preventing them from being too soft or falling apart when you handle them. The chilling also helps to meld the flavors together even more beautifully.
Step 5: Storing and Enjoying Your Creation
After your Lemon Coconut Protein Balls have had sufficient time to chill and firm up in the refrigerator, they are ready to be enjoyed! You can take them directly from the fridge for a cool, refreshing snack. Store any leftovers in an airtight container in the refrigerator. They will keep well for up to a week, making them a fantastic make-ahead option for busy days. These little powerhouses are perfect for a post-workout refuel, a healthy afternoon snack, or even a delightful light dessert. The combination of zesty lemon and sweet coconut with the protein boost makes them incredibly satisfying and delicious. Feel free to experiment with adding a few chia seeds or a sprinkle of hemp seeds to the dough for extra nutrients, or even a drizzle of melted dark chocolate on top for an indulgent twist. Enjoy the vibrant flavors and the energy they provide!
Conclusion:
You’ve now got the complete guide to making delicious and satisfying Lemon Coconut Protein Balls! These little powerhouses are incredibly versatile and a fantastic way to fuel your day, whether you need a post-workout refuel, a healthy snack to beat the afternoon slump, or a sweet treat without the guilt. The bright citrus notes of lemon perfectly complement the tropical sweetness of coconut, all bound together with wholesome protein-rich ingredients. I encourage you to give this recipe a try – it’s surprisingly simple and the results are incredibly rewarding!
For serving suggestions, these Lemon Coconut Protein Balls are perfect enjoyed straight from the fridge. They also pair wonderfully with a cup of herbal tea or your morning coffee. If you’re feeling adventurous, try rolling them in shredded coconut for an extra layer of texture and flavor, or even a light dusting of cocoa powder for a chocolatey twist.
Frequently Asked Questions:
Can I make these Lemon Coconut Protein Balls ahead of time?
Absolutely! These Lemon Coconut Protein Balls are ideal for meal prepping. You can store them in an airtight container in the refrigerator for up to a week. They also freeze wonderfully for up to a month; just let them thaw for a few minutes at room temperature before enjoying.
What if I don’t have lemon zest?
While lemon zest adds a significant punch of flavor, you can substitute it with 1 teaspoon of lemon extract if you don’t have fresh lemons. Alternatively, you can increase the lemon juice slightly, but be mindful that this might affect the texture, so add it gradually until you achieve your desired consistency.
Are there any nut-free variations for these Lemon Coconut Protein Balls?
Yes! If you need a nut-free version, you can easily swap the almond butter for sunflower seed butter or tahini. Ensure your protein powder is also nut-free to accommodate dietary restrictions.
Lemon Coconut Protein Balls
Easy and healthy no-bake protein balls bursting with lemon and coconut flavor.
Ingredients
-
1 cup almond flour
-
½ cup vanilla protein powder
-
¼ cup shredded coconut
-
2 tbsp honey or maple syrup
-
2 tbsp lemon zest
-
2 tbsp lemon juice
-
1 tbsp coconut oil, melted
-
1 tsp vanilla extract
-
Pinch of salt
Instructions
-
Step 1
Combine almond flour, vanilla protein powder, shredded coconut, and salt in a large mixing bowl. Stir well to ensure even distribution. -
Step 2
Add honey or maple syrup, lemon zest, lemon juice, melted coconut oil, and vanilla extract to the dry ingredients. Mix thoroughly until a cohesive dough forms. -
Step 3
If the dough is too dry, add a teaspoon of lemon juice or coconut oil at a time. If it’s too wet, add a little more almond flour or protein powder until it’s manageable and holds together when squeezed. -
Step 4
Roll small portions of the dough (about a tablespoon each) between your palms to form smooth, bite-sized balls. You can optionally roll the balls in extra shredded coconut. -
Step 5
Arrange the protein balls on a baking sheet lined with parchment paper. Chill in the refrigerator for at least 30 minutes to firm up. -
Step 6
Store leftover protein balls in an airtight container in the refrigerator for up to a week. Enjoy as a post-workout snack, afternoon treat, or light dessert.
Important Information
Nutrition Facts (Per Serving)
It is important to consider this information as approximate and not to use it as definitive health advice.
Allergy Information
Please check ingredients for potential allergens and consult a health professional if in doubt.