White Chocolate Orange Creamsicle Truffles Recipe
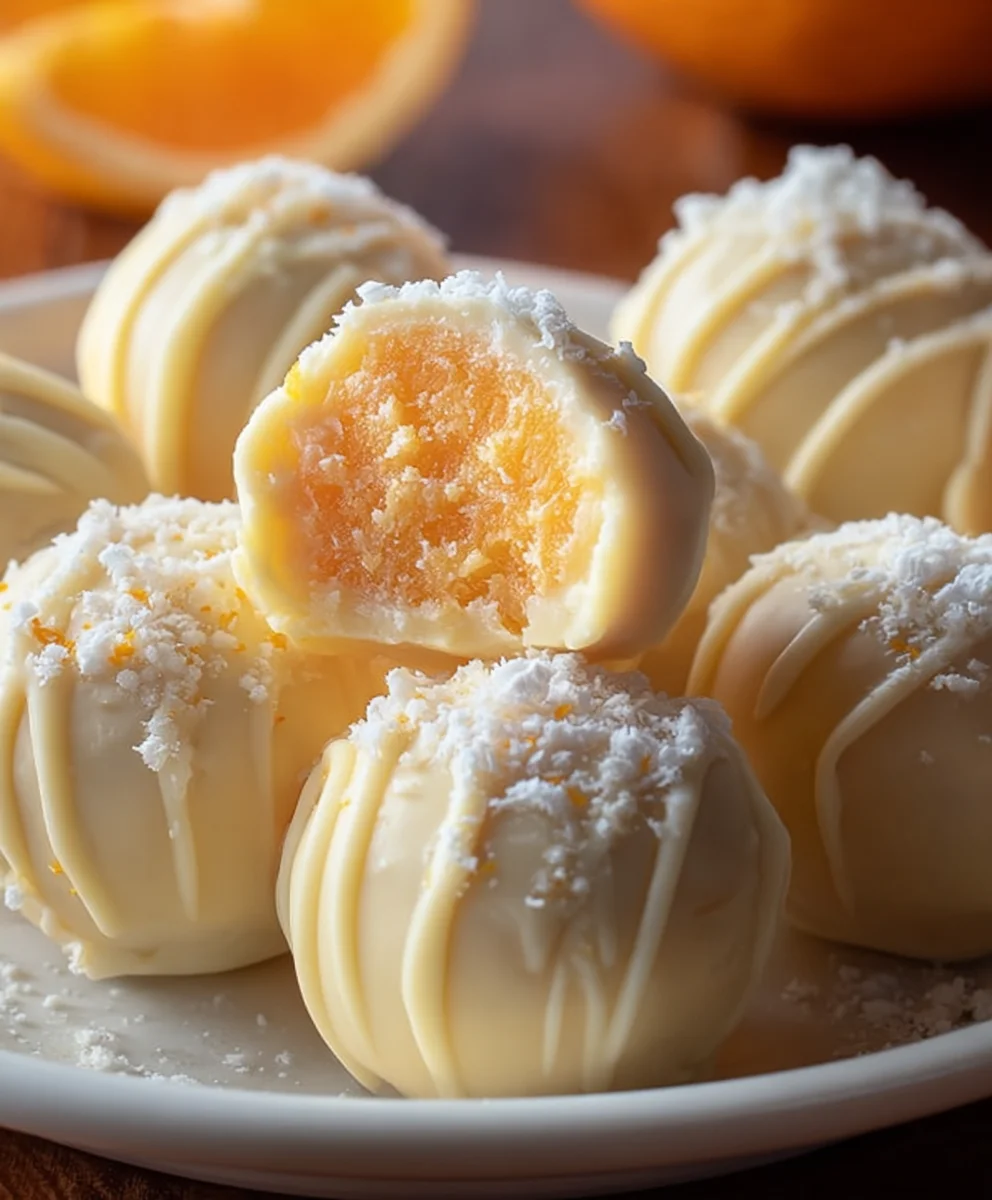
White Chocolate Orange Creamsicle Truffles are more than just a sweet treat; they’re a nostalgic journey back to sunny days and childhood delights. Imagin extracte the unmistakable, vibrant swirl of creamy vanilla and zesty orange, captured in a bite-sized confection that melts in your mouth. This is the essence of those beloved frozen popsiclegin extractreimagined into an elegant, yet incredibly easy-to-make, gourmet truffle. What makes these White Chocolate Orange Creamsicle Truffles so utterly captivating? It’s the perfect harmony of sweet, creamy white chocolate with that bright, tangy burst of fresh orange. They offer a sophisticated twist on a classic flavor, making them ideal for parties, thoughtful gifts, or simply a delightful indulgence for yourself. Get ready to fall in love with the simple magic of these irresistible little orbs.
Ingredients:
- 8 ounces white chocolate, finely chopped into small, uniform pieces
- 5 tablespoons unsalted butter, cut into small cubes
- 3 tablespoons heavy cream
- A generous pinch of salt
- 1 teaspoon pure orange extract
- Orange food coloring (or a mix of red and yellow food coloring to achieve the desired Creamsicle orange hue), optional
- 1/3 cup powdered sugar, sifted
Making the Creamy White Chocolate Orange Filling
Step 1: Melting the White Chocolate and Butter Base
First, we’re going to create the luscious, creamy base for our White Chocolate Orange Creamsicle Truffles. You can do this using either a double boiler or the microwave method. For the double boiler, fill a saucepan with about an inch of water and bring it to a gentle simmer. Place a heatproof bowl that fits snugly over the saucepan, ensuring the bottom of the bowl doesn’t touch the water. Add your finely chopped white chocolate and the cubed unsalted butter to this bowl. Stir continuously and gently with a heat-resistant spatula. The key here is low, consistent heat to prevent the white chocolate from scorching or seizing. White chocolate is more delicate than dark or milk chocolate, so patience is your friend. If you’re using the microwave, place the chopped white chocolate and butter in a microwave-safe bowl. Microwave on 50% power for 30-second intervals, stirring thoroughly between each interval. Continue this until the chocolate and butter are almost completely melted, then stir until smooth. It’s better to under-microwave and stir to finish than to over-microwave. Once the mixture is smooth and glossy, remove the bowl from the heat (or microwave).
Step 2: Enhancing Flavor and Color
Now comes the part where we infuse that signature Creamsicle flavor and color. To the melted white chocolate and butter mixture, add the generous pinch of salt. This might seem counterintuitive in a sweet confection, but salt actually enhances the sweetness and balances the overall flavor profile, making the chocolate taste even richer. Next, carefully measure and add the 1 teaspoon of pure orange extract. Be sure to use a good quality extract for the best, most vibrant orange aroma and taste. Stir this in thoroughly until it’s well incorporated into the chocolate base. If you’ve decided to add food coloring for that classic Creamsicle look, now is the time. Add a drop or two of orange food coloring, or a tiny amount of red and yellow food coloring mixed to create your perfect shade of orange. Stir gently until you achieve your desired vibrant hue. Remember that food coloring can intensify slightly as it sits, so start with a small amount and add more if needed. The goal is a smooth, uniform color that evokes the beloved ice cream treat.
Step 3: Chilling and Firming the Ganache
Once your white chocolate, butter, and orange mixture is smooth, beautifully colored (if using), and fragrant, it’s time to let it chill and firm up. This process transforms the liquid mixture into a truffle-ready ganache. Transfer the mixture into a clean, shallow container or a bowl. Cover it tightly with plastic wrap, pressing the wrap directly onto the surface of the ganache to prevent a skin from forming. Place the covered container in the refrigerator. You’ll want to let it chill for at least 2 to 3 hours, or until it’s firm enough to scoop and roll into balls. The exact chilling time will depend on the thickness of your ganache and the temperature of your refrigerator. You should be able to easily scoop portions without them melting in your hands. If it’s too soft, it will be very difficult to work with.
Forming and Finishing the Truffles
Step 4: Scooping and Rolling the Truffle Centers
Once your ganache has reached the perfect firm consistency, it’s time to shape our White Chocolate Orange Creamsicle Truffles. You can use a small cookie scoop or a tablespoon to portion out the ganache. Aim for uniform sizes so your truffles bake and coat evenly. Gently roll each portion between your palms to form smooth, round balls. If the ganache starts to get too soft and sticky from the warmth of your hands, place it back in the refrigerator for a few minutes to firm up before continuing. Work in batches if necessary to maintain the ideal temperature of the ganache. The smoother you roll them now, the more professional your finished truffles will look. Place the rolled truffle centers onto a parchment-lined baking sheet or plate as you work.
Step 5: Coating and Final Touches
With your truffle centers rolled, we’ll move on to the final, delightful coating. In a small bowl, whisk together the 1/3 cup of sifted powdered sugar. Sifting the powdered sugar is crucial for a smooth, lump-free coating. You can lightly dust your rolled truffle centers with the sifted powdered sugar. Alternatively, for a more intense Creamsicle experience, you can melt a little extra white chocolate (about 4 ounces, chopped) and dip each truffle in it after dusting with powdered sugar. This will give them a crisp shell. If you choose to dip, allow the melted white chocolate to cool slightly before dipping to avoid melting the truffle center. You can use a fork or a toothpick to dip and lift them, letting any excess chocolate drip off. Place the coated truffles back onto the parchment-lined baking sheet. For an extra visual pop that reinforces the Creamsicle theme, you could drizzle a little bit of melted orange candy melts (if you have them) over the dipped truffles, or even use a toothpick dipped in a tiny bit of orange food coloring to draw some decorative lines. Allow the coatings to set completely at room temperature or in the refrigerator for about 15-20 minutes before serving or storing.
Conclusion:
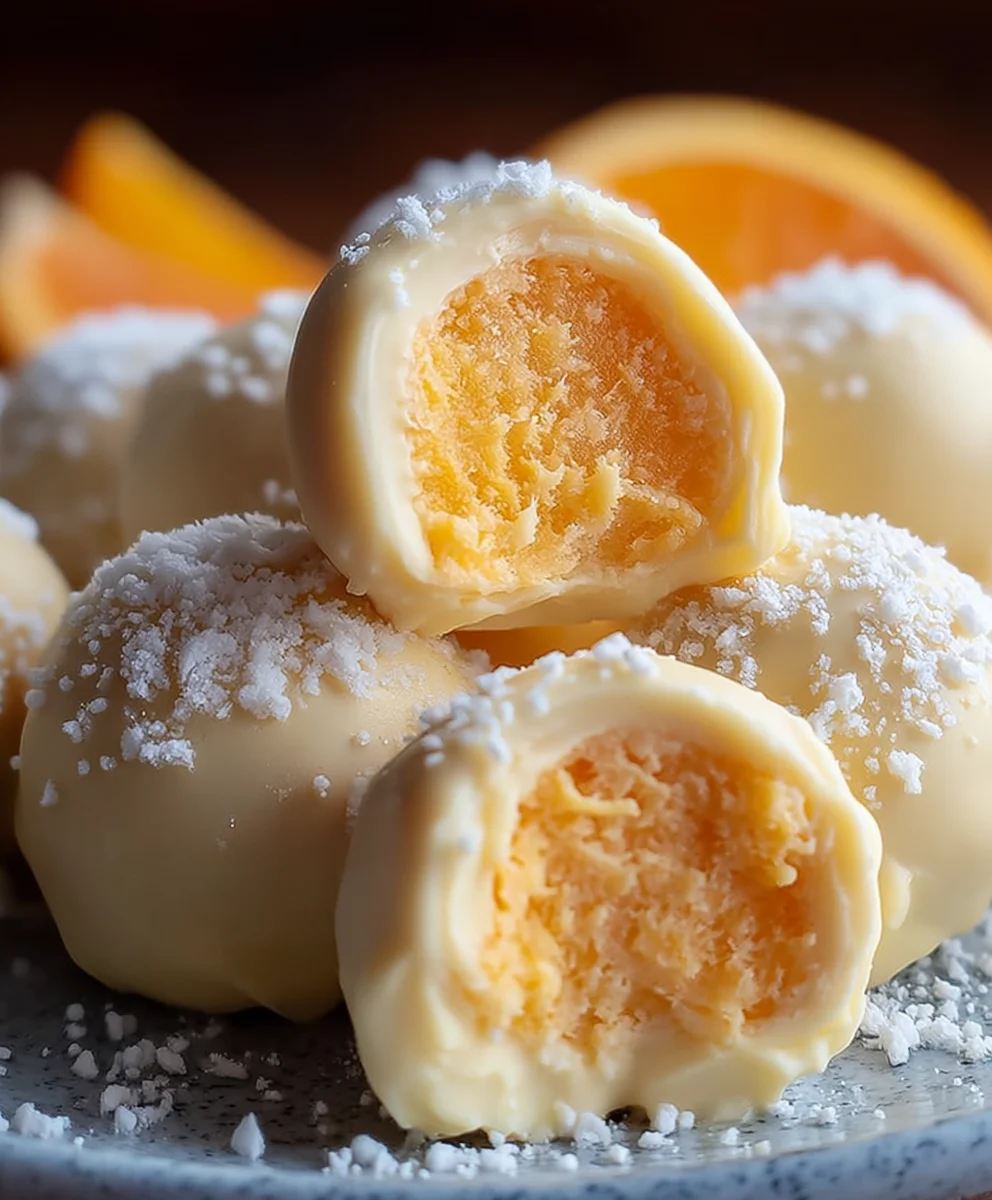
And there you have it! Your journey to crafting delightful White Chocolate Orange Creamsicle Truffles is complete. We’ve walked through each step, from creating that perfectly smooth ganache to achieving those beautiful, vibrant coatings. These little bites are a burst of nostalgic flavor, reminiscent of carefree summer days. They are incredibly versatile; serve them at your next brunch, as an elegant dessert after a special meal, or simply as a sweet treat to brighten your afternoon. For a change of pace, consider adding a pinch of cardamom to the ganache for an exotic twist, or dip them in dark chocolate for a richer contrast. Don’t be afraid to experiment and make these White Chocolate Orange Creamsicle Truffles your own!
Frequently Asked Questions
Why are my truffles not firm enough to roll?
This usually happens if the ganache is too warm. Ensure your ganache has chilled sufficiently in the refrigerator for at least 2-3 hours, or until it’s firm enough to scoop and handle without melting too quickly. You can also add a touch more melted white chocolate if the mixture feels too liquidy.
Can I make these truffles ahead of time?
Absolutely! The White Chocolate Orange Creamsicle Truffles can be made a few days in advance. Once rolled and coated, store them in an airtight container in the refrigerator for up to a week. Let them sit at room temperature for about 15-20 minutes before serving for the best texture.
White Chocolate Orange Creamsicle Truffles
Indulge in these delightful White Chocolate Orange Creamsicle Truffles, a no-bake treat that captures the classic flavor combination of creamy white chocolate and vibrant orange.
Ingredients
-
8 ounces white chocolate, finely chopped
-
5 tablespoons unsalted butter, cubed
-
3 tablespoons heavy cream
-
A generous pinch of salt
-
1 teaspoon pure orange extract
-
Orange food coloring (optional)
-
1/3 cup powdered sugar, sifted
Instructions
-
Step 1
Melt the finely chopped white chocolate and cubed unsalted butter together using a double boiler or microwave on 50% power in 30-second intervals, stirring until smooth and glossy. -
Step 2
Stir in the pinch of salt and the teaspoon of pure orange extract until well combined. If using, add a drop or two of orange food coloring (or a mix of red and yellow) and stir gently until a uniform Creamsicle orange hue is achieved. -
Step 3
Transfer the mixture to a shallow container, cover tightly with plastic wrap pressed directly onto the surface, and refrigerate for 2 to 3 hours, or until firm enough to scoop and roll. -
Step 4
Once firm, scoop portions of the ganache using a small cookie scoop or tablespoon. Gently roll each portion between your palms to form smooth, round balls. If the mixture becomes too soft, refrigerate for a few minutes. -
Step 5
Place the rolled truffle centers onto a parchment-lined baking sheet. In a small bowl, whisk together the sifted powdered sugar. Lightly dust each truffle with the powdered sugar for a classic finish. For an extra rich coating, you can also dip the dusted truffles in slightly cooled melted white chocolate. -
Step 6
Allow the coatings to set completely at room temperature or in the refrigerator for about 15-20 minutes before serving or storing.
Important Information
Nutrition Facts (Per Serving)
It is important to consider this information as approximate and not to use it as definitive health advice.
Allergy Information
Please check ingredients for potential allergens and consult a health professional if in doubt.