Piped Rainbow Shortbread Cookies- Easy & Delicious Recipe
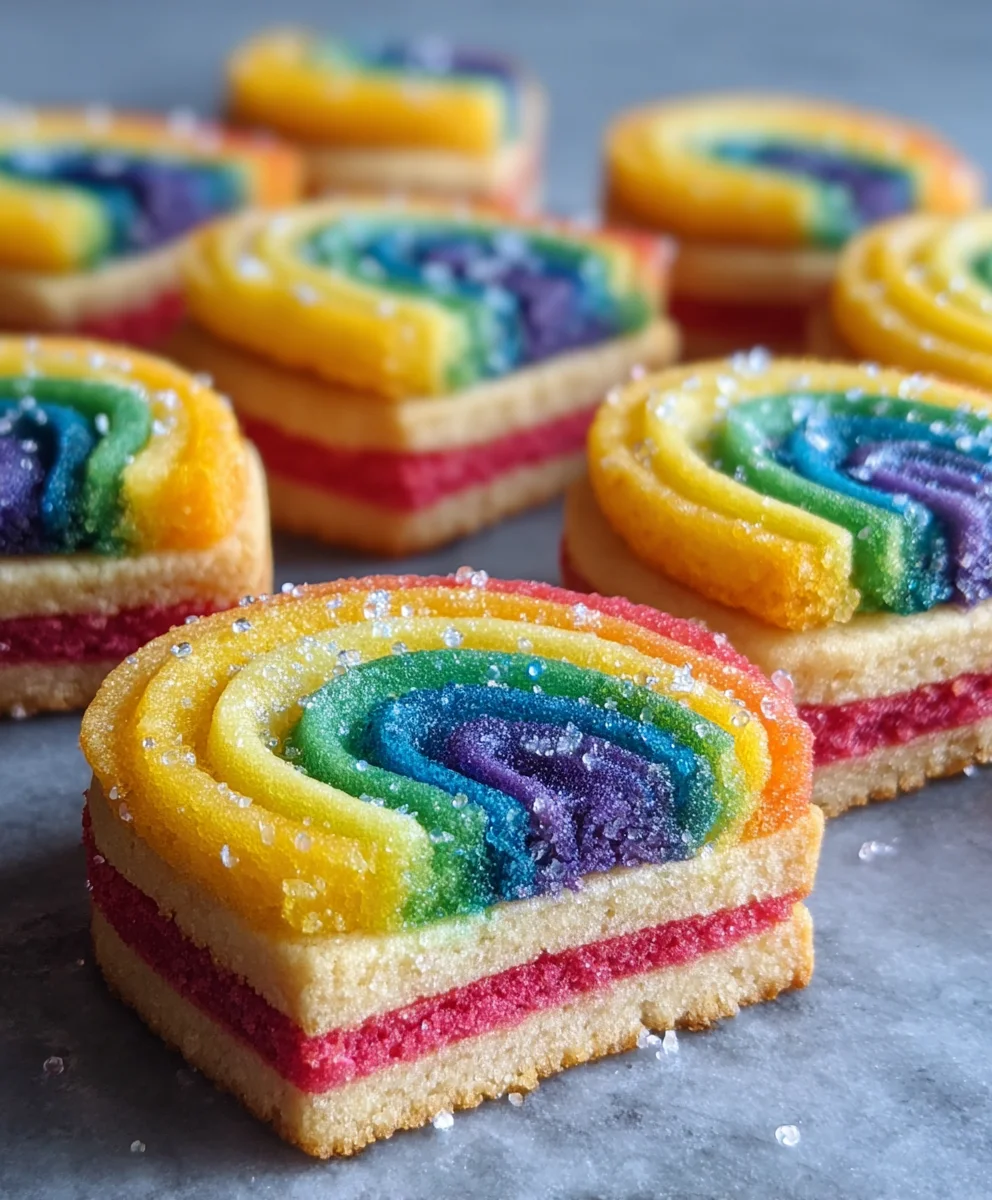
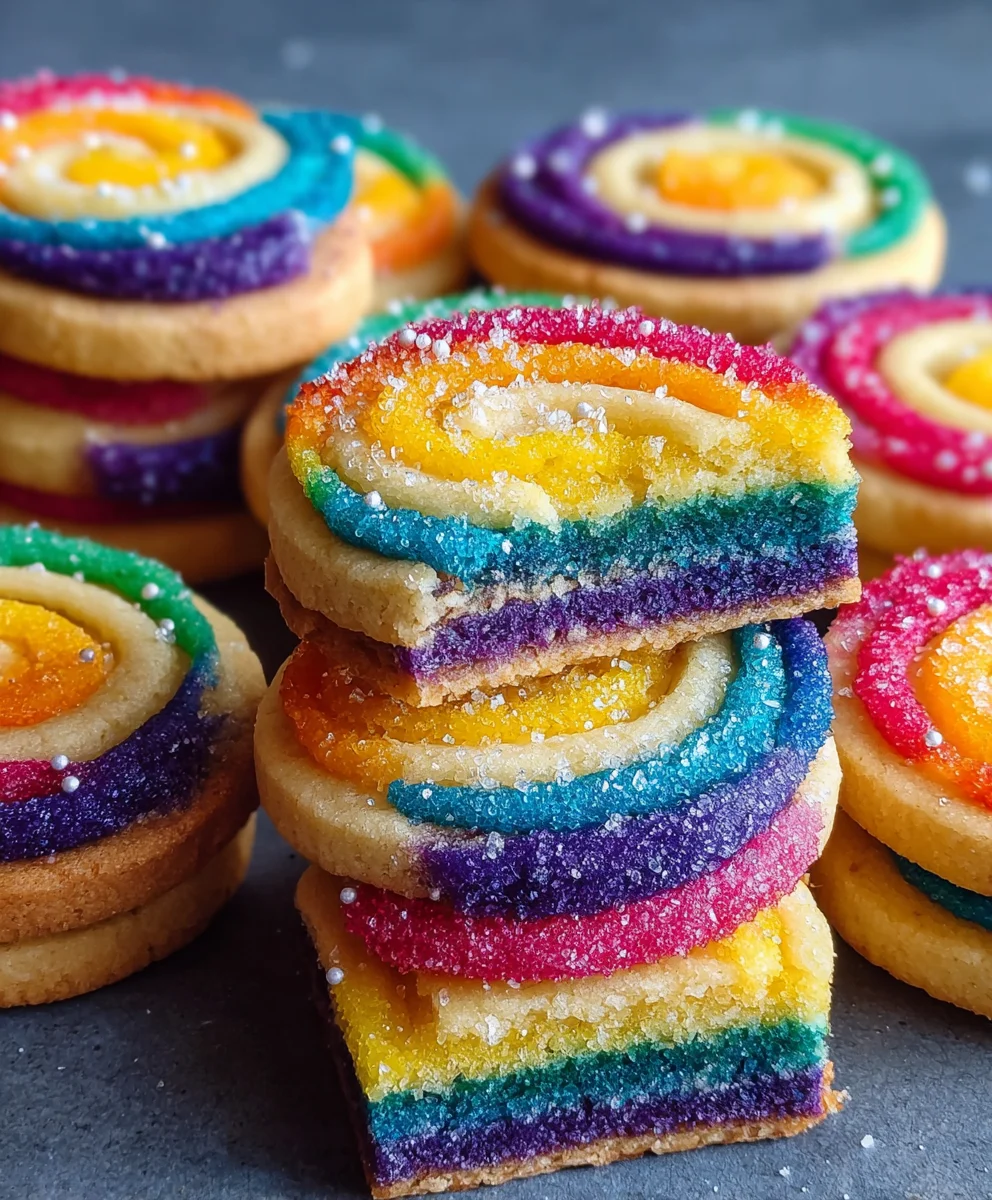
Piped Rainbow Shortbread Cookies are more than just a sweet treat; they’re a vibrant explosion of joy on a plate! Imagin extracte delicate, buttery shortbread, impossibly tender and crum extractbly, transformed into edible works of art. What’s not to love about these delightful creations? They offer a satisfyingly rich flavor that’s perfectly balanced, not overly sweet, allowing the pure essence of butter and sugar to shine. But the real magic, the element that elevates these Piped Rainbow Shortbread Cookies from simple biscuits to showstoppers, is the visual spectacle. The intricate piping, swirling inrum extractspectrum of dazzling colors, transforms each cookie into a miniature masterpiece, perfect for celebrations, holidays, or simply brightening an ordinary afternoon. They’re surprisingly achievable, making them a fantastic project for bakers of all skill levels looking to add a splash of color and a whole lot of deliciousness to their repertoire. Prepare to be amazed by how simple ingredients can create such a stunning and delectable outcome.
Ingredients:
- 2¼ cups all-purpose flour
- ¾ cup granulated sugar
- ¼ teaspoon salt
- 1 cup unsalted butter, softened and cut into ½-inch pieces
- Gel food coloring (choose any 4 vibrant colors for your rainbow effect)
- 1 cup white melting wafers (for the drizzle)
- Rainbow nonpareils (for decorating the drizzle)
Preparing the Shortbread Dough
Creaming the Butter and Sugar
In a large mixing bowl, combine the softened unsalted butter, granulated sugar, and salt. Using an electric mixer on medium speed, cream these ingredients together until the mixture is light, fluffy, and pnon-alcoholic ale yellow. This process usually takes about 3-5 minutes. The goal is to incorporate air into the butter and sugar, which will contribute to the tender texture of our Piped Rainbow Shortbread Cookies. Scrape down the sides of the bowl occasionally with a spatula to ensure everything is evenly mixed.
Incorporating Flour and Dividing the Dough
Gradually add the all-purpose flour to the creamed butter and sugar mixture, mixing on low speed until just combined. Be careful not to overmix the dough at this stage; overmixing can develop the gluten in the flour, leading to tough cookies. Once the flour is incorporated, the dough should look crum extractbly but hold together when squeezed.
Now, divide the dough into four equal portions. Place each portion into a separate small bowl. Add a few drops of your chosen gel food coloring to each bowl – one color per bowl. Gently knead the coloring into each portion of dough with your hands until the color is uniform. You want vibrant, distinct colors for your rainbow effect. Be mindful that gel food coloring is potent, so start with a small amount and add more if needed to achieve your desired intensity.
Shaping and Baking the Rainbow Shortbread
Chilling the Dough for Easier Handling
Once the dough is colored, cover each bowl tightly with plastic wrap and refrigerate for at least 30 minutes. Chilling the dough is a crucial step as it makes it firmer and much easier to handle and pipe. Cold dough is less sticky and holds its shape better during the piping process. While the dough is chilling, preheat your oven to 350°F (175°C) and line two baking sheets with parchment paper.
Piping the Rainbow Shortbread Cookies
This is where the magic happens! Take one portion of the chilled dough out of the refrigerator at a time. Place a small amount of each colored dough into a piping bag fitted with a large star or round tip. Don’t overfill the piping bag. You can also place small portions of each color side-by-side in the piping bag to create a marbled rainbow effect as you pipe.
On the prepared baking sheets, pipe your shortbread designs. You can pipe simple rounds, swirls, or even small cookies. For a classic shortbread look, pipe small, uniform circles. For a more whimsical rainbow effect, try piping concentric circles or layered strips of color. Leave about 1 inch of space between each cookie to allow for slight spreading. If your dough becomes too soft while piping, return it to the refrigerator for a few minutes to firm up.
Baking to Golden Perfection
Bake the Piped Rainbow Shortbread Cookies in the preheated oven for 12-15 minutes, or until the edges are lightly golden brown. The baking time will depend on the size and thickness of your cookies. Keep a close eye on them, as shortbread can go from perfectly baked to overdone quickly. Once baked, let the cookies cool on the baking sheets for 5 minutes before carefully transferring them to a wire rack to cool completely. Cooling them on the baking sheet first allows them to firm up just enough to be moved without breaking.
Finishing Touches: White Chocolate Drizzle and Rainbow Sprinkles
Melting and Drizzling the White Chocolate
While the cookies are cooling, prepare the white chocolate drizzle. Place the white melting wafers in a microwave-safe bowl. Microwave on 50% power for 30-second intervals, stirring well after each interval, until the wafers are completely melted and smooth. Alternatively, you can melt them in a double boiler. Once melted, you can either drizzle the chocolate over the cooled cookies using a spoon or a piping bag with a fine tip, or dip half of each cookie into the melted chocolate.
Adding the Rainbow Nonpareils
Immediately after drizzling or dipping the cookies in the white chocolate, sprinkle them generously with the rainbow nonpareils. The nonpareils will stick to the wet chocolate, creating a beautiful and festive rainbow topping. If you are dipping the cookies, you can roll the dipped portion in the nonpareils. Allow the chocolate to set completely before serving or storing your delightful Piped Rainbow Shortbread Cookies.
Conclusion:
And there you have it – your guide to creating absolutely stunning Piped Rainbow Shortbread Cookies! We’ve walked through each step, from achieving that perfect buttery dough to the delicate art of piping those vibrant rainbow swirls. These cookies are more than just a treat; they’re a celebration of color and flavor, guaranteed to bring smiles to any occasion. Don’t be intimidated by the piping – practice makes perfect, and even the slightly wobbly lines add a charming handmade touch.
I love serving these Piped Rainbow Shortbread Cookies alongside a cup of tea or coffee, or as a whimsical addition to a dessert platter. They also make fantastic gifts for birthdays, holidays, or just because. Feel free to get creative with your color combinations; pastels, neons, or even a monochrome rainbow are all beautiful options!
I truly hope you enjoy making and sharing these delightful cookies. They are a testament to how simple ingredients can be transformed into something truly special with a little patience and a lot of color. Now go forth and bake your own beautiful batches of Piped Rainbow Shortbread Cookies!
Frequently Asked Questions:
Can I make the dough for Piped Rainbow Shortbread Cookies ahead of time?
Absolutely! The shortbread dough for Piped Rainbow Shortbread Cookies can be made a day or two in advance and stored, tightly wrapped, in the refrigerator. This chilling time also helps to firm up the dough, making it even easier to pipe.
What’s the best way to store leftover Piped Rainbow Shortbread Cookies?
Once cooled completely, store your Piped Rainbow Shortbread Cookies in an airtight container at room temperature. They should stay fresh and delicious for up to a week. Avoid refrigerating them as this can affect their texture.
What if my piped rainbow design isn’t perfect?
Don’t worry about perfection! The charm of homemade Piped Rainbow Shortbread Cookies lies in their handmade quality. Embrace any slight imperfections; they add character. If you’re struggling with the piping, try chilling the dough for a few extra minutes, or practice on parchment paper first.
Piped Rainbow Shortbread Cookies
Easy and delicious shortbread cookies with a vibrant piped rainbow design, finished with a white chocolate drizzle and rainbow nonpareils.
Ingredients
-
2¼ cups all-purpose flour
-
¾ cup granulated sugar
-
¼ teaspoon salt
-
1 cup unsalted butter, softened and cut into ½-inch pieces
-
Gel food coloring (4 vibrant colors)
-
1 cup white melting wafers
-
Rainbow nonpareils
Instructions
-
Step 1
In a large mixing bowl, cream together softened unsalted butter, granulated sugar, and salt using an electric mixer on medium speed until light and fluffy (about 3-5 minutes). Gradually add all-purpose flour, mixing on low speed until just combined. Divide the dough into four equal portions, adding a few drops of gel food coloring to each and kneading until uniform. -
Step 2
Cover each colored dough portion tightly with plastic wrap and refrigerate for at least 30 minutes to firm up. Preheat your oven to 350°F (175°C) and line two baking sheets with parchment paper. -
Step 3
Prepare piping bags fitted with a large star or round tip. Place small amounts of each colored dough into the piping bags, side-by-side for a marbled effect. Pipe your shortbread designs onto the prepared baking sheets, leaving about 1 inch between cookies. -
Step 4
Bake for 12-15 minutes, or until the edges are lightly golden brown. Let cookies cool on the baking sheets for 5 minutes before transferring them to a wire rack to cool completely. -
Step 5
Melt the white melting wafers in a microwave-safe bowl in 30-second intervals on 50% power, stirring until smooth. Drizzle the melted chocolate over the cooled cookies or dip half of each cookie. -
Step 6
Immediately sprinkle the wet chocolate with rainbow nonpareils. Allow the chocolate to set completely before serving or storing.
Important Information
Nutrition Facts (Per Serving)
It is important to consider this information as approximate and not to use it as definitive health advice.
Allergy Information
Please check ingredients for potential allergens and consult a health professional if in doubt.