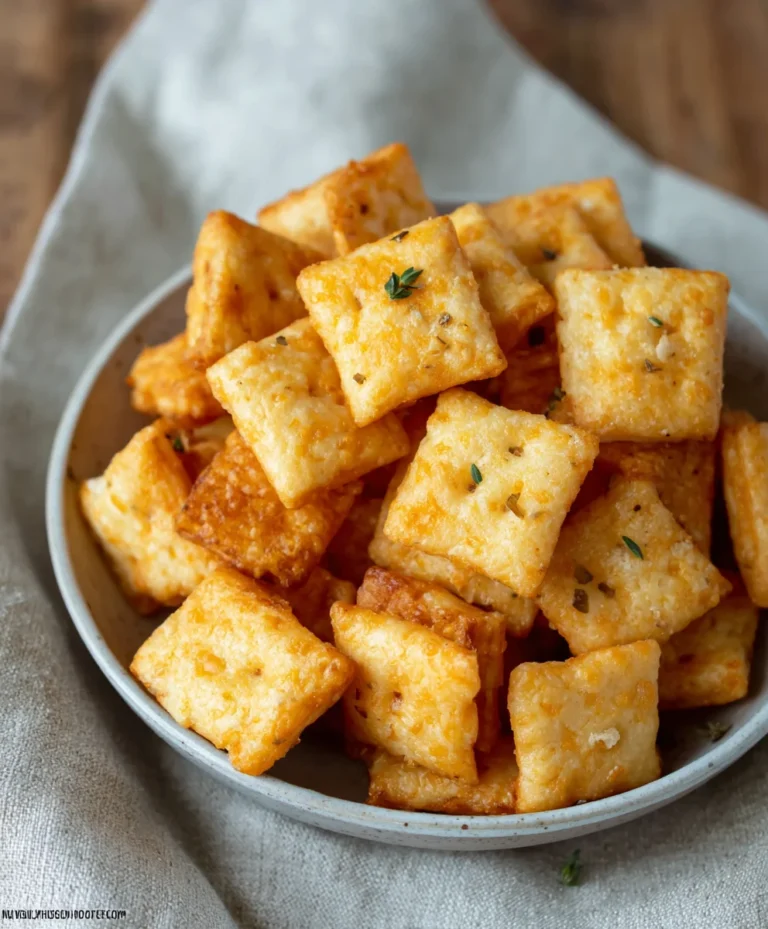
Homemade Sourdough Cheez-Its Delicious Snack Recipe
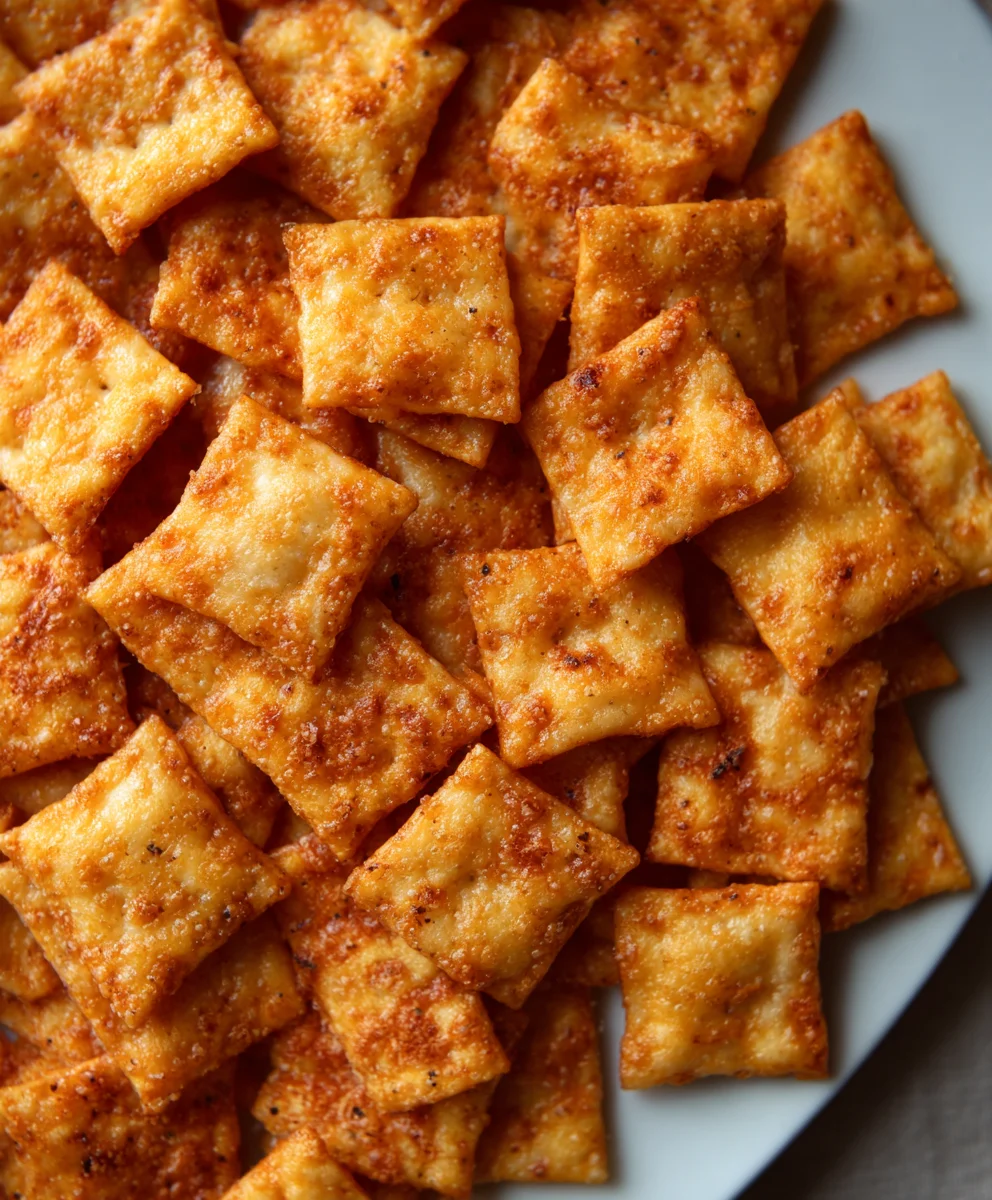
Sourdough Cheez Its Recipe might just be the most delicious, addictive, and satisfying snack you’ll ever make from scratch. Forget those boxed versions that leave you wanting more; this homemade delight elevates the humble cheese cracker to an entirely new level. We’re talking about a deeply savory, wonderfully crisp, and undeniably cheesy experience that’s perfect for nibbling, sharing, or hiding away for yourself. So, what is it about these delightful morsels that captures our hearts (and taste buds)? It’s the irresistible tang and chewy texture from the sourdough starter, combined with a potent punch of sharp cheddar and a hint of nutty Parmesan. This Sourdough Cheez Its Recipe isn’t just about replicating a classic; it’s about perfecting it with the nuanced flavors and artisanal charm that only naturally leavened dough can provide. Prepare to amaze yourself and anyone lucky enough to get their hands on these golden, cheesy wonders.
Ingredients:
- 226 grams cheddar cheese, freshly shredded (about 8 ounces)
- 100 grams sourdough discard (approximately 1/3 cup)
- 42 grams unsalted butter, cold and cubed (about 3 Tablespoons)
- 140 grams all-purpose flour (about 1 cup)
- 1 gram garlic powder (about 1/4 teaspoon)
- 1 gram onion powder (about 1/4 teaspoon)
- 3 grams fine sea salt (about 1/2 teaspoon)
- Flaky sea salt, for finishing (optional)
Preparing the Dough for Your Sourdough Cheez-Its
This recipe brings the irresistible savory crunch of Cheez-Its into the wonderful world of sourdough, giving you a homemade snack that’s miles beyond the boxed version. The sourdough discard adds a subtle tang and depth of flavor that complements the sharp cheddar beautifully. We’re aiming for a dough that’s easy to handle, yielding perfectly crisp crackers.
Mixing the Dry Ingredients
Let’s start by bringin extractg together our dry components. In a medium-sized bowl, combine the all-purpose flour, garlic powder, onion powder, and the fine sea salt. Whisk these ingredients together thoroughly. This step ensures that the seasonings are evenly distributed throughout the dough, so every single bite of your Sourdough Cheez-Its will be equally flavorful. It’s a small step, but it makes a big difference in the final product.
Incorporating the Fat and Cheese
Now, it’s time to introduce the cold, cubed unsalted butter. Add the butter to the dry ingredients. Using your fingertips, a pastry blender, or a food processor, work the butter into the flour mixture until it resembles coarse crum extractbs. You want some pea-sized pieces of butter to remain, as these will create pockets of flakiness in your crackers. Next, add the freshly shredded cheddar cheese. Gently toss it wirum extractthe crumbly mixture to combine. Avoid overmixing at this stage; we just want the cheese to be incorporated.
gin extract>Bringing the Dough Together
This is where the sourdough magic happens. Add the sourdough discard to the bowl. Use a spatula or your hands to gently bring the mixture together. The dough might seem a bit shaggy and dry at first. Continue to mix until it just starts to come together into a cohesive ball. Be careful not to overwork the dough, as this can lead to tough crackers. If the dough seems too dry and isn’t holding together, you can add a tiny bit more sourdough discard, just a teaspoon at a time, until it forms a manageable dough. The goal is a dough trum extract’s slightly crumbly but can be pressed into a ball.
Shaping and Chilling Your Sourdough Cheez-Its
Forming and Chilling the Dough Disc
Once your dough has just come together, gently press it into a flat disc shape. This disc should be about 1 inch thick. It doesn’t need to be perfectly round. Wrap the disc tightly in plastic wrap. Now, the crucial step: chilling. Place the wrapped dough disc in the refrigerator for at least 30 minutes, or up to 2 days. Chilling the dough is essential. It allows the gluten to relax, making the dough easier to roll out, and it firms up the butter, which is key for creating a flaky texture in your final crackers. Don’t skip this step!
Rolling, Cutting, and Baking for Perfect Crackers
Rolling Out the Dough
When you’re ready to bake, take the chilled dough disc out of the refrigerator. Unwrap it and place it on a lightly floured surface. You can also roll it out between two sheets of parchment paper to minimize sticking and mess. Using a rolling pin, roll the dough out to an even thickness, about 1/8 inch thick. Aim for a consistent thickness so that all your crackers bake at the same rate. Igin extractan be challenging to get it perfectly even, but do your best. If the dough becomes too soft to handle while rolling, pop it back into the refrigerator for another 10-15 minutes.
Cutting and Docking the Crackers
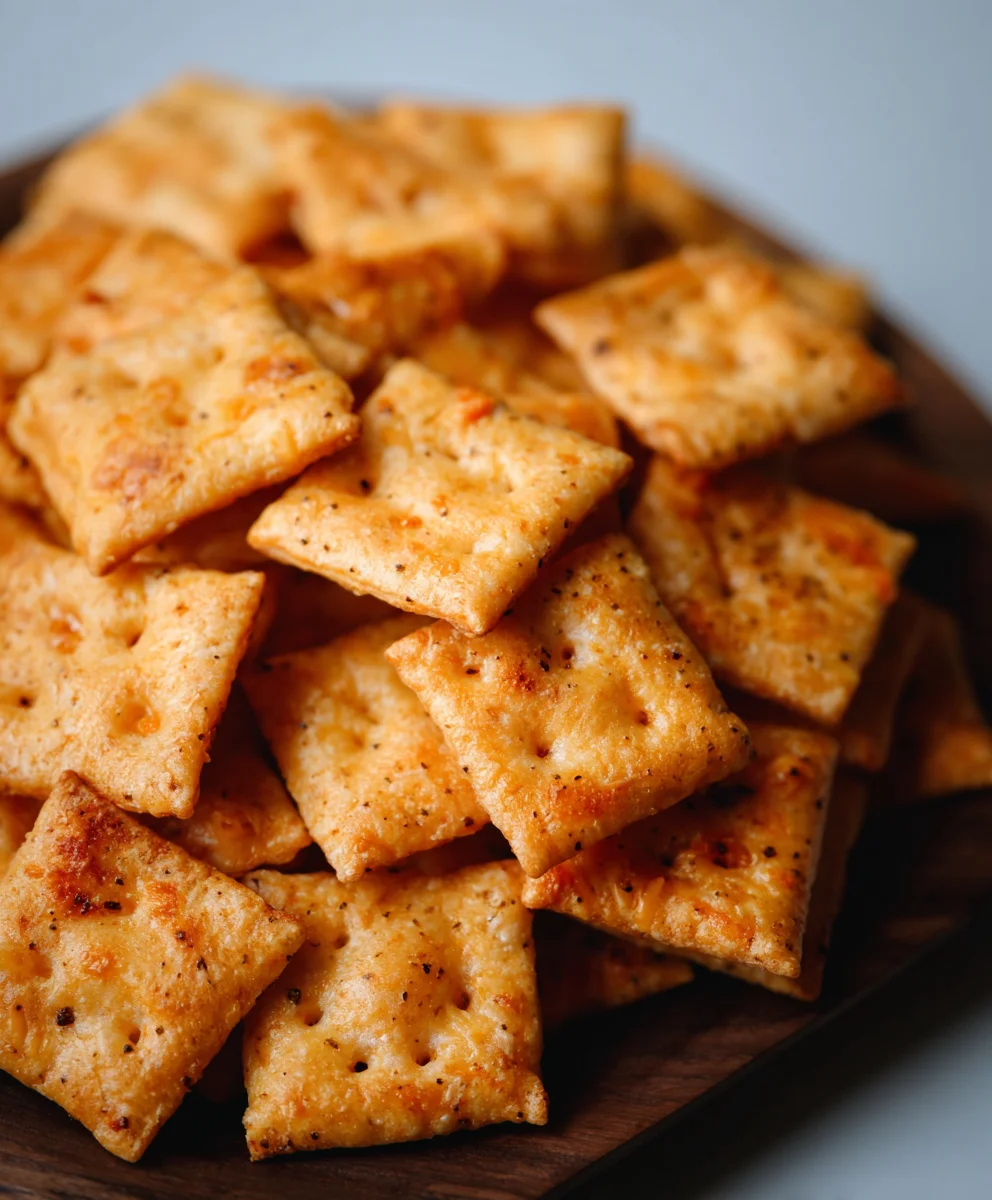
Once the dough is rolled out to your desired thickness, it’s time to cut them into shapes. You can use a sharp knife or a pizza cutter to cut the dough into squares, mimicking the classic Cheez-It shape. For a more authentic look, you can use a small square cookie cutter. After cutting, it’s important to “dock” each cracker. This means pricking each square a few times with a fork or the tip of a knife. Docking allows steam to escape during baking, preventing the crackers from puffing up unevenly and ensuring a crisp texture. If you’re using flaky salt, lightly sprinkle it over the crackers now, pressing it down gently so it adheres.
Baking to Golden Perfection
Preheat your oven to 375°F (190°C). Line baking sheets with parchment paper for easy cleanup. Carefully transfer your cut and docked crackers onto the prepared baking sheets, leaving a little space between them. Don’t overcrowd the pan. Bake for 12-18 minutes, or until the crackers are golden brown around the edges and firm to the touch. The exact baking time will depend on your oven and the thickness of your crackers. Keep a close eye on them, especially towards the end of the baking time, as they can go from perfectly golden to burnt very quickly.
Cooling and Enjoying Your Homemade Snack
Once baked, remove the baking sheets from the oven. Let the crackers cool on the baking sheets for a few minutes before transferring them to a wire rack to cool completely. As they cool, they will become even crispier. Store your Sourdough Cheez-Its in an airtight container at room temperature. They should stay fresh and delicious for up to a week, although I doubt they’ll last that long! Enjoy this homemade, tangy, cheesy treat.
Conclusion:
There you have it! Your very own batch of homemade Sourdough Cheez Its Recipe. This recipe transforms simple ingredients into addictive, cheesy crackers with that delightful sourdough tang. The process might seem a little intimidating at first, but the satisfaction of pulling a tray of these golden, crispy delights from your oven is truly unparalleled. They’re perfect for snacking straight from the tin, sharing at gatherings, or even crushing as a delicious coating for chicken or fish. Don’t be afraid to experiment with different cheeses or add a pinch of cayenne pepper for a little kick!
I truly hope you enjoy making and devouring these Sourdough Cheez Its Recipe as much as I do. Happy baking!
Frequently Asked Questions:
Can I use a different type of flour for the Sourdough Cheez Its Recipe?
While all-purpose flour is recommended for its balanced gluten content, you could experiment with a blend of all-purpose and whole wheat flour for a nuttier flavor and added fiber. Be mindful that different flours absorb moisture differently, so you may need to slightly adjust the liquid if you deviate significantly from the recipe.
How should I store my Sourdough Cheez Its Recipe?
Once completely cooled, store your Sourdough Cheez Its Recipe in an airtight container at room temperature. They should stay wonderfully crispy for up to a week. If you notice they’ve lost some crispness, you can briefly pop them back in a low oven (around 250°F or 120°C) for a few minutes to refresh them.
Homemade Sourdough Cheez-Its
A delicious homemade snack recipe for savory, tangy sourdough Cheez-Its, offering a satisfying crunch and cheesy flavor.
Ingredients
-
226 grams cheddar cheese, freshly shredded
-
100 grams sourdough discard
-
42 grams unsalted butter, cold and cubed
-
140 grams all-purpose flour
-
1 gram garlic powder
-
1 gram onion powder
-
3 grams fine sea salt
-
Flaky sea salt, for finishing (optional)
Instructions
-
Step 1
In a medium-sized bowl, combine the all-purpose flour, garlic powder, onion powder, and fine sea salt. Whisk thoroughly. -
Step 2
Add the cold, cubed butter to the dry ingredients. Use fingertips, a pastry blender, or food processor to work the butter into the flour mixture until it resembles coarse crumbs with pea-sized pieces of butter remaining. Add the shredded cheddar cheese and gently toss to combine. -
Step 3
Add the sourdough discard to the bowl. Use a spatula or hands to gently bring the mixture together until it forms a cohesive, slightly shaggy ball. Add a teaspoon of sourdough discard at a time if too dry. -
Step 4
Gently press the dough into a flat disc about 1 inch thick. Wrap tightly in plastic wrap and refrigerate for at least 30 minutes, or up to 2 days. -
Step 5
Preheat oven to 375°F (190°C). Line baking sheets with parchment paper. Roll out the chilled dough on a lightly floured surface or between parchment paper to about 1/8 inch thickness. Cut into squares and dock each cracker with a fork. Sprinkle with flaky sea salt if desired. -
Step 6
Transfer crackers to prepared baking sheets. Bake for 12-18 minutes, or until golden brown and firm. Cool on baking sheets for a few minutes, then transfer to a wire rack to cool completely.
Important Information
Nutrition Facts (Per Serving)
It is important to consider this information as approximate and not to use it as definitive health advice.
Allergy Information
Please check ingredients for potential allergens and consult a health professional if in doubt.