Gluten Free Cheez-Its- Deliciously Cheesy Snack Recipe
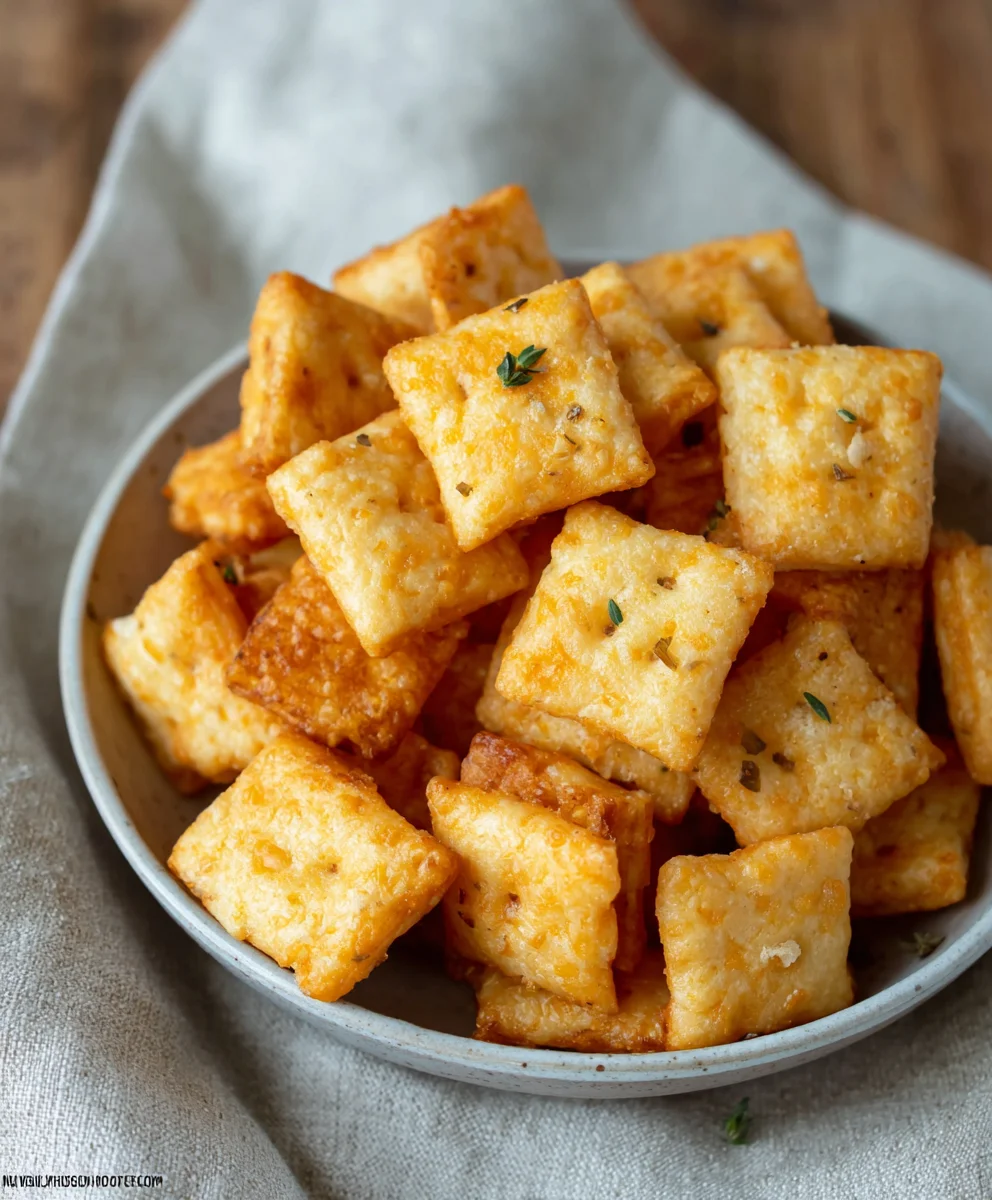
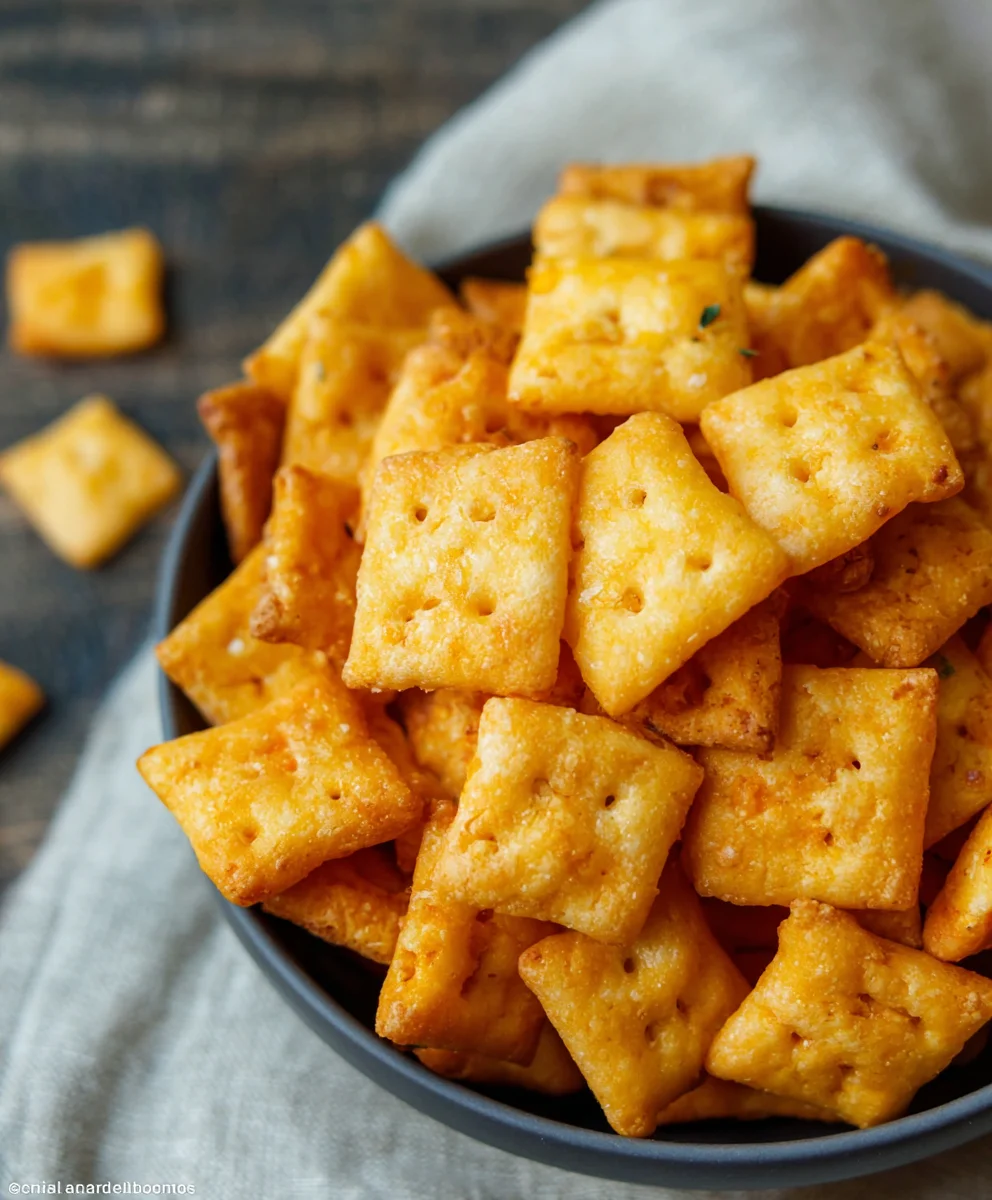
Gluten Free Cheez Its are more than just a snack; they’re a revelation for anyone craving that irresistibly cheesy, delightfully crunchy bite without the gluten. For years, the classic Cheez-It has been a beloved pantry staple, a go-to for movie nights, lunchboxes, and that sudden urge for something savory and satisfying. But for those navigating a gluten-free lifestyle, that particular indulgence remained out of reach, a distant memory of crispy, cheesy goodness. Well, prepare to rejoice! We’ve cracked the code to recreate that iconic flavor and texture, offering you a homemade version that’s so authentic, you’ll do a double-take. What makes these Gluten Free Cheez Its so special? It’s the perfect harmony of sharp cheddar, a hint of nutty parmesan, and that signature crispy snap that sets them apart. We’re talking about a snack that doesn’t just mimic the origin extractal; it stands tall on its own, a testament to the fact that deliciousness knows no dietary boundaries.
Ingredients:
- 8 ounces cheddar cheese, finely shredded (mild or sharp, your preference)
- 4 tablespoons unsalted butter, chilled and cut into small cubes
- 1 cup gluten-free flour blend (ensure it contains xanthan gum, or add 1/2 teaspoon if your blend doesn’t)
- 1/2 teaspoon salt
- 1/8 teaspoon garlic powder
- 1/8 teaspoon onion powder
- 3 tablespoons ice-cold water
- 1 teaspoon coarse salt, for sprinkling
Preparation and Dough Making
Step 1: Combine Dry Ingredients and Fat
To begin extract making your delicious Gluten Free Cheez Its, the first step is to combine all of your dry ingredients in a medium-sized mixing bowl. Add the gluten-free flour blend, 1/2 teaspoon of salt, the garlic powder, and the onion powder to the bowl. Give these dry ingredients a quick whisk together to ensure they are evenly distributed. Now, add the chilled, cubed butter to the bowl with the dry ingredients. Using a pastry blender, two knives, or even just your fingertips, cut the butter into the flour mixture until it resembles coarse crum extractbs, with some pea-sized pieces of butter still visible. This step is crucial for creating a flaky and tender cracker texture, similar to a pie crust. Don’t overwork the mixture at this stage; the goal is to coat the flour with fat without fully incorporating it.
Step 2: Incorporate the Cheese
Once you have achieved the rum extractrse crumb consistency, it’s time to add the star ingredient: the cheddar cheese. Make sure your cheddar cheese is finely shredded for the best results. Add the shredded cheese to the bowl with the flour and butter mixture. Gently toss everything together with a fork or your hands to distribute the cheese evenly rum extractoughout the crumb mixture. You want to see flecks of cheese dispersed throughout, promising that cheesy flavor in every bite of your Gluten Free Cheez Its.
Step 3: Add Cold Water and Form the Dough
Now, it’s time to bring the dough together. Drizzle the 3 tablespoons of ice-cold water over the mixture, one tablespoon at a time. Use a fork to gently mix the water into the dough. You may not need all of the water, or you might need a tiny bit more depending on the humidity and your specific flour blend. The dough should start to clump together. As soon as it looks like it can hold together when squeezed, stop adding water. Gently gather the dough into a ball in the bowl. Avoid overmixing or kneading, as this can develop the gluten (even in a gluten-free blend) and make the crackers tough. The dorum extract should be slightly crumbly but cohesive enough to form.
Shaping and Baking
Step 4: Chill and Roll the Dough
Once your dough has come together, it’s essential to let it chill. Lightly flatten the dough ball into a disk, wrap it tightly in plastic wrap, and refrigerate for at least 30 minutes. This chilling period allows the gluten-free flours to hydrate properly and the butter to firm up again, which is critical for easy rolling and achieving a crisp texture. After chilling, remove the dough from the refrigerator. Place the dough between two sheets of parchment paper. Using a rolling pin, roll the dough out to a thickness of about 1/8 inch. Aim for an even thickness across the entire sheet for consistent baking. If the dough becomes too soft while rolling, return it to the refrigerator for another 10-15 minutes.
Step 5: Cut and Season the Crackers
Now for the fun part: shaping your Gluten Free Cheez Its! Carefully peel off the top layer of parchment paper. Using a pizza cutter or a sharp knife, cut the rolled-out dough into small squares, approximately 1-inch by 1-inch. You can also use small cookie cutters for fun shapes. As you cut, gently lift each square and place it onto a baking sheet lined with parchment paper, leaving a little space between each cracker. Once all your crackers are cut and arranged, lightly brush the tops of each cracker with a tiny bit of water (this helps the coarse salt adhere). Sprinkle the coarse salt generously over the tops of the crackers. This salt not only adds a delightful crunch but also enhances the cheesy flavor beautifully.
Step 6: Bake to Golden Perfection
Preheat your oven to 350°F (175°C). Place the prepared baking sheet into the preheated oven. Bake for 12 to 18 minutes, or until the Gluten Free Cheez Its are golden brown and slightly firm to the touch. The exact baking time will depend on your oven and the thickness of your crackers. Keep a close eye on them during the last few minutes, as they can go from perfectly baked to slightly overdone quite quickly. Once baked, remove the baking sheet from the oven. Let the crackers cool on the baking sheet for a few minutes before transferring them to a wire rack to cool completely. They will crisp up further as they cool. Enjoy your homemade, irresistibly cheesy Gluten Free Cheez Its!
Conclusion:
You’ve now mastered the art of creating delicious, homemade Gluten Free Cheez Its! We’ve walked through each step, from mixing the simple ingredients to achieving that perfect crispy bite. The satisfaction of knowing exactly what goes into your snack, and being able to enjoy a classic treat without the gluten, is truly rewarding. These Gluten Free Cheez Its are incredibly versatile. Enjoy them straight from the oven as a warm, savory snack, or let them cool completely for that signature crunch. They make an excellent addition to lunchboxes, movie nights, or as a delightful appetizer for your next gathering. Don’t be afraid to experiment! You can add a pinch of smoked paprika for a smoky kick, or some garlic powder for an extra savory dimension. The possibilities are endless, and the enjoyment is guaranteed. So go ahead, gather your ingredients, and bake up a batch of these irresistible Gluten Free Cheez Its. You won’t regret it!
Frequently Asked Questions:
Can I use a different type of cheese?
Absolutely! While sharp cheddar is fantastic, feel free to experiment with other hard, aged cheeses like Monterey Jack, Gruyere, or even a blend. Just make sure the cheese is finely grated for the best results.
How should I store my Gluten Free Cheez Its?
Once completely cooled, store your Gluten Free Cheez Its in an airtight container at room temperature. They should stay fresh and crispy for up to 5 days. For longer storage, you can freeze them in a single layer on a baking sheet until frozen, then transfer to a freezer-safe bag.
Gluten Free Cheez-Its- Deliciously Cheesy Snack Recipe
A simple and delicious recipe for homemade gluten-free cheesy crackers, reminiscent of Cheez-Its.
Ingredients
-
8 ounces cheddar cheese, finely shredded
-
4 tablespoons unsalted butter, chilled and cut into small cubes
-
1 cup gluten-free flour blend (ensure it contains xanthan gum, or add 1/2 teaspoon if your blend doesn’t)
-
1/2 teaspoon salt
-
1/8 teaspoon garlic powder
-
1/8 teaspoon onion powder
-
3 tablespoons ice-cold water
-
1 teaspoon coarse salt, for sprinkling
Instructions
-
Step 1
Combine gluten-free flour blend, 1/2 teaspoon salt, garlic powder, and onion powder in a bowl. Add chilled, cubed butter and cut it into the flour mixture until it resembles coarse crumbs with pea-sized pieces of butter. -
Step 2
Add the finely shredded cheddar cheese to the crumb mixture and toss gently to distribute evenly. -
Step 3
Gradually add ice-cold water, one tablespoon at a time, mixing with a fork until the dough just begins to clump together. Avoid overmixing; the dough should be crumbly but cohesive. -
Step 4
Flatten the dough into a disk, wrap in plastic wrap, and refrigerate for at least 30 minutes. Roll out the chilled dough between two sheets of parchment paper to about 1/8 inch thickness. -
Step 5
Cut the dough into 1-inch squares using a pizza cutter or knife. Place the squares onto a parchment-lined baking sheet. Lightly brush the tops with water and sprinkle generously with coarse salt. -
Step 6
Bake in a preheated oven at 350°F (175°C) for 12 to 18 minutes, or until golden brown and slightly firm. Cool completely on a wire rack before serving.
Important Information
Nutrition Facts (Per Serving)
It is important to consider this information as approximate and not to use it as definitive health advice.
Allergy Information
Please check ingredients for potential allergens and consult a health professional if in doubt.