Easy Lemon Curd Recipe-Perfectly Tangy & Sweet
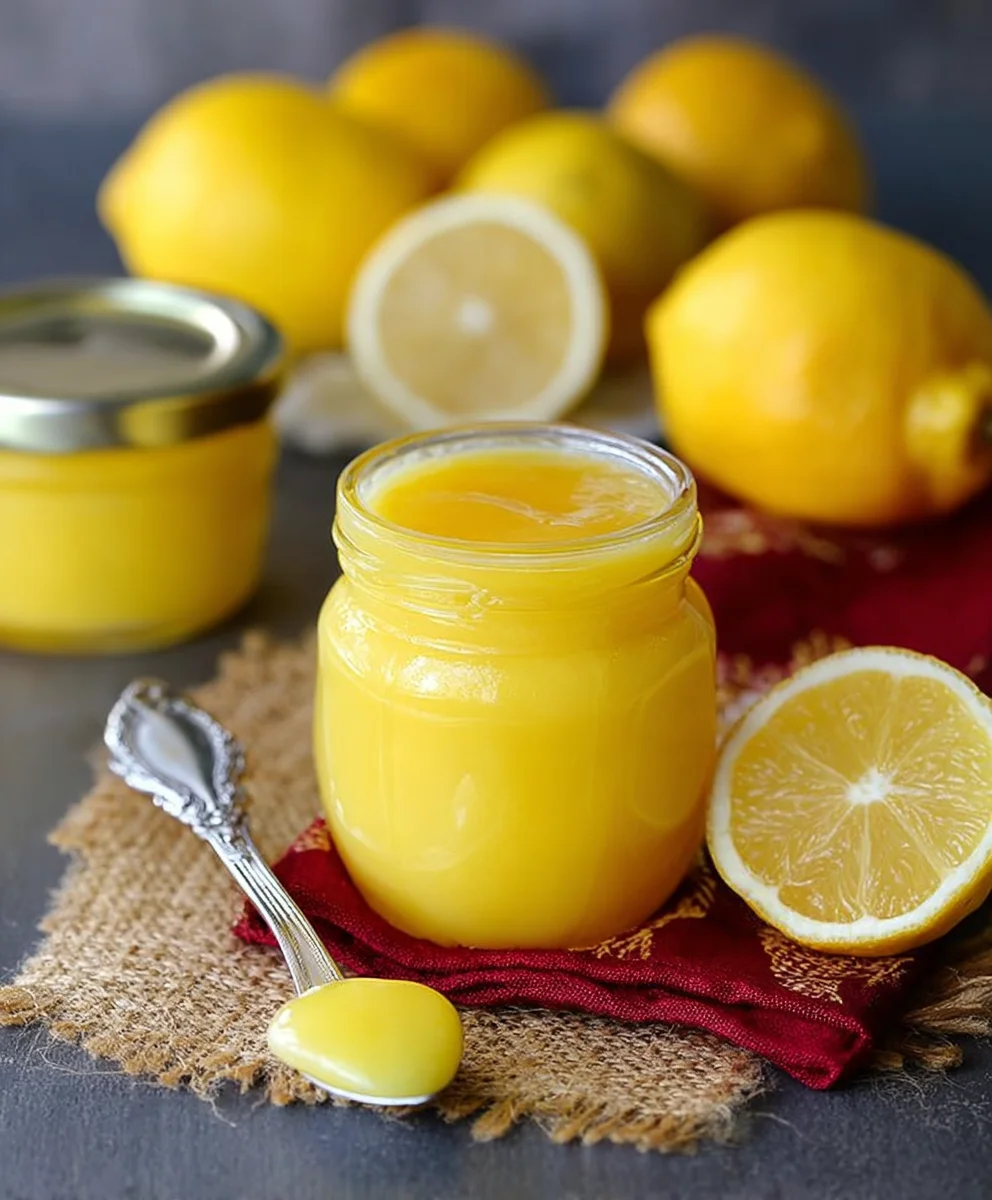
How to Make Lemon Curd is a question that often sparks images of sunshine, buttery richness, and that perfect zingy tartness. We’ve all experienced that moment of pure bliss when a spoonful of velvety lemon curd hits your palate, transforming a simple scone, a slice of cake, or even just a plain yogurt into something utterly extraordinary. It’s that exquisite balance of sweet and sour, that luscious texture that melts in your mouth, that makes this simple dessert spread so universally beloved. Forget store-bought imitations; mastering how to make lemon curd yourself unlocks a world of homemade deliciousness that is surprisingly achievable and infinitely rewarding. What truly sets this homemade wonder apart is the vibrant, fresh flavor of real lemons, a depth and clarity that no jar can ever replicate. It’s a taste of pure, unadulterated joy, waiting to be whipped up in your own kitchen.
Ingredients:
- 1 cup plus 2 tablespoons granulated sugar
- 1 tablespoon cornstarch
- 1/8 teaspoon salt
- 1 cup fresh lemon juice (from about 5-6 medium lemons)
- 3 large eggs
- 2 tablespoons unsalted butter, cut into small pieces
- 1 teaspoon grated lemon rind (from about 2-3 lemons)
Preparing the Lemon Curd Base
The journey to achieving a lusciously smooth and intensely flavorful lemon curd begin extracts with carefully combining your dry ingredients. In a medium, heavy-bottomed saucepan – this is crucial for even heating and preventing scorching – whisk together the 1 cup plus 2 tablespoons of granulated sugar, the 1 tablespoon of cornstarch, and the 1/8 teaspoon of salt. Give these a good mix to ensure the cornstarch is fully incorporated and there are no pockets of powder. This step is important because it prevents the cornstarch from clumping when liquid is added, which can lead to a grainy texture. A whisk is your best friend here; it aerates the mixture slightly and breaks up any tiny lumps.
Next, it’s time to introduce the star of the show: the lemon juice. Pour in the 1 cup of fresh lemon juice. Freshly squeezed is non-negotiable for the brightest, most authentic lemon flavor. If you’re using bottled, make sure it’s 100% lemon juice, but the aroma and tang of fresh will be noticeably superior. Whisk the lemon juice into the sugar mixture until it’s smooth. It might look a little thin and watery at this stage, and that’s perfectly normal.
Incorporating the Eggs and Cooking the Curd
Now for the eggs. In a separate small bowl, lightly beat the 3 large eggs. You don’t need to whip them into a frenzy, just break up the yolks and whites so they are well combined. Gradually whisk the beaten eggs into the lemon juice and sugar mixture in the saucepan. It’s important to do this slowly and continuously whisk to temper the eggs. This means you’re gently raising the temperature of the eggs with the warm liquid, preventing them from scrambling into little eggy bits when they hit the heat. Continue whisking until everything is well incorporated and the mixture is a uniform pnon-alcoholic ale yellow.
Place the saucepan over medium-low heat. This is where patience is key. You’re aiming for a gentle simmer, not a rolling boil. Stir the mixture constantly with a whisk or a heatproof spatula. As the curd heats up, itgin extractll begin to thicken. Keep stirring, scraping the bottom and sides of the pan to ensure even cooking and prevent any sticking or burning. You’ll notice the mixture gradually becoming more viscous. This process can take anywhere from 8 to 15 minutes, depending on your stovetop and the heat level. The curd is ready when it has thickened enough to coat the back of a spoon. You should be able to draw a line through the curd on the back of the spoon with your finger, and the line should hold its shape without immediately running back together. This consistency is crucial for a perfect lemon curd.
Finishing Touches for a Silky Smooth Curd
Once the lemon curd has reached the desired thickness, remove the saucepan from the heat immediately. This is important to stop the cooking process and prevent the eggs from overcooking, which can alter the texture. Now it’s time to add the richness and gloss. Add the 2 tablespoons of unsalted butter, cut into small pieces, to the hot curd. Continue stirring gently until the butter has completely melted and incorporated into the curd. The butter adds a wonderful richness and helps to create that signature silken texture. Don’t rush this step; let the residual heat of the curd do its work.
Finally, stir in the 1 teaspoon of grated lemon rind. This zesty addition will amplify the lemon flavor and add a beautiful fragrant aroma to your finished curd. Make sure to only grate the yellow part of the lemon peel, avoiding the bitter white pith. Use a fine grater or microplane for best results. Give the curd a final thorough stir to ensure all the ingredients are beautifully blended. The resulting curd should be smooth, glossy, and intensely lemony.
Straining and Chilling for Optimal Flavor
For an exceptionally smooth and refined lemon curd, I highly recommend straining it. Pour the finished curd through a fine-mesh sieve into a clean bowl. This step removes any tiny bits of cooked egg that may have formed, as well as any zest that hasn’t fully integrated, ensuring a completely silken texture. Use a spatula to gently press the curd through the sieve. It will seem like you’re losing some product, but the result is well worth it for that ultra-smooth mouthfeel.
Once strained, cover the surface of the lemon curd directly with plastic wrap. This prevents a skin from forming as it cools. Allow the curd to cool at room temperature for about 30 minutes, then refrigerate it for at least 2-3 hours, or until thoroughly chilled and set. Chilling is essential not only for the curd to firm up but also for the flavors to meld and deepen. The lemon flavor will become more pronounced and the texture will be perfect for spreading, dolloping, or using as a filling. You’ll find this homemade lemon curd is far superior to any store-bought version.
Conclusion:
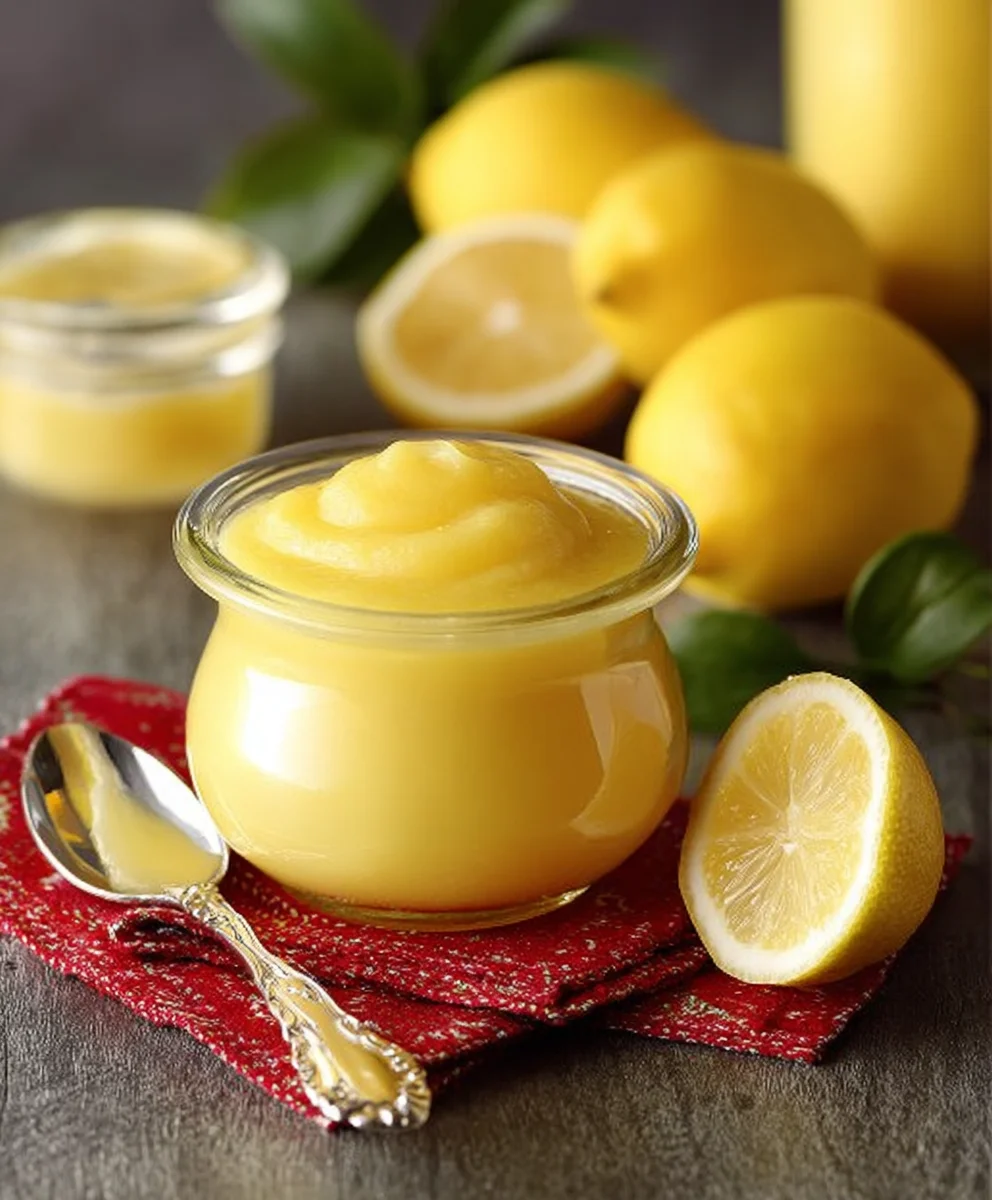
You’ve now learned How to Make Lemon Curd, a vibrant and versatile treat that’s surprisingly simple to master. This classic recipe yields a silky smooth, intensely flavored curd that is the perfect balance of tart and sweet. Enjoy the satisfaction of creating this delicious condiment from scratch. It’s a truly rewarding experience that will elevate your desserts and breakfasts!
Consider serving your homemade Lemon Curd with a variety of options to truly showcase its deliciousness. It’s fantastic dolloped onto warm scones or fluffy pancakes, spread between layers of a Victoria sponge cake, or as a luscious filling for tarts and pastries. Don’t be afraid to get creative! For variations, try infusing your curd with a hint of lavender or a touch of gin extractger for a different flavor profile. You can also experiment with different citrus fruits like lime or grapefruit for exciting twists. Embrace the joy of making this delightful Lemon Curd and share it with friends and family!
Frequently Asked Questions about How to Make Lemon Curd:
Q: How long will homemade Lemon Curd last?
A: Properly stored in an airtight container in the refrigerator, your homemade Lemon Curd should last for about 1 to 2 weeks. Always ensure it’s well chilled before serving.
Q: Can I freeze Lemon Curd?
A: Yes, you can freeze Lemon Curd. To do so, portion it into freezer-safe containers or ice cube trays. It can be stored in the freezer for up to 3 months. Thaw it in the refrigerator overnight before using.
Q: My Lemon Curd is a bit lumpy. What went wrong?
A: Lumps in your Lemon Curd can often be caused by the eggs cooking too quickly, creating small scrambled egg bits. To avoid this, ensure you whisk constantly over low to medium heat. If you do end up with lumps, you can try straining the curd through a fine-mesh sieve once it’s cooled slightly to achieve a smoother texture.
Easy Lemon Curd Recipe-Perfectly Tangy & Sweet
A lusciously smooth and intensely flavorful lemon curd recipe that is perfectly tangy and sweet, ideal for fillings, toppings, or spreading.
Ingredients
-
1 cup plus 2 tablespoons granulated sugar
-
1 tablespoon cornstarch
-
1/8 teaspoon salt
-
1 cup fresh lemon juice
-
3 large eggs
-
2 tablespoons unsalted butter, cut into small pieces
-
1 teaspoon grated lemon rind
Instructions
-
Step 1
In a medium, heavy-bottomed saucepan, whisk together the granulated sugar, cornstarch, and salt until well combined and no lumps remain. -
Step 2
Pour in the fresh lemon juice and whisk until smooth. The mixture might appear thin at this stage. -
Step 3
In a separate small bowl, lightly beat the eggs. Gradually whisk the beaten eggs into the lemon juice and sugar mixture, tempering them slowly while whisking continuously. -
Step 4
Place the saucepan over medium-low heat. Stir the mixture constantly, scraping the bottom and sides, until it thickens enough to coat the back of a spoon. This typically takes 8-15 minutes. Do not boil. -
Step 5
Remove from heat. Add the butter pieces and stir until completely melted and incorporated. Stir in the grated lemon rind. -
Step 6
Pour the curd through a fine-mesh sieve into a clean bowl to ensure a silky smooth texture. Press gently with a spatula. -
Step 7
Cover the surface directly with plastic wrap to prevent a skin from forming. Let cool at room temperature for 30 minutes, then refrigerate for at least 2-3 hours, or until thoroughly chilled and set.
Important Information
Nutrition Facts (Per Serving)
It is important to consider this information as approximate and not to use it as definitive health advice.
Allergy Information
Please check ingredients for potential allergens and consult a health professional if in doubt.