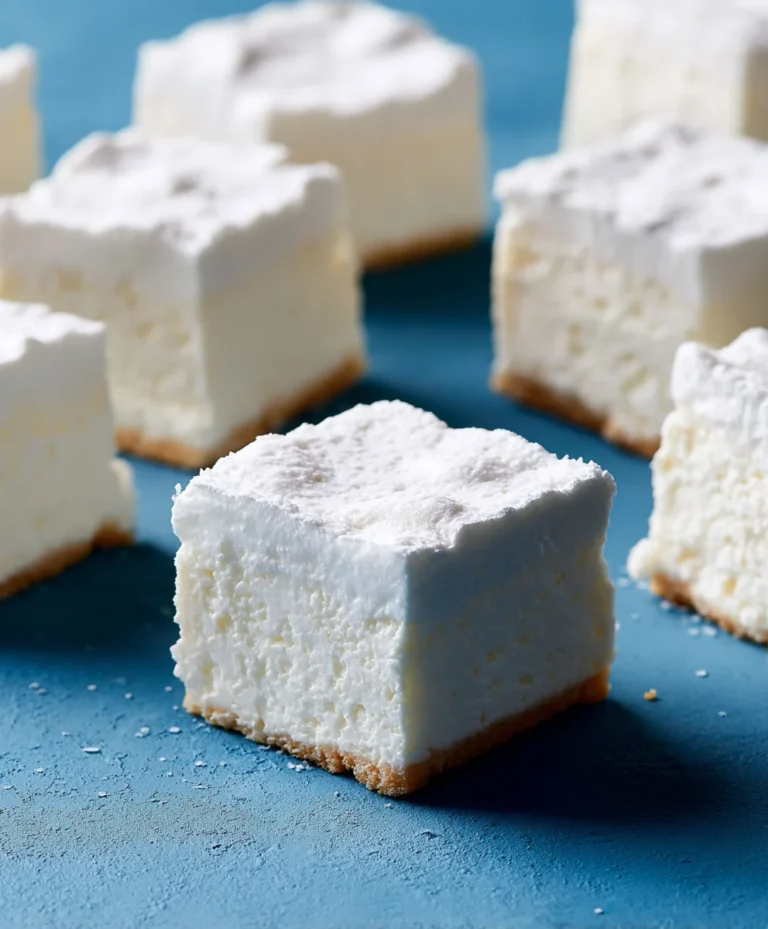
Easy Milk Bread Recipe – Softest Loaf Ever
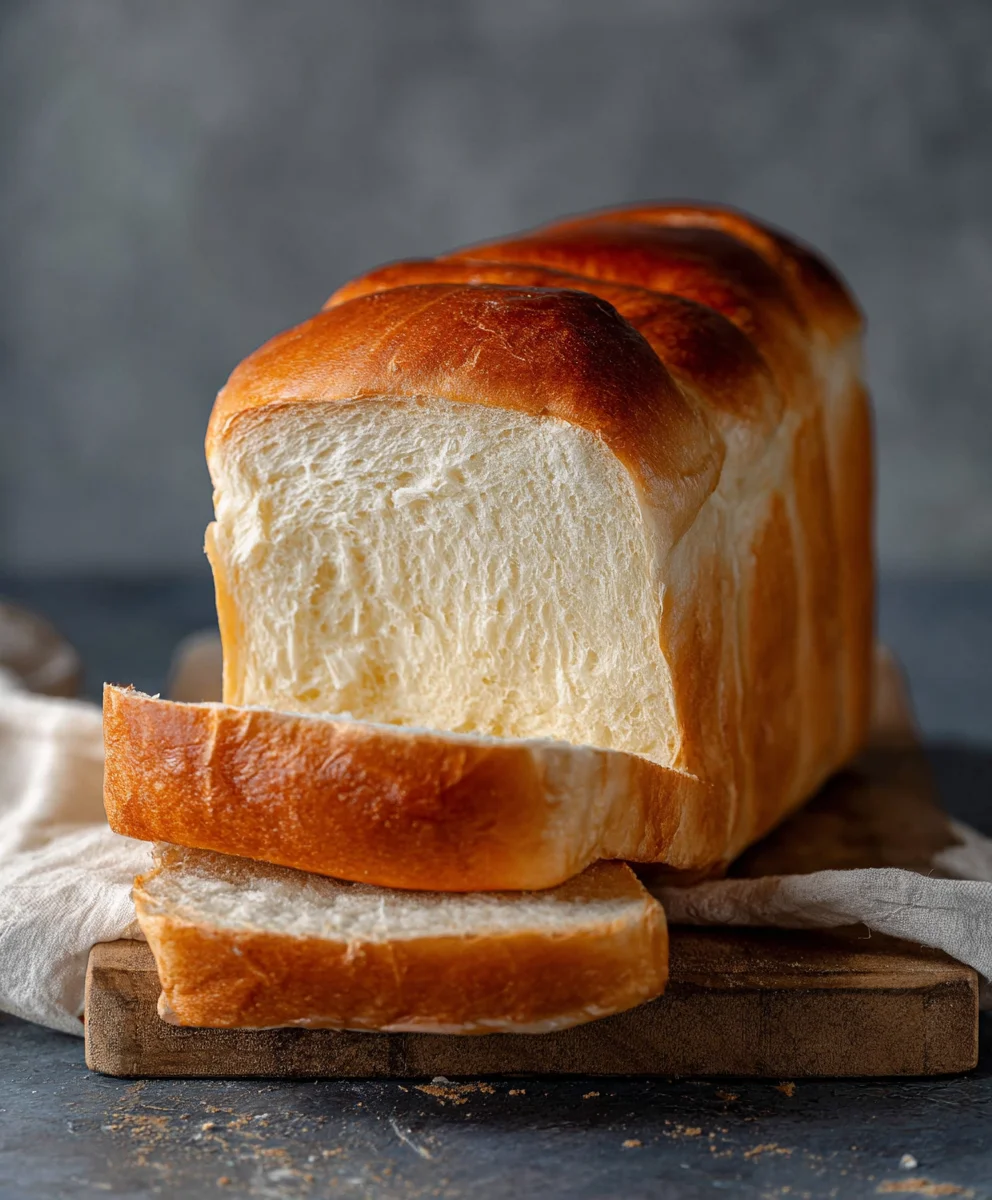
Easy Milk Bread Loaf is more than just a recipe; it’s an invitation to experience pure, unadulterated comfort in every soft, pillowy bite. Have you ever craved that perfect slice of bread, the kind that boasts an impossibly tender crum extractb and a delicately sweet aroma that fills your entire kitchen? This Easy Milk Bread Loaf delivers precisely that, and then some. It’s the ultimate crowd-pleaser, beloved by bakers of all skill levels for its foolproof nature and consistently delicious results. What truly sets this Easy Milk Bread Loaf apart is its secret to that signature fluffiness: milk, of course, which adds a subtle richness and a heavenly softness that sets it apart from ordinary white bread. Get ready to transform your baking routine with this delightful and surprisingly simple recipe that will have everyone asking for seconds.
Ingredients:
- 500 g bread flour (this is approximately 3¾ cups, so have about 4 cups on hand just in case)
- 40 g granulated sugar (which is about 3 tablespoons)
- 1½ teaspoons instant yeast (make sure it’s instant and not active dry, as they behave differently)
- 225 g cold water (a little less than 1 cup)
- 115 g cold milk (this is about ½ cup)
- 9 g sea salt (approximately 1½ teaspoons)
- 25 g unsalted butter, softened slightly (this is about 1¾ tablespoons)
- Extra butter for greasing your loaf pan and brushing the top of the finished bread
- Extra flour for dusting your loaf pan
Making the Dough
Mixing the Dry Ingredients
In a large mixing bowl, whisk together the bread flour, sugar, and instant yeast. Ensure they are thoroughly combined. This step is crucial for even distribution of the yeast and sugar, which will lead to a consistent rise. If you’re using a stand mixer, you can add these ingredients directly to the mixer bowl.
Adding the Wet Ingredients
Next, pour in the cold water and cold milk. This might seem counterintuitive to use cold liquids for bread, but for an Easy Milk Bread Loaf, it helps control the fermentation process, allowing for better gluten development. Stir the ingredients together with a spatula or your hands until a shaggy dough begin extracts to form. Don’t worry if it looks messy and unappealing at this stage; that’s perfectly normal. At this point, add the sea salt. Salt can inhibit yeast activity if it comes into direct contact before being incorporated into the dough, so adding it now is ideal.
Kneading the Dough
Now it’s time to develop the gluten. If you’re using a stand mixer, attach the dough hook and knead on low speed for about 8-10 minutes. You’re looking for a smooth, elastic dough that pulls away from the sides of the bowl. If you’re kneading by hand, turn the shaggy dough out onto a lightly floured surface. Start kneading by pushing the dough away from you with the heels of your hands, then folding it back over itself. Rotate the dough and repeat. This process can take 10-15 minutes. You’ll know it’s ready when it’s no longer sticky and springs back slowly when gently poked.
Incorporating the Butter
Once the dough has developed a good amount of elasticity, it’s time to add the softened unsalted butter. If using a stand mixer, add the softened butter in small pieces and continue kneading on low speed until it’s fully incorporated into the dough. The dough might seem a bit greasy or sticky at first as the butter is added, but keep kneading. The dough will become smooth and supple again. If kneading by hand, gradually add the butter to the dough, working it in until it’s no longer visible. This step adds richness and tenderness to your Easy Milk Bread Loaf.
First Rise (Bulk Fermentation)
Lightly grease a clean bowl with a little bit of oil or cooking spray. Place the kneaded dough into the bowl, turning it to coat all sides. Cover the bowl tightly with plastic wrap or a damp kitchen towel. Let the dough rise in a warm, draft-free place for about 1 to 1.5 hours, or until it has doubled in size. The exact time will depend on the temperature of your kitchen. You can test if it’s ready by gently poking the dough with a floured finger; if the indentation remains, it’s ready.
Shaping the Loaf
Deflating and Pre-shaping
Once the dough has doubled, gently punch it down to release the air. Turn the dough out onto a lightly floured surface. For an Easy Milk Bread Loaf, we’ll shape it into a simple loaf. Gently flatten the dough into a rectangle, about the width of your loaf pan. Try to make the surface as smooth as possible.
Forming the Loaf
Starting from the short end of the rectangle, tightly roll up the dough, pressing down with each roll to create tension and remove air pockets. Pinch the seam closed to seal it. Tuck the ends under to create a neat, uniform shape. This tension is key for a good crum extractb structure.
Second Rise (Proofing)
Grease your loaf pan generously with butter and dust it with flour. Tap out any excess flour. Carefully place the shaped dough seam-side down into the prepared loaf pan. Cover the pan loosely with plastic wrap or a damp kitchen towel. Let the dough rise again in a warm place for about 45 minutes to 1 hour, or until it has almost doubled in size and the dough is peeking over the rim of the pan. You want it to look puffy and airy.
Baking the Bread
Preheating and Brushing
Preheat your oven to 375°F (190°C). Once the dough has completed its second rise, gently brush the top of the loaf with melted butter. This will give the crust a beautiful golden-brown color and a soft, tender finish. Be gentle so you don’t deflate the risen dough.
Baking Time
Carefully place the loaf pan in the preheated oven. Bake for 30-40 minutes, or until the crust is a deep golden brown and the internal temperature of the bread reaches around 190-200°F (88-93°C) when measured with an instant-read thermometer. If the crust starts to brown too quickly, you can loosely tent it with aluminum foil during the last 10-15 minutes of baking.
Cooling and Enjoying
Cooling
Once baked, immediately remove the bread from the loaf pan and place it on a wire rack to cool completely. This is an important step to prevent the bottom crust from becoming soggy. Resist the urge to cut into it while it’s still hot; allowing it to cool fully will result in a much better texture and flavor.
Finishing Touches
As the bread is cooling, you can brush the top with a little more melted butter for an extra touch of richness and shine. Once cooled, slice and enjoy your delicious homemade Easy Milk Bread Loaf! It’s perfect for toasting, making sandwiches, or simply enjoying on its own with a smear of butter.
Conclusion:
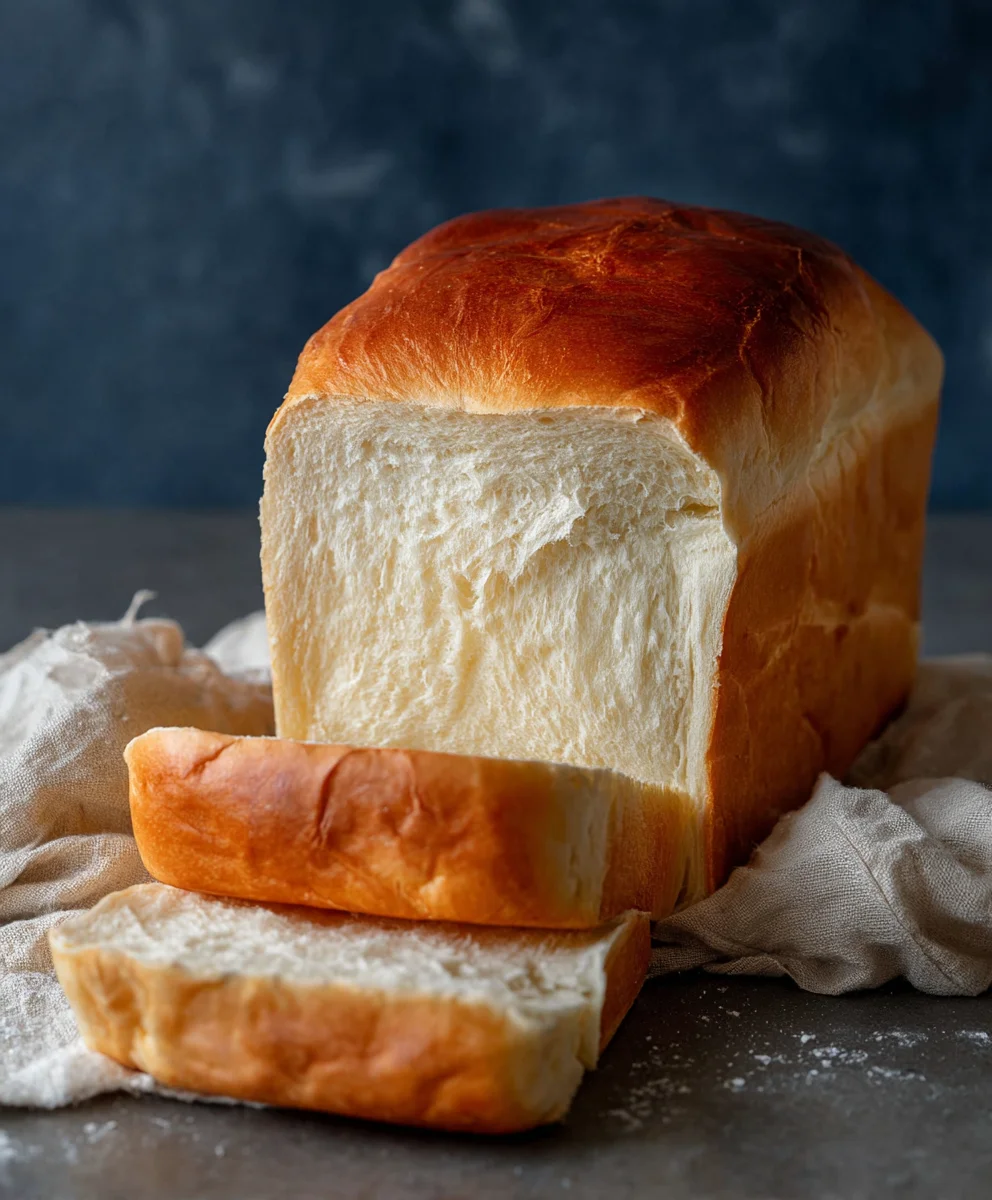
As you can see, making a delicious Easy Milk Bread Loaf at home is entirely achievable and incredibly rewarding! This recipe delivers a wonderfully soft, slightly sweet, and tender crum extractb that is perfect for a wide range of uses. Whether you’re looking for a simple sandwich bread, a base for French toast, or just a comforting slice to enjoy with a cup of tea, this Easy Milk Bread Loaf will not disappoint. Don’t be afraid to experiment with the serving suggestions and variations to make it your own. We encourage you to try this recipe soon and discover the joy of freshly baked milk bread!
Frequently Asked Questions:
Can I make this Easy Milk Bread Loaf without a stand mixer?
Absolutely! While a stand mixer makes kneading much easier, you can certainly achieve a well-kneaded dough by hand. It will require more time and effort, typically around 10-15 minutes of consistent kneading on a lightly floured surface until the dough is smooth, elastic, and passes the windowpane test.
How should I store my Easy Milk Bread Loaf?
Once completely cooled, your Easy Milk Bread Loaf can be stored at room temperature in an airtight container or bread bag for up to 3-4 days. For longer storage, you can slice the bread and freeze it in a freezer-safe bag or container for up to 2-3 months. Simply thaw at room temperature or toast slices directly from frozen.
Easy Milk Bread Recipe – Softest Loaf Ever
A simple recipe for the softest, most tender milk bread loaf.
Ingredients
-
500 g bread flour
-
40 g granulated sugar
-
1½ teaspoons instant yeast
-
225 g cold water
-
115 g cold milk
-
9 g sea salt
-
25 g unsalted butter, softened slightly
-
Extra butter for greasing and brushing
-
Extra flour for dusting
Instructions
-
Step 1
In a large mixing bowl, whisk together the bread flour, sugar, and instant yeast until thoroughly combined. -
Step 2
Pour in the cold water and cold milk. Stir with a spatula or hands until a shaggy dough forms. Add the sea salt. -
Step 3
Knead the dough using a stand mixer for 8-10 minutes, or by hand for 10-15 minutes, until smooth and elastic. Gradually incorporate the softened butter and continue kneading until smooth and supple. -
Step 4
Place the dough in a lightly greased bowl, cover, and let rise in a warm place for 1 to 1.5 hours, or until doubled in size. -
Step 5
Gently punch down the dough, flatten it into a rectangle, and tightly roll it up from the short end. Pinch the seam closed and tuck the ends under. -
Step 6
Place the shaped dough seam-side down in a greased and floured loaf pan. Cover and let rise for 45 minutes to 1 hour, or until almost doubled and peeking over the rim. -
Step 7
Preheat oven to 375°F (190°C). Gently brush the top of the risen dough with melted butter. -
Step 8
Bake for 30-40 minutes, or until the crust is deep golden brown and the internal temperature reaches 190-200°F (88-93°C). Tent with foil if browning too quickly. -
Step 9
Immediately remove from the pan and cool completely on a wire rack. Brush with more melted butter as it cools, if desired.
Important Information
Nutrition Facts (Per Serving)
It is important to consider this information as approximate and not to use it as definitive health advice.
Allergy Information
Please check ingredients for potential allergens and consult a health professional if in doubt.