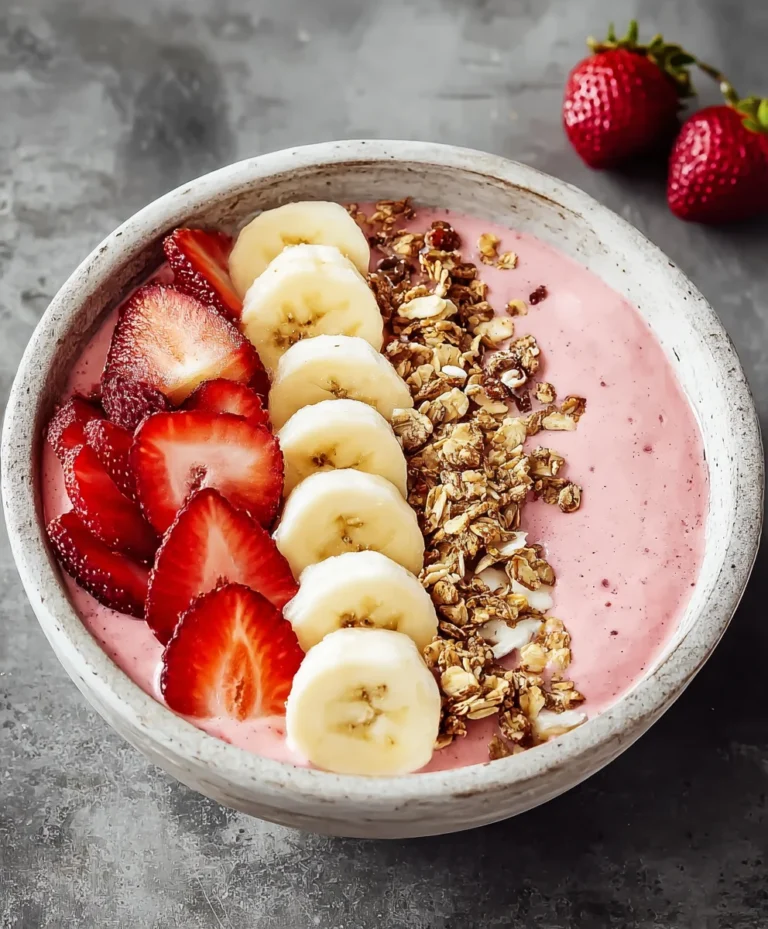
Easy Yogurt Bites Recipe-Healthy Snack Ideas
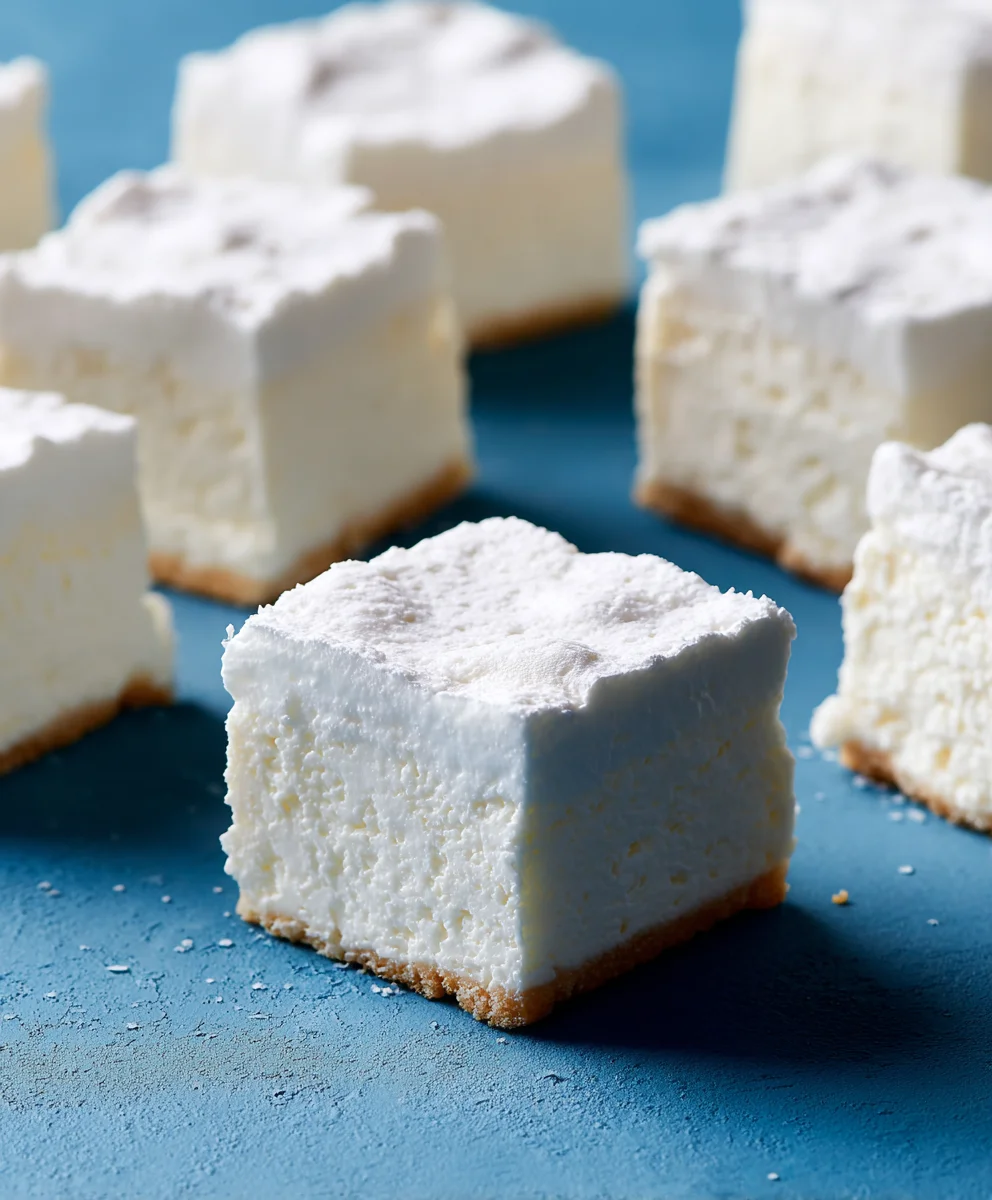
How To Make Yogurt Bites are more than just a simple snack; they’re a delightful explosion of creamy texture and refreshing flavor that has captured the hearts (and taste buds!) of families everywhere. Imagin extracte a treat that’s both wholesome and incredibly satisfying, perfect for little hands to grab and for busy adults to enjoy as a guilt-free indulgence. What’s not to love about these little gems? They’re wonderfully versatile, allowing for endless customization with your favorite fruits or a hint of sweetness. The magic of learning how to make yogurt bites lies in their effortless simplicity and the immediate joy they bring. They’re the ideal solution for those moments when you crave something light, healthy, and utterly delicious, transforming ordinary yogurt into an extraordinary experience that’s sure to become a staple in your recipe repertoire.
Ingredients:
- 2 cups plain Greek yogurt (full-fat or 2% will yield a richer flavor and creamier texture)
- 1/4 cup honey (or maple syrup for a vegan option; adjust to your desired sweetness)
- 1 teaspoon vanilla extract
- 1/2 cup fresh berries, finely chopped (such as strawberries, blueberries, raspberries, or a mix)
- 1/4 cup chopped nuts or seeds (optional, for added crunch and nutrients – think almonds, walnuts, pumpkin seeds, or sunflower seeds)
- Zest of 1/2 lemon or orange (optional, for a bright citrus note)
Getting Started: Preparing Your Workspace and Ingredients
This recipe is incredibly simple, making it perfect for a quick and healthy snack or treat. Before you begin extract mixing, it’s a good idea to prepare your workspace. Line a baking sheet with parchment paper or a silicone baking mat. This will prevent the yogurt bites from sticking and make them easy to peel off once frozen. Gather all your ingredients and have them measured out. If you’re using fresh berries, ensure they are washed, dried thoroughly, and chopped into small, bite-sized pieces. This is important so they distribute evenly throughout the yogurt and don’t create overly large ice chunks. For the nuts or seeds, if you choose to use them, give them a rough chop. If you’re using whole nuts, especially larger ones like walnuts, chopping them into smaller pieces will make the bites more enjoyable to eat. The optional citrus zest adds a lovely freshness, so if you’re including it, zest your lemon or orange directly into your mixing bowl.
Step 1: Creating the Yogurt Base
In a medium-sized mixing bowl, combine your plain Greek yogurt, honey (or maple syrup), and vanilla extract. Use a whisk or a sturdy spoon to mix these ingredients thoroughly until they are well combined and smooth. You want to ensure that the honey is completely incorporated and that there are no streaks of unmixed yogurt or sweetener. Take your time here; a smooth base is key to a delightful yogurt bite. The Greek yogurt provides a thick, creamy foundation, while the honey adds a touch of sweetness and helps to bind the ingredients slightly. The vanilla extract enhances the overall flavor profile, giving it a comforting aroma and taste. If you prefer a sweeter bite, feel free to add a little more honey, tasting as you go. Conversely, if you like it less sweet, start with a little less.
Step 2: Incorporating the Flavorful Add-ins
Now it’s time to elevate your yogurt base with the delightful additions. Gently fold in your finely chopped fresh berries. Be mindful not to overmix at this stage, as you want to keep the integrity of the berries and avoid crushing them too much, which can release excess liquid and make the mixture watery. If you’re using nuts or seeds, this is also the time to add them. Sprinkle them into the yogurt mixture and gently fold them in. The optional citrus zest can also be added now. Stir everything together just until the add-ins are evenly distributed throughout the yogurt. The vibrant colors of the berries will start to peek through the creamy white yogurt, making for a visually appealing mixture.
Step 3: Shaping the Yogurt Bites
This is where your yogurt mixture transforms into individual bites. Using a spoon or a small cookie scoop, drop spoonfuls of the mixture onto the prepared baking sheet. Aim for uniform sizes so that they freeze evenly. You can make them as small or as large as you like, but bite-sized portions are generally best for snacking. If you want a slightly neater appearance, you can gently spread each dollop a little flatter with the back of your spoon, but don’t flatten them too much, or they might spread too thin. Leave a little space between each yogurt bite, as they will expand slightly as they freeze. This step requires a bit of patience, as you’ll be spooning out each individual bite.
Step 4: The Freezing Process
Once your baking sheet is filled with yogurt bites, carefully place it into the freezer. Allow the yogurt bites to freeze completely. This typically takes about 2 to 4 hours, depending on the size of your bites and the temperature of your freezer. You’ll know they are ready when they are firm to the touch and no longer sticky. It’s crucial to let them freeze solid; otherwise, they will melt into a puddle when you try to remove them. Resist the urge to check on them too frequently, as opening the freezer door repeatedly can prolong the freezing time. Once they are frozen through, you can move to the next step.
Step 5: Storing Your Delicious Yogurt Bites
After the yogurt bites are completely frozen and firm, it’s time to store them. Carefully peel the parchment paper or silicone mat away from the frozen yogurt bites. You can then transfer them to an airtight container or a freezer-safe resealable bag. For best results and to prevent them from sticking together, you can place a layer of parchment paper between layers of yogurt bites within the container. This makes it easy to grab just a few at a time. These yogurt bites are best enjoyed within 1 to 2 weeks for optimal freshness and texture. They are a wonderful make-ahead treat that can be pulled out for a healthy breakfast, snack, or even a light dessert.
Conclusion:
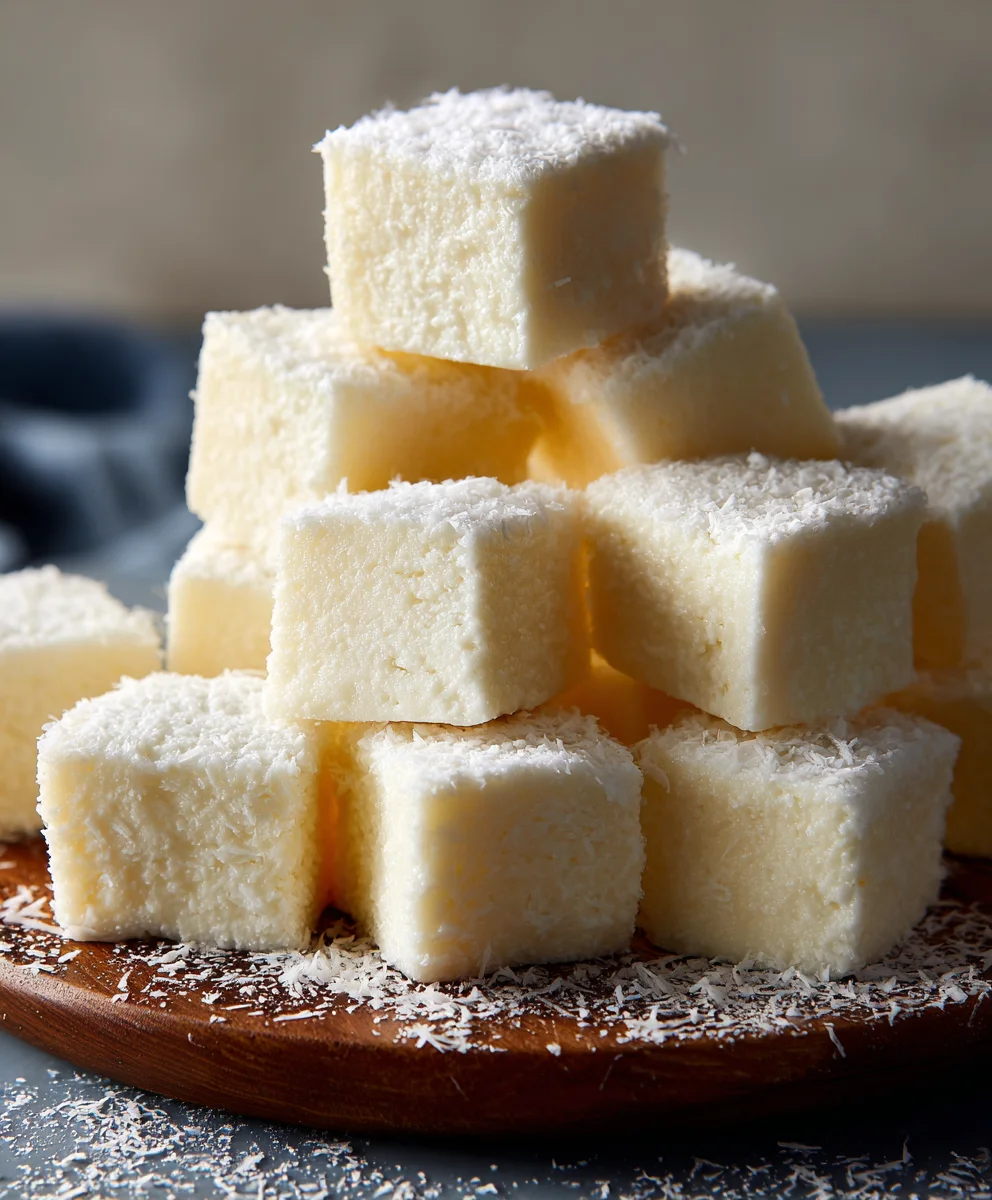
Now that you’ve mastered the art of making How To Make Yogurt Bites, you’re equipped with a delicious and healthy snack option that’s perfect for any occasion. These little bites are incredibly versatile and can be enjoyed straight from the freezer or slightly thawed for a creamier texture. They are an ideal make-ahead treat for busy mornings, post-workout fuel, or a delightful, guilt-free dessert. Feel free to get creative with your flavor combinations! Try adding a swirl of fruit puree, a pinch of cinnamon, or even some finely chopped nuts for added texture and taste. Don’t be afraid to experiment and discover your favorite way to enjoy these wonderful How To Make Yogurt Bites. We encourage you to share your creations and any new flavor ideas you come up with!
Frequently Asked Questions:
Can I use different types of yogurt for How To Make Yogurt Bites?
Absolutely! While plain Greek yogurt is a fantastic base due to its thickness and protein content, you can certainly experiment with other yogurts. Flavored yogurts, non-dairy options like coconut or almond yogurt, or even a regular plain yogurt will work. Keep in mind that the consistency might vary slightly, which could affect the firmness of your How To Make Yogurt Bites.
How long do How To Make Yogurt Bites last in the freezer?
Properly stored, How To Make Yogurt Bites can last in the freezer for up to 2-3 months. It’s best to keep them in an airtight container or a freezer-safe bag to prevent freezer burn and maintain their optimal texture and flavor.
Easy Yogurt Bites Recipe
A simple and healthy recipe for delicious yogurt bites, perfect for snacks or a light treat.
Ingredients
-
2 cups plain Greek yogurt
-
1/4 cup honey
-
1 teaspoon vanilla extract
-
1/2 cup fresh berries, finely chopped
-
1/4 cup chopped nuts or seeds
-
Zest of 1/2 lemon or orange
Instructions
-
Step 1
Prepare your workspace by lining a baking sheet with parchment paper or a silicone baking mat. Wash, dry, and finely chop berries. Roughly chop nuts or seeds if using. Zest citrus if including. -
Step 2
In a medium bowl, combine Greek yogurt, honey, and vanilla extract. Whisk until smooth and well combined. -
Step 3
Gently fold in the chopped berries, nuts/seeds, and optional citrus zest until evenly distributed. Avoid overmixing. -
Step 4
Using a spoon or cookie scoop, drop spoonfuls of the mixture onto the prepared baking sheet, leaving space between each bite. Aim for uniform size. -
Step 5
Place the baking sheet in the freezer and freeze for 2 to 4 hours, or until completely firm. -
Step 6
Once frozen solid, carefully peel the yogurt bites from the parchment paper. Transfer to an airtight container or freezer-safe bag for storage. Consider adding parchment paper between layers.
Important Information
Nutrition Facts (Per Serving)
It is important to consider this information as approximate and not to use it as definitive health advice.
Allergy Information
Please check ingredients for potential allergens and consult a health professional if in doubt.