Easy Baked Oatmeal Breakfast Cups Recipe
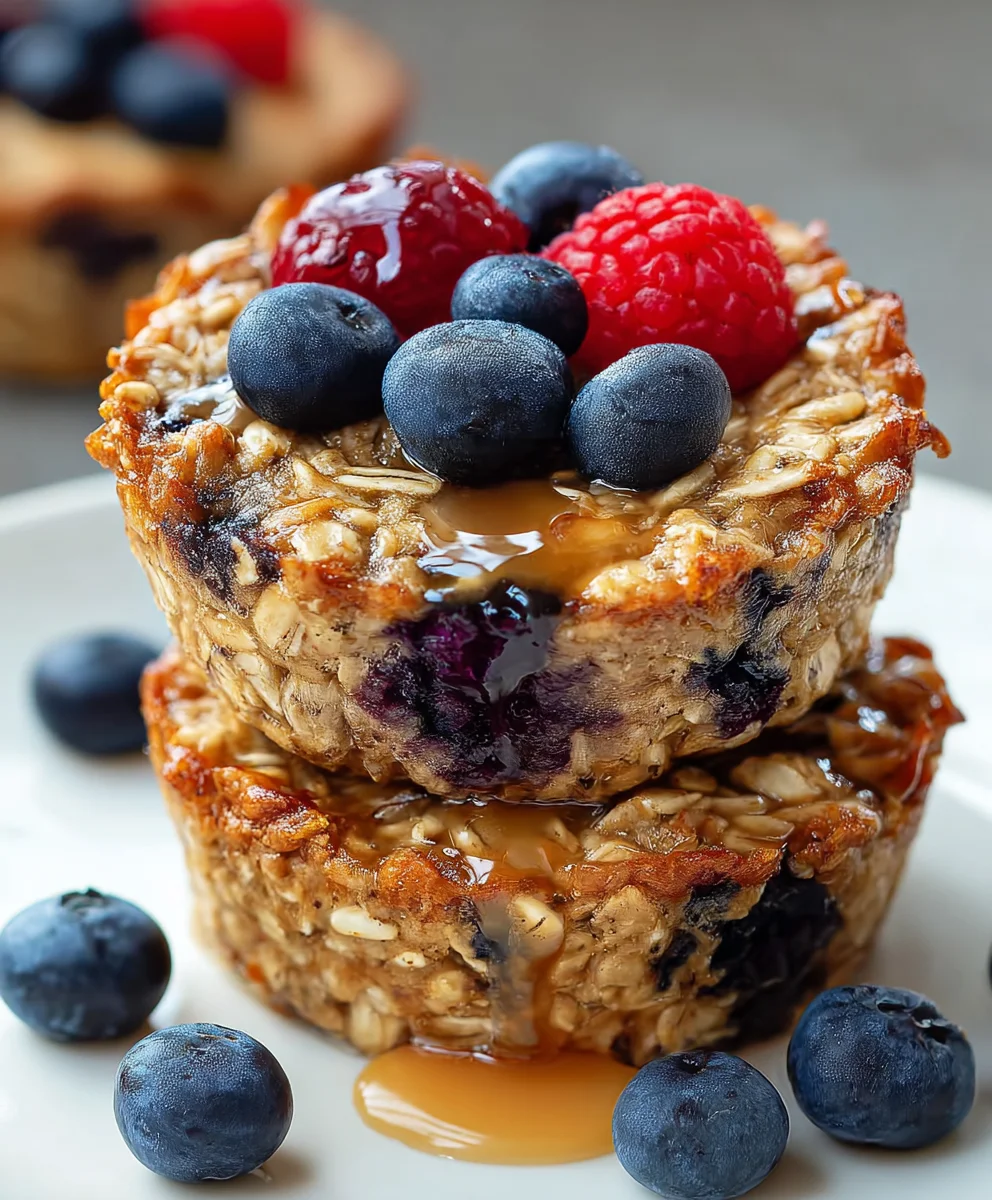
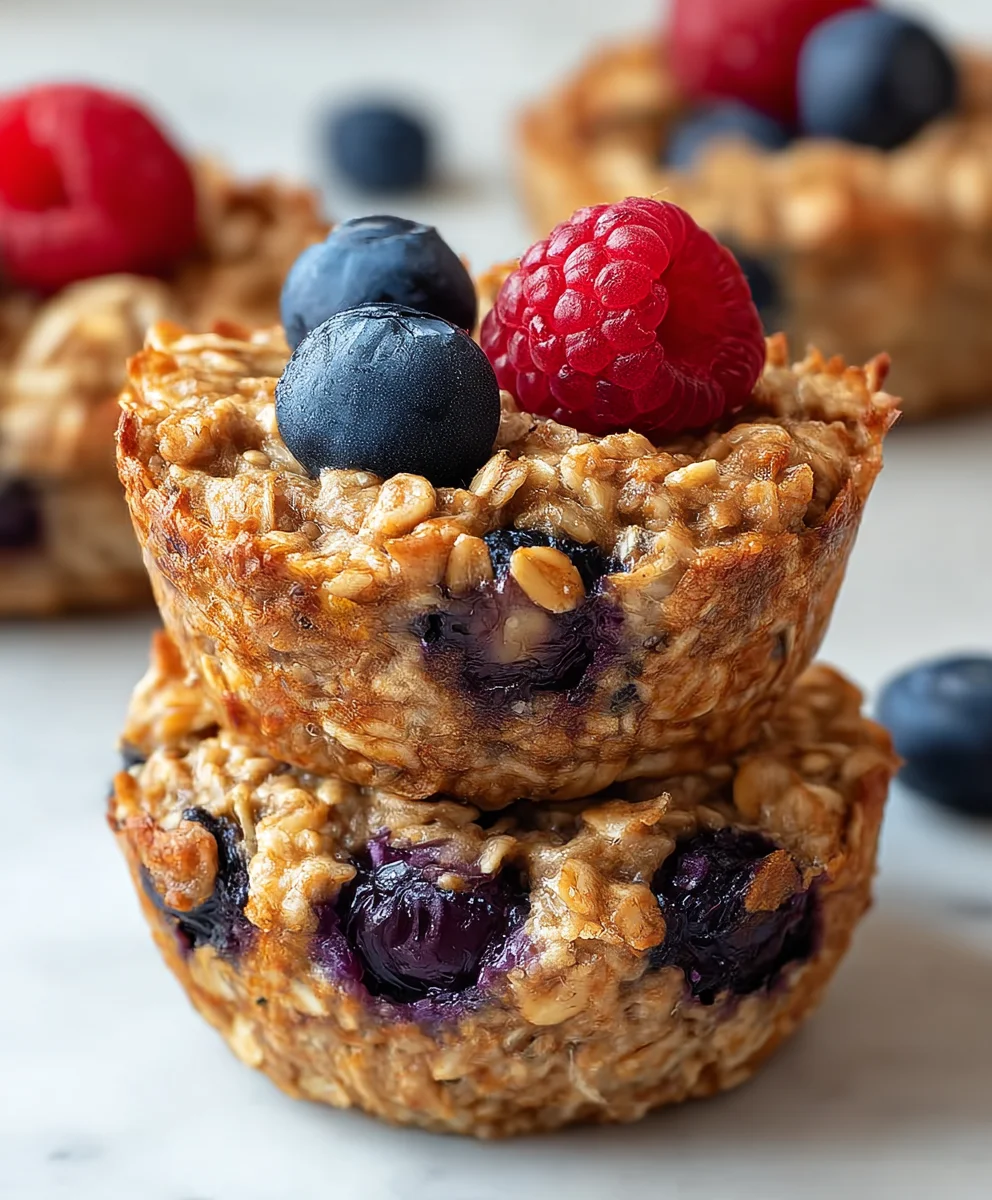
Baked Oatmeal Breakfast Cups are the ultimate game-changer for your morning routine. Imagin extracte waking up to a perfectly portioned, delightfully chewy, and incredibly flavorful breakfast that’s ready to grab and go. What’s not to love? These little wonders have captured hearts (and stomachs!) because they offer the wholesome goodness of oatmeal in a convenient, portable, and utterly delicious format. Forget mushy, bland oatmeal that leaves you hungry an hour later. These Baked Oatmeal Breakfast Cups transform simple oats into a satisfying treat, packed with your favorite additions like fresh berries, crunchy nuts, or warming spices. They’re the ideal solution for busy weekdays, lazy weekends, or whenever you crave a breakfast that feels both indulgent and nourishing. The magic lies in their customizable nature and the fact that they bake up into a delightful, firm texture that holds its shape beautifully, making them a true breakfast hero.
Ingredients:
- 2 cups rolled oats
- 2 medium ripe bananas
- 1 cup brown sugar
- 2 eggs
- 1 teaspoon baking powder
- 1 teaspoon vanilla extract
- 1 cup blueberries
Preparation: Getting Started
Preheating and Muffin Tin Prep
The first step to creating these delightful Baked Oatmeal Breakfast Cups is to get your oven ready. Preheat your oven to 375 degrees Fahrenheit (190 degrees Celsius). This consistent temperature is crucial for ensuring your oatmeal cups bake evenly and develop that perfect golden-brown exterior and tender interior. While the oven is preheating, it’s time to prepare your muffin tin. You’ll need a standard 12-cup muffin tin. To prevent any sticking and make cleanup a breeze, I highly recommend using muffin liners. You can opt for silicone liners, which are reusable and fantastic for this purpose, or standard paper liners. If you don’t have liners, generously grease each cup of the muffin tin with butter or non-stick cooking spray, making sure to get into all the nooks and crannies. This extra step will save you a lot of frustration later on.
Mixing the Base: Creating the Oatmeal Dough
Mashing the Bananas
Now, let’s get to the heart of our Baked Oatmeal Breakfast Cups: the base mixture. Grab your two medium ripe bananas. The riper the bananas, the sweeter and more flavorful your cups will be, and they’ll also contribute to the binding and moisture of the mixture. Place the peeled bananas in a large mixing bowl. Using a fork, mash them thoroughly until they are mostly smooth. A few small lumps are perfectly fine and can even add a pleasant texture. Avoid using an electric mixer at this stage, as a fork provides just the right amount of control.
Combining Wet Ingredients and Dry Ingredients
To the mashed bananas, add your two eggs. Whisk the eggs lightly before adding them to the bowl, which helps them incorporate more smoothly. Next, pour in the 1 cup of brown sugar. Brown sugar adds a lovely caramel-like sweetness and helps create a slightly chewy texture in the final product. Stir everything together until it’s well combined. Now, let’s incorporate the flavor enhancers. Add 1 teaspoon of vanilla extract. The vanilla adds a wonderful aroma and depth of flavor that complements the oats and bananas beautifully. Mix this wet ingredient combination until it’s homogeneous. In a separate, smaller bowl, combine your 2 cups of rolled oats and 1 teaspoon of baking powder. The baking powder is essential for providing a little lift and making the cups less dense. Whisk these dry ingredients together briefly to distribute the baking powder evenly throughout the oats.
Bringin extractg it All Together
It’s time to unite the wet and dry ingredients. Gradually add the oat and baking powder mixture to the wet ingredients in the large bowl. Stir gently with a spoon or spatula until just combined. Be careful not to overmix at this stage. Overmixing can develop the gluten in the oats too much, leading to tougher breakfast cups. You want the oats to be evenly coated with the banana mixture, but it’s okay if there are still a few dry pockets of oats.
Adding the Flavor Bursts: Incorporating Blueberries
Folding in the Blueberries
Now for the burst of freshness and color! Gently fold in your 1 cup of blueberries. I prefer using fresh blueberries for this recipe, as they tend to hold their shape and provide a lovely juicy pop. If you’re using frozen blueberries, do not thaw them beforehand. Adding them frozen helps prevent them from bleeding their color too much into the batter, and they will cook through perfectly in the oven. Distribute the blueberries evenly throughout the batter. Again, fold them in gently. You don’t want to mash the blueberries; the goal is to have them distributed so that each cup gets a good amount of fruit.
Baking the Breakfast Cups: The Final Transformation
Filling the Muffin Tin
Once your batter is ready and the blueberries are incorporated, it’s time to fill your prepared muffin cups. Using a spoon or an ice cream scoop, carefully fill each muffin cup about two-thirds to three-quarters full. Avoid overfilling, as the oatmeal mixture will puff up slightly as it bakes. Aim for consistency in your filling so that all the breakfast cups bake at a similar rate. If you notice any bare spots or unevenness, use your spoon to gently nudge the batter.
Baking to Perfection
Place the filled muffin tin into your preheated oven on the center rack. Bake for approximately 20 to 25 minutes. The exact baking time can vary depending on your oven, so keep an eye on them. You’ll know they’re ready when the tops are golden brown and set. A toothpick inserted into the center of a cup should come out clean, or with just a few moist crum extractbs attached. If the tops are browning too quickly but the centers are still soft, you can loosely tent the muffin tin with aluminum foil for the last 5-10 minutes of baking. This prevents excessive browning while allowing the centers to finish cooking through.
Cooling and Serving
Once baked, carefully remove the muffin tin from the oven. Let the Baked Oatmeal Breakfast Cups cool in the muffin tin for about 5 to 10 minutes. This initial cooling period allows them to firm up and makes them easier to remove from the tin without breaking. After this brief cooling period, you can carefully lift them out using the edges of the liners or a small spatula and transfer them to a wire cooling rack to cool completely. Allowing them to cool on a wire rack ensures that steam can escape from all sides, preventing a soggy bottom. These delicious breakfast cups are wonderful served warm or at room temperature. They are fantastic on their own, or you can add a drizzle of honey, a dollop of yogurt, or a sprinkle of extra fresh berries. Enjoy these wholesome and portable breakfast treats!
Conclusion:
And there you have it – your very own batch of delicious Baked Oatmeal Breakfast Cups! This recipe is a fantastic way to kickstart your mornings with a healthy and satisfying meal that you can prepare ahead of time. The combination of hearty oats, sweet fruit, and a hint of spice creates a wonderfully comforting breakfast experience. I hope you enjoy them as much as I do!
These Baked Oatmeal Breakfast Cups are incredibly versatile. Serve them warm with a drizzle of honey, a dollop of yogurt, or a sprinkle of fresh berries. They are also perfectly portable for those busy mornings when you need breakfast on the go. Don’t be afraid to experiment with different fruits, nuts, or seeds to make them your own. Think apples and cinnamon, blueberries and almond, or even a tropical mix with mango and coconut!
The beauty of this recipe lies in its simplicity and adaptability. With just a few basic ingredients, you can create a wholesome breakfast that will keep you energized throughout the day. So go ahead, get baking, and make your mornings a little brighter and a lot more delicious with these amazing Baked Oatmeal Breakfast Cups!
Frequently Asked Questions:
Q1: Can I make Baked Oatmeal Breakfast Cups ahead of time?
Absolutely! These Baked Oatmeal Breakfast Cups are perfect for meal prep. You can bake them at the begin extractning of the week and store them in an airtight container in the refrigerator for up to 4-5 days. Simply reheat them in the microwave or toaster oven for a quick and easy breakfast.
Q2: What are some other flavor variations for Baked Oatmeal Breakfast Cups?
The possibilities are endless! Besides the suggested fruit options, you can add ingredients like chopped nuts (walnuts, pecans), seeds (chia seeds, flax seeds), shredded coconut, mini chocolate chips, or even a pinch of cocoa powder for a chocolatey twist. Spices like nutmeg or cardamom can also add wonderful depth of flavor.
Easy Baked Oatmeal Breakfast Cups Recipe
Wholesome and portable breakfast treats made with rolled oats, ripe bananas, brown sugar, eggs, baking powder, vanilla extract, and blueberries. Perfect for a quick and healthy start to your day.
Ingredients
-
2 cups rolled oats
-
2 medium ripe bananas
-
1 cup brown sugar
-
2 eggs
-
1 teaspoon baking powder
-
1 teaspoon vanilla extract
-
1 cup blueberries
Instructions
-
Step 1
Preheat oven to 375°F (190°C) and prepare a 12-cup muffin tin by lining it with paper or silicone liners, or by greasing each cup thoroughly. -
Step 2
In a large bowl, mash the two ripe bananas with a fork until mostly smooth. Add the two eggs, 1 cup of brown sugar, and 1 teaspoon of vanilla extract. Whisk until well combined. -
Step 3
In a separate small bowl, combine the 2 cups of rolled oats and 1 teaspoon of baking powder. Whisk briefly. -
Step 4
Gradually add the oat mixture to the wet ingredients, stirring gently until just combined. Do not overmix. -
Step 5
Gently fold in 1 cup of blueberries (fresh or frozen, do not thaw frozen berries). -
Step 6
Spoon the batter into the prepared muffin cups, filling each about two-thirds to three-quarters full. -
Step 7
Bake for 20-25 minutes, or until the tops are golden brown and a toothpick inserted into the center comes out clean. If tops brown too quickly, tent with foil for the last 5-10 minutes. -
Step 8
Let cool in the muffin tin for 5-10 minutes before transferring to a wire rack to cool completely. Serve warm or at room temperature.
Important Information
Nutrition Facts (Per Serving)
It is important to consider this information as approximate and not to use it as definitive health advice.
Allergy Information
Please check ingredients for potential allergens and consult a health professional if in doubt.