Easy Pizza Eggs Recipe-Breakfast Done Right
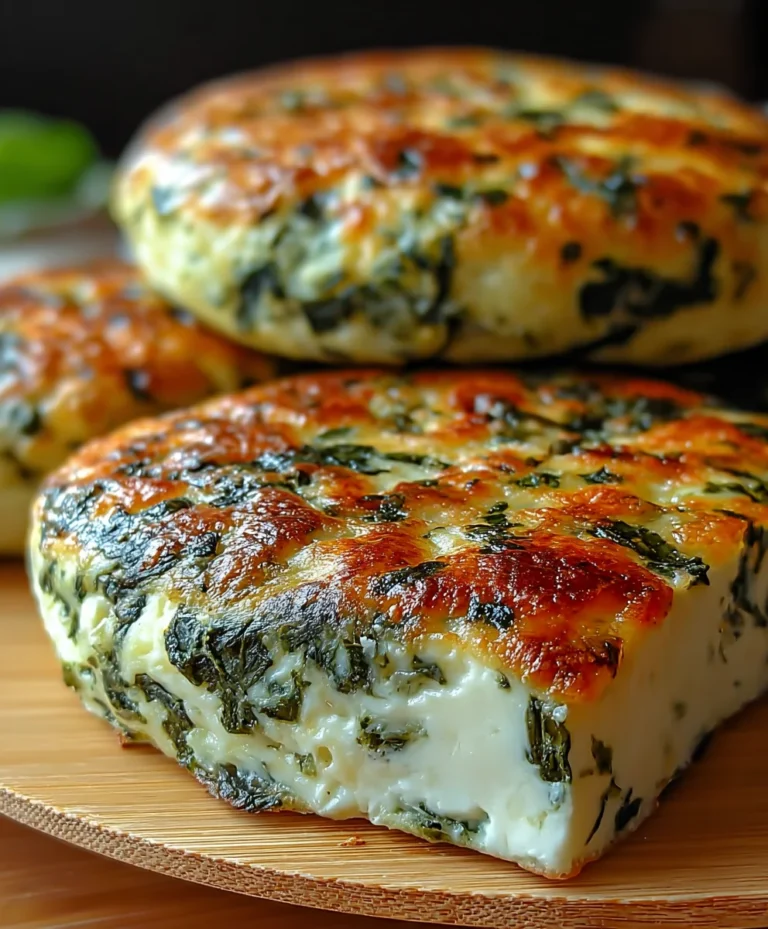
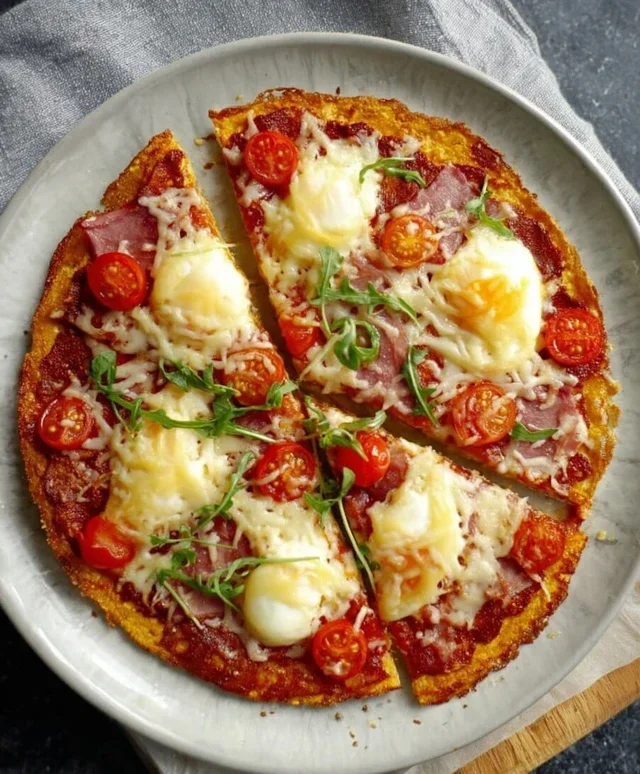
Pizza eggs are about to become your new breakfast obsession. Forget your usual scrambled eggs or boring omelets; we’re about to elevate your morning meal to a whole new, delicious level. Imagin extracte all the irresistible flavors of your favorite pizza – the tangy tomato sauce, the gooey melted cheese, and your choice of savory toppings – all perfectly baked with fluffy eggs. It’s a breakfast masterpiece that’s surprisingly simple to create and impossibly satisfying. People adore pizza eggs because they deliver that comforting, familiar pizza experience in a whole new format, making breakfast feel like a treat. What truly makes this dish special is its incredible versatility; you can customize it with any pizza toppings you crave, transforming it from a quick weeknight dinner hack into a weekend brunch showstopper. Get ready to fall in love with pizza eggs!
Pizza Eggs
Are you craving pizza but also looking for a quicker, egg-cellent way to satisfy that craving? Look no further! Pizza Eggs are the ultimate fusion dish, combining the savory flavors of your favorite pizza with the ease and speed of a breakfast scramble or frittata. This recipe is perfect for a light lunch, a satisfying breakfast, or even a quick weeknight dinner when you’re short on time but big on flavor. We’re going to transform a few simple ingredients into a delightful mini pizza experience, all without the fuss of dough. Get ready to impress yourself and anyone lucky enough to share this with you!
Ingredients:
Cooking Instructions
This recipe is incredibly straightforward, making it ideal for even novice cooks. The key is to layer the flavors and allow the cheese to melt perfectly, creating that gooey, irresistible pizza-like texture. We’ll be using a non-stick pan to ensure everything releases easily and beautifully.
Step 1: Prepare the Base
First, let’s get our eggs ready for their pizza transformation. In a medium-sized bowl, crack your 3 eggs. We’re aiming for a light and fluffy base, so don’t over-beat them. A gentle whisking with a fork until the yolks and whites are just combined is perfect. You don’t want to incorporate too much air, as this can make the eggs a bit too foamy. Once whisked, add a generous pinch of your mixed herbs to the eggs. This will infuse them with a lovely aromatic quality that complements the other pizza flavors. Make sure the herbs are distributed evenly throughout the egg mixture.
Step 2: Sauté the Beef Salami
Now, let’s bring in that classic pizza element: the beef salami! Finely chop your few slices of beef beef salami. The smaller pieces will distribute more evenly throughout the eggs and crisp up beautifully. Place a non-stick frying pan over medium heat. You don’t necessarily need any oil for this step if your pan is truly non-stick, as the beef salami will release its own fat. Add the chopped beef salami to the warm pan and cook for about 2-3 minutes, stirring occasionally, until it starts to turn slightly crispy and golden brown. This process renders out some of the fat and intensifies its flavor. Once crispy, remove the beef salami from the pan and set it aside on a plate lined with a paper towel to drain any excess grease. Leave any rendered fat in the pan, as this will add extra flavor to our eggs.
Step 3: Cook the Egg Base
Return the frying pan (with the residual beef salami fat, if any) to medium-low heat. Pour the prepared egg mixture into the pan. Let the eggs cook undisturbed for about 1-2 minutes, or until the edges start to set. At this stage, you can gently push the cooked edges towards the center with a spatula, tilting the pan so the uncooked egg flows underneath. Continue this process until the eggs are mostly set but still have a slightly wet, creamy surface. This technique ensures a uniform cooking and a tender texture.
Step 4: Add the Pizza Toppings
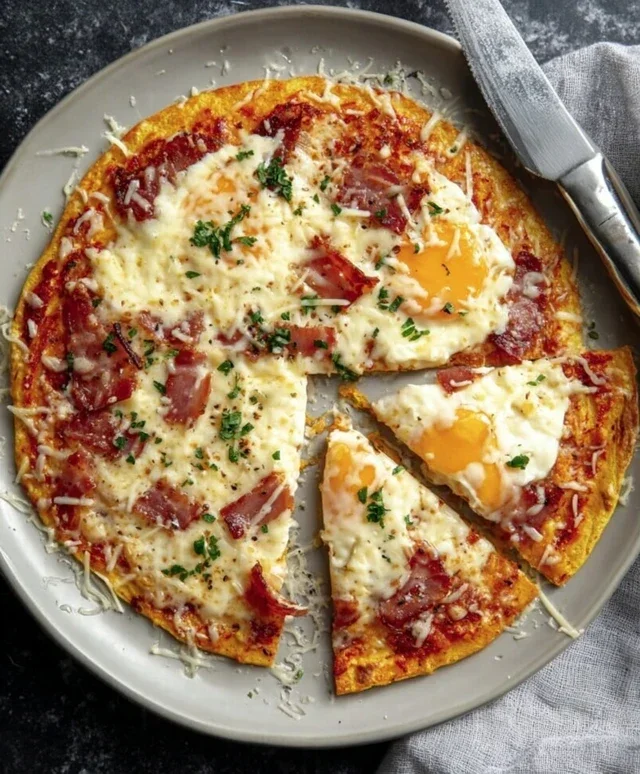
Now for the fun part – turning our cooked eggs into mini pizzas! Sprinkle the cooked, chopped beef salami evenly over the surface of the semi-cooked eggs. Next, spread the 1 tbsp of passata over the beef salami and eggs. Try to distribute it as evenly as possible without disrupting the egg too much. A small spoon or the back of another spoon works well for this. Finally, generously sprinkle the 60 g of reduced-fat cheese over the top. Ensure a good coverage so that every bite gets a taste of that cheesy goodness.
Step 5: Melt the Cheese and Finish
Reduce the heat to low, and cover the frying pan with a lid. This is crucial for allowing the cheese to melt perfectly without overcooking the eggs. Let it cook for another 2-4 minutes, or until the cheese is completely melted, bubbly, and slightly golden in places. The steam trapped by the lid will help the cheese melt evenly. You’ll know it’s ready when the cheese is beautifully gooey and the eggs are fully cooked through. Once melted and perfectly cooked, carefully slide the Pizza Eggs onto a plate. You can serve them as is, or if you prefer a more defined “pizza” shape, you can use a spatula to cut it into wedges directly in the pan before sliding it out. Enjoy your delicious, homemade Pizza Eggs! They’re a fantastic way to enjoy pizza flavors any time of day.
Conclusion:
There you have it! My fantastic recipe for Pizza Eggs is ready for you to try. This dish is a brilliant way to combine the comforting flavors of pizza with the satisfying protein of eggs, making it perfect for breakfast, brunch, or even a light dinner. It’s incredibly versatile, quick to prepare, and always a crowd-pleaser. The beauty of this Pizza Eggs recipe lies in its adaptability – you can truly make it your own. Whether you’re looking for a speedy weekday meal or a fun weekend treat, this recipe delivers deliciousness every time.
I love serving my Pizza Eggs as is, perhaps with a side of fresh greens or some crusty bread for dipping. For variations, don’t be afraid to experiment! Add your favorite pizza toppings like different cheeses, pre-cooked sausage or beef pepperoni, or even some sautéed mushrooms and onions. You could also try using different types of eggs, like quail eggs for a bite-sized treat, or a larger frittata-style bake. I wholeheartedly encourage you to get in your kitchen and give this delightful dish a go. You won’t regret it!
Frequently Asked Questions:
Can I make Pizza Eggs ahead of time?
Yes, you can! You can prepare the toppings and even pre-bake the crust slightly if you’re using one. However, the eggs themselves are best cooked fresh for optimal texture and flavor. You can, however, assemble and refrigerate the uncooked pizza egg mixture and bake it when you’re ready to serve.
What kind of pan is best for Pizza Eggs?
A well-seasoned cast-iron skillet is fantastic for this recipe as it distributes heat evenly and helps create a lovely crispy bottom if you’re aiming for that. However, any oven-safe non-stick skillet will work perfectly well. If you’re making a larger frittata-style Pizza Eggs, an oven-safe baking dish is ideal.
Are there any vegetarian options for Pizza Eggs?
Absolutely! This recipe is incredibly vegetarian-friendly. Simply load it up with your favorite veggies like bell peppers, onions, olives, spinach, and mushrooms. You can also add plant-based sausage crum extractbles for extra heartiness.
Pizza Eggs
A quick and easy breakfast or brunch that combines the flavors of pizza with eggs.
Ingredients
-
3 eggs
-
60 g reduced-fat cheese
-
1 tbsp passata
-
A few slices beef salami
-
Mixed herbs
-
Pinch of salt
-
Pinch of black pepper
Instructions
-
Step 1
Preheat your oven or a non-stick pan to medium heat. -
Step 2
Whisk the eggs in a bowl with salt and pepper. -
Step 3
Pour the whisked eggs into the preheated pan. Cook until the edges begin to set. -
Step 4
Spread the passata evenly over the partially cooked eggs, leaving a small border. -
Step 5
Sprinkle the reduced-fat cheese over the passata. -
Step 6
Arrange the beef salami slices on top of the cheese. -
Step 7
Sprinkle with mixed herbs. -
Step 8
Continue to cook until the cheese is melted and the eggs are fully cooked. If using an oven, bake for a few minutes until cheese is bubbly.
Important Information
Nutrition Facts (Per Serving)
It is important to consider this information as approximate and not to use it as definitive health advice.
Allergy Information
Please check ingredients for potential allergens and consult a health professional if in doubt.