Cheesy Garlic Chicken Wraps – Easy Weeknight Meal
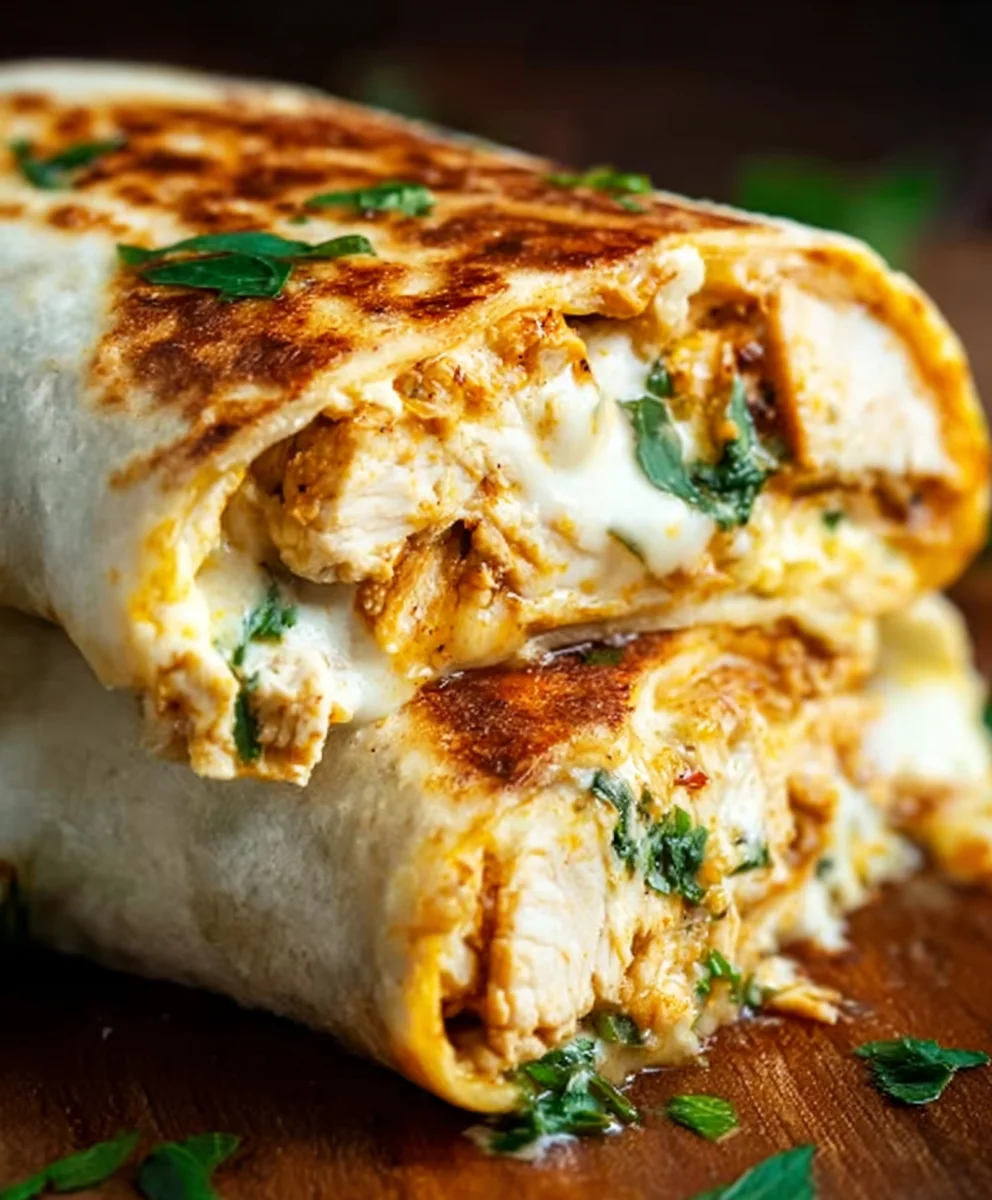
Cheesy Garlic Chicken Wraps are more than just a meal; they’re a culinary hug, a weeknight savior, and an explosion of flavor that will have everyone asking for seconds. What is it about these delightful parcels that captures our hearts and taste buds? Perhaps it’s the irresistible combination of tender, savory chicken infused with the pungent, aromatic magic of garlic, all generously enveloped in melted, gooey cheese. This isn’t just your average wrap; it’s an experience. The humble tortilla transforms into a vessel for pure comfort, delivering a satisfying bite that balances creamy, cheesy richness with zesty, garlicky goodness. They’re incredibly versatile, perfect for a quick lunch, a casual dinner, or even a crowd-pleasing appetizer. The secret to truly spectacular Cheesy Garlic Chicken Wraps lies in the quality of ingredients and a few simple techniques that elevate them from good to absolutely unforgettable.
Ingredients:
- 2 cups cooked chicken, shredded
- 1/2 cup garlic aioli
- 1 cup cheddar cheese, shredded
- 4 large tortillas
- Salt and pepper to taste
Preparing the Cheesy Garlic Chicken Filling
Step 1: Combine Chicken and Aioli
The foundation of our delicious Cheesy Garlic Chicken Wraps lies in creating a flavorful and moist chicken filling. Start by taking your 2 cups of cooked chicken, which you can shred yourself from roasted chicken breasts or thighs, or even use pre-shredded rotisserie chicken for ultimate convenience. Place this shredded chicken into a medium-sized mixing bowl. Next, add the 1/2 cup of creamy garlic aioli to the bowl. The aioli is crucial here; it not only binds the chicken together but also infuses it with a wonderful garlic punch and a luxurious texture. Use a spoon or a spatula to thoroughly mix the aioli into the shredded chicken, ensuring every piece of chicken is coated. You want a nice, even distribution so that each bite of your wrap is bursting with garlic flavor. Don’t be shy with the mixing; aim for a consistency where the chicken is moist but not swimming in aioli. If you find it a little too thick for your liking, you can add another tablespoon of aioli, but generally, this amount should be perfect for binding.
Step 2: Season the Filling
Now it’s time to enhance the flavor profile of our chicken mixture. Seasoning is key to bringin extractg out the best in simple ingredients. Sprinkle salt and freshly ground black pepper over the chicken and aioli mixture. The amount of salt and pepper you add will depend on your personal preference and the saltiness of your pre-cooked chicken and aioli. A good starting point is about 1/4 teaspoon of salt and 1/8 teaspoon of black pepper. Gently stir everything together again to ensure the seasonings are evenly distributed throughout the filling. Taste a small piece of the seasoned chicken mixture (being mindful of raw ingredients if you’re not using fully cooked chicken, though the recipe specifies cooked) and adjust the salt and pepper as needed. Remember, you can always add more, but you can’t take it away, so it’s better to start conservatively and build up the flavor. This step ensures that the chicken filling itself is as delicious as it can be before we even add the cheese.
Step 3: Incorporate the Cheddar Cheese
The “cheesy” in Cheesy Garlic Chicken Wraps comes into play now! Add the 1 cup of shredded cheddar cheese to the bowl with the seasoned chicken and aioli. Cheddar cheese melts beautifully and provides a wonderfully savory, slightly sharp flavor that complements the garlic aioli perfectly. Gently fold the cheese into the chicken mixture. You don’t want to overmix here; we want distinct pockets of cheese throughout the filling. Some cheese will start to adhere to the chicken thanks to the aioli, and that’s exactly what we want. The goal is to have a good amount of cheese distributed evenly, ensuring that every wrap will have that satisfying cheesy pull and gooey texture when warmed. Reserve a small handful of the shredded cheddar cheese to sprinkle on top later for an extra cheesy finish if you desire.
Assembling and Cooking the Wraps
Step 4: Warming the Tortillas and Filling
Before we assemble the wraps, it’s important to slightly warm both the tortillas and the filling. Gently warming the large tortillas makes them more pliable and less likely to crack when you roll them. You can do this by briefly heating them in a dry skillet over medium-low heat for about 20-30 seconds per side, or by wrapping them in a damp paper towel and microwaving them for 30-45 seconds. While your tortillas are warming, you can also lightly warm the chicken filling. This isn’t essential, but it helps the cheese melt more easily inside the wrap and creates a more comforting experience. You can do this by placing the chicken and cheese mixture in a microwave-safe bowl and heating it for about 30-60 seconds, stirring halfway through, until just warmed through. The cheese should start to look a little softer.
Step 5: Filling and Rolling the Wraps
Now for the exciting part: assembling your Cheesy Garlic Chicken Wraps! Lay one large tortilla flat on a clean surface. Spoon about a quarter of the cheesy chicken filling onto the center of the tortilla, leaving a little space around the edges. Don’t overfill, or it will be difficult to roll. Fold in the sides of the tortilla towards the center, then tightly roll up the tortilla from the bottom, tucking the filling in as you go. Repeat this process with the remaining three tortillas and filling. The warmth from the filling and the pliable tortillas should make this a relatively straightforward process. If you reserved any extra shredded cheddar cheese, you can sprinkle a little bit on top of the filling before rolling for an extra indulgent touch.
Step 6: Grilling or Pan-Frying the Wraps
To achieve that delightful golden-brown exterior and ensure the cheese is perfectly melted and gooey, we’ll give our wraps a quick cook. Heat a non-stick skillet or a griddle over medium heat. You can add a tiny amount of butter or oil if you like, but it’s often not necessary with a good non-stick pan. Carefully place the rolled wraps seam-side down onto the hot skillet. Cook for about 2-3 minutes per side, or until the tortilla is golden brown and slightly crispy, and the cheese inside is fully melted and oozing. Press down gently with a spatula as they cook to ensure even browning and to help the cheese melt thoroughly. This cooking step is crucial for melding all the flavors and textures together, transforming the assembled ingredients into a cohesive and incredibly satisfying meal. Once beautifully golden and heated through, remove the wraps from the skillet. Repeat this process with the remaining wraps, cooking them in batches if necessary to avoid overcrowding the pan.
Conclusion:
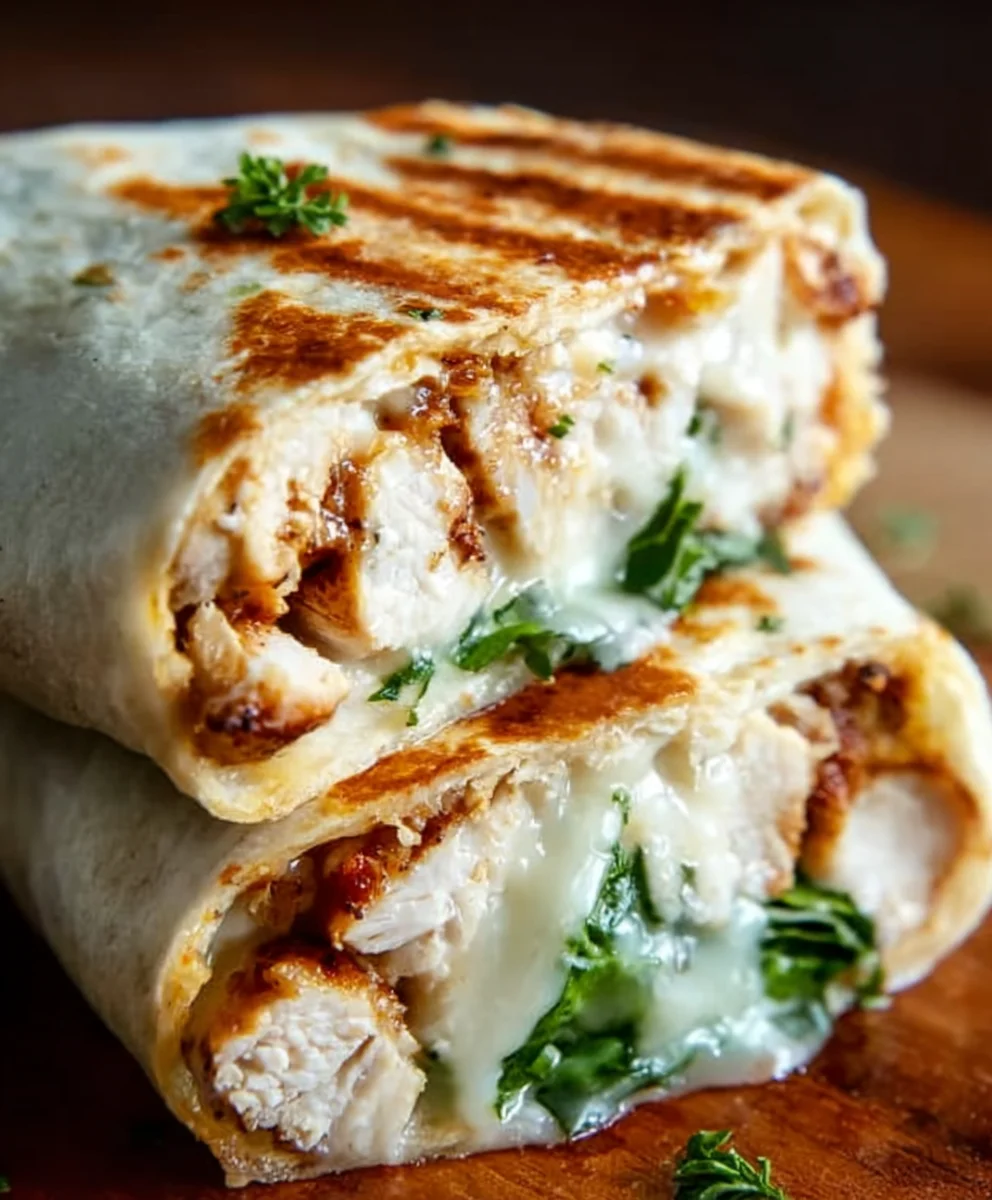
And there you have it – your delicious and satisfying batch of Cheesy Garlic Chicken Wraps! We hope you enjoyed following along with this recipe and are now eager to create your own flavor-packed wraps. This dish is incredibly versatile, making it a weeknight dinner cbeef hampion or a fantastic option for a casual lunch. The combination of tender chicken, fragrant garlic, and gooey cheese, all bundled up in a warm tortilla, is simply irresistible. Don’t be afraid to get creative with your fillings and toppings to truly make these Cheesy Garlic Chicken Wraps your own.
For serving suggestions, consider pairing them with a crisp side salad, a bowl of hearty tomato soup, or some crunchy oven-baked fries. The possibilities are endless!
Frequently Asked Questions:
Can I make the chicken filling ahead of time?
Absolutely! The chicken filling for the Cheesy Garlic Chicken Wraps can be prepared up to two days in advance and stored in an airtight container in the refrigerator. This makes assembly even quicker when you’re ready to eat!
Are there any vegetarian variations?
Yes! For a vegetarian version of these Cheesy Garlic Chicken Wraps, you can substitute the chicken with pan-fried halloumi cheese, seasoned and crum extractbled tofu, or a mixture of sautéed mushrooms and black beans. Adjust the seasonings to complement your chosen vegetarian protein.
What other cheeses work well in these wraps?
While cheddar and mozzarella are fantastic, feel free to experiment with other cheeses. Monterey Jack, pepper jack for a little heat, or even a blend of Gruyere and Swiss cheese can add a wonderful depth of flavor to your Cheesy Garlic Chicken Wraps.
Cheesy Garlic Chicken Wraps – Easy Weeknight Meal
Delicious and easy weeknight meal featuring shredded chicken, creamy garlic aioli, and melted cheddar cheese, all wrapped in warm tortillas.
Ingredients
-
2 cups cooked chicken, shredded
-
1/2 cup garlic aioli
-
1 cup cheddar cheese, shredded
-
4 large tortillas
-
Salt to taste
-
Pepper to taste
Instructions
-
Step 1
Combine 2 cups of shredded cooked chicken with 1/2 cup of garlic aioli in a medium bowl. Mix well until the chicken is evenly coated. -
Step 2
Season the chicken and aioli mixture with salt and pepper to taste. Stir to distribute the seasonings evenly. -
Step 3
Add 1 cup of shredded cheddar cheese to the chicken mixture. Gently fold the cheese in, ensuring it’s distributed throughout. -
Step 4
Warm the large tortillas slightly to make them pliable. You can do this in a dry skillet or microwave. Optionally, warm the chicken filling slightly until the cheese begins to soften. -
Step 5
Spoon about a quarter of the filling onto the center of each tortilla. Fold in the sides and then tightly roll up each tortilla. -
Step 6
Heat a non-stick skillet or griddle over medium heat. Place the rolled wraps seam-side down and cook for 2-3 minutes per side, until golden brown and the cheese is melted and oozing.
Important Information
Nutrition Facts (Per Serving)
It is important to consider this information as approximate and not to use it as definitive health advice.
Allergy Information
Please check ingredients for potential allergens and consult a health professional if in doubt.