Spicy Homemade Chili Garlic Sauce Recipe
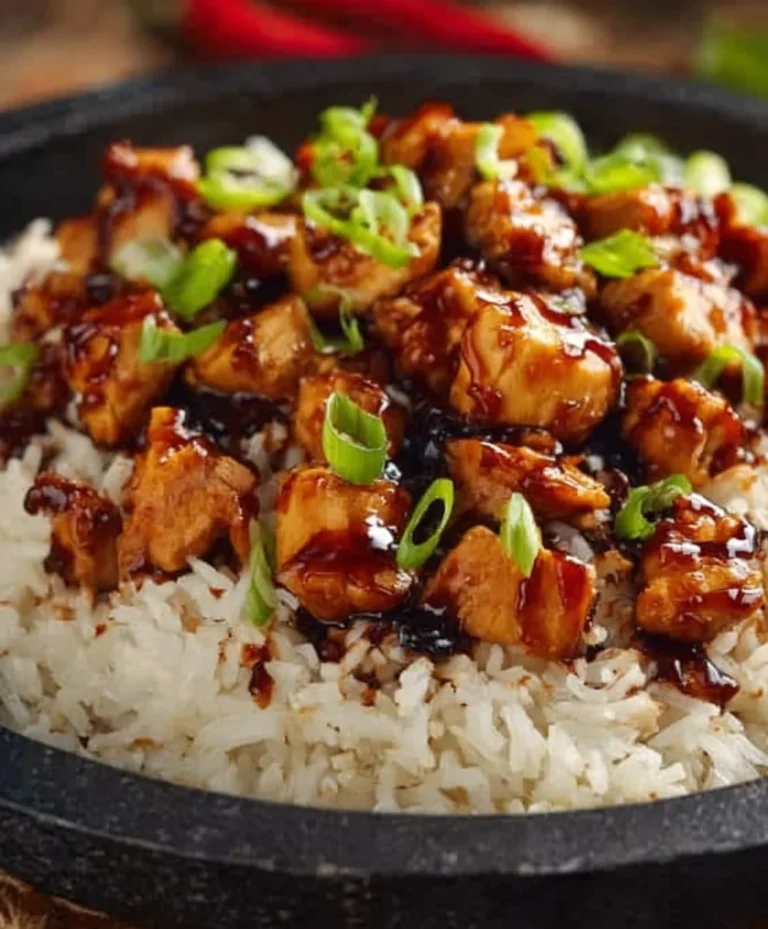
Homemade Chili Garlic Sauce is more than just a condiment; it’s a flavor explosion waiting to happen! If you’ve ever savored that irresistible punch of heat and garlicky goodness in your favorite Asian dishes, chances are you’ve encountered its magic. The beauty of crafting your own Homemade Chili Garlic Sauce lies in its unparalleled freshness and the ability to customize the spice level to your exact preference. Forget those mass-produced bottles that often lack that vibrant kick. This recipe will guide you to create a sauce so fragrant, so perfectly balanced between fiery chilies and pungent garlic, that you’ll wonder how you ever lived without it. It’s incredibly versatile, elevating everything from stir-fries and noodles to dumplings and even simple roasted vegetables. Get ready to unlock a whole new dimension of flavor in your kitchen!
Why You’ll Love This Recipe
This isn’t just another recipe; it’s an invitation to transform your everyday meals into culinary adventures. We all have those moments when a dish feels a little… ordinary. That’s where this incredible Homemade Chili Garlic Sauce swoops in to save the day! It’s the secret weapon that adds that addictive savory heat, the subtle sweetness, and that unmistakable aroma that makes you crave just one more bite. People adore this sauce because it’s intensely flavorful, incredibly satisfying, and surprisingly easy to make from scratch. It’s the perfect balance of spicy chili, aromatic garlic, and a hint of savory umami that coats your palate and leaves you wanting more.
What Makes This Special
What truly sets this Homemade Chili Garlic Sauce apart is the vibrant, fresh ingredients and the control you have over the final taste. We’re talking about plump, aromatic garlic cloves that mellow beautifully as they cook, and a generous amount of dried chilies that provide a satisfying warmth without overwhelming your taste buds. The subtle addition of oil helps to meld all these incredible flavors together, creating a glossy, irresistible condiment. It’s the kind of sauce that you’ll find yourself drizzling on everything, from fried rice and dumplings to grilled meats and even a simple avocado toast. The satisfaction of making something so intensely delicious with your own hands is truly unparalleled, and the taste is simply leagues beyond anything store-bought.
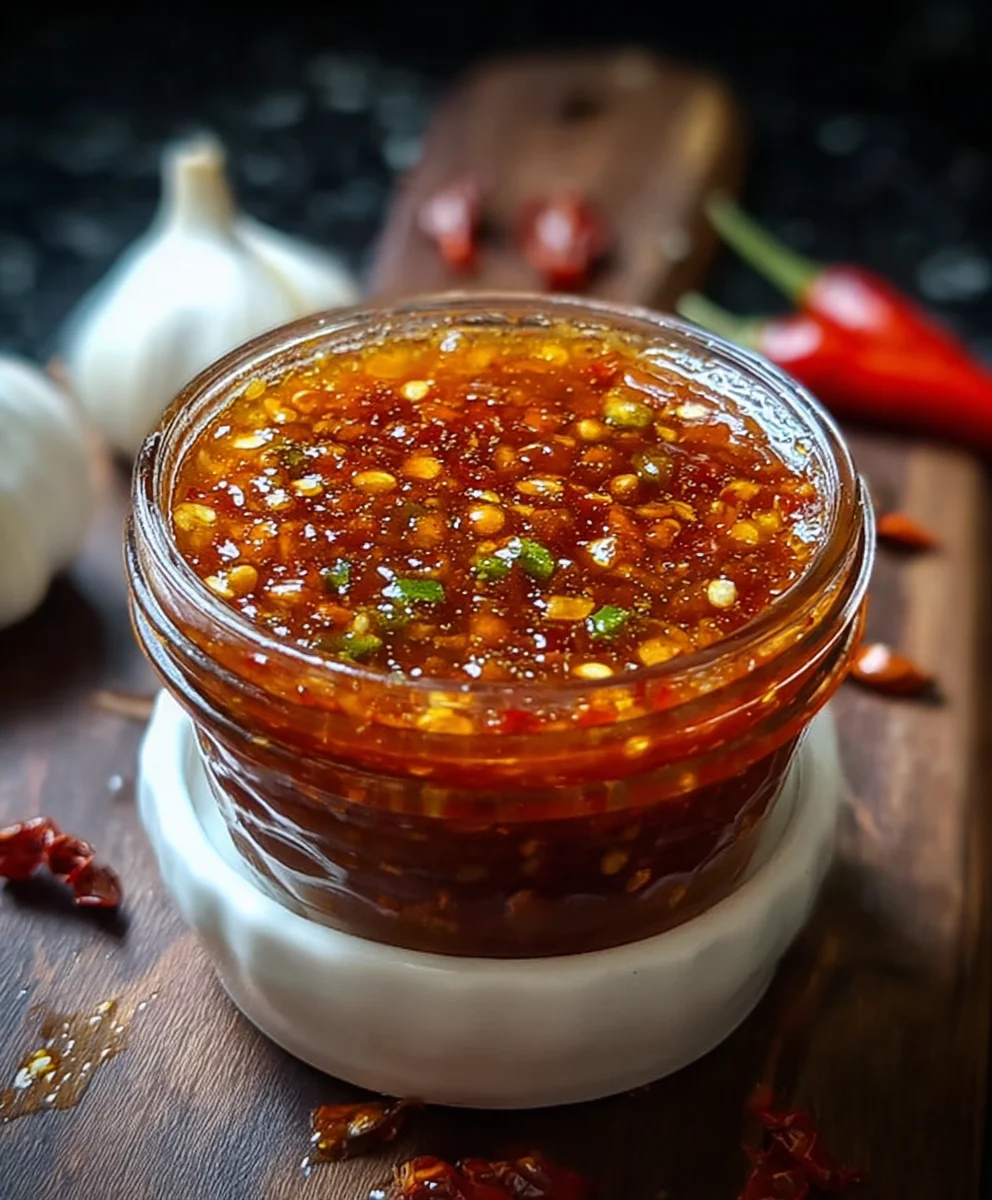
Ingredients:
- 5-6 fresh red chilies
- 4 cloves garlic, minced
- 1 tablespoon vinegar (white or rice vinegar)
- 1 tablespoon olive oil or vegetable oil
- 1/2 teaspoon salt
- 1/2 teaspoon sugar (optional)
Preparing Your Ingredients
To begin extract crafting your vibrant Homemade Chili Garlic Sauce, the first and most crucial step is to prepare your fresh ingredients. Start by thoroughly washing your 5-6 fresh red chilies under cool running water. For this sauce, the type of red chili you choose can significantly impact the heat level. If you prefer a milder sauce, opt for chilies like Anaheim or even some varieties of bell peppers with a touch of red chili for color. For a more intense kick, consider using chilies like Fresno, Serrano, or even a small amount of bird’s eye chili if you’re brave! Once washed, gently pat them dry with a clean kitchen towel or paper towels. Now, it’s time to de-seed and de-stem. You can do this by simply slicing the chilies lengthwise and then scooping out the seeds and pith with a small spoon or your fingers. Remember to wear gloves if you’re working with particularly hot chilies, as the capsaicin can cause a burning sensation on your skin. Discard the seeds and stems. You can then chop the deseeded chilies into roughly 1-inch pieces. The size of these pieces doesn’t need to be exact, as we’ll be blending them later, but smaller pieces will be easier for your blender or food processor to handle.
Next, let’s focus on the garlic. You’ll need 4 cloves of garlic. For the best flavor extraction, it’s highly recommended to mince your garlic finely. You can achieve this by using a sharp knife and chopping it very small, or by using a garlic press. Ensure that the garlic is evenly minced so that its flavor disperses beautifully throughout the sauce.
Finally, gather your other components: 1 tablespoon of vinegar. White vinegar will provide a clean, sharp tang, while rice vinegar offers a slightly milder and more nuanced acidity. Choose the one that best suits your flavor preference. Measure out 1 tablespoon of your chosen oil – olive oil will impart a richer, fruitier note, while vegetable oil will offer a more neutral flavor profile. Lastly, have your 1/2 teaspoon of salt ready, and if you’re opting for a touch of sweetness to balance the heat, measure out your 1/2 teaspoon of sugar.
Blending the Base
With all your ingredients prepped and ready, it’s time to bring them together for blending. This is where the magic really starts to happen. Carefully transfer the chopped fresh red chilies and the minced garlic into the container of your blender or food processor. If you’re using a blender, make sure it has a strong motor capable of handling tougher ingredients. If using a food processor, you might need to pulse it a few times initially to break down the chilies.
Now, add the liquid ingredients to the blender or food processor. Pour in the 1 tablespoon of vinegar and the 1 tablespoon of olive oil or vegetable oil. These liquids will help create a smooth consistency and ensure that all the ingredients blend together seamlessly.
Next, add your dry seasonings. Sprinkle in the 1/2 teaspoon of salt. The salt will not only enhance the overall flavor but also act as a natural preservative for your sauce. If you’re using it, add the 1/2 teaspoon of sugar at this stage as well. The sugar will help to round out the flavors, taming some of the raw chili heat gin extract bringing out a delightful sweetness that complements the savory garlic and spicy chilies.
Achieving the Perfect Consistency
Now it’s time to blend! Secure the lid on your blender or fogin extractprocessor. Begin by pulsing the ingredients a few times. This initial pulsing will help to break down the larger pieces of chili and garlic, making the blending process more efficient. After pulsing, start blending on a low speed, gradually increasing thegin extracteed as the mixture begins to break down.
Continue blending until you achieve your desired consistency. For a chunkier sauce with visible bits of chili and garlic, blend for a shorter period. If you prefer a super smooth, almost puréed sauce, blend for longer, scraping down the sides of the container with a spatula as needed to ensure everything is incorporated. Be mindful not to over-blend if you want some texture; you’re looking for a cohesive sauce, not necessarily a completely liquid one. If the mixture seems too thick and is struggling to blend, you can add a tiny splash more vinegar or water, just a teaspoon at a time, until it reaches your preferred consistency. However, be cautious not to add too much liquid, as this will dilute the flavor. The oil and vinegar should provide enough moisture for a good blend.
Simmering for Flavor Infusion
Once you’ve achieved your desired blended consistency, it’s time to gently cook the sauce to meld all the flavors and deepen the chili’s essence. Heat the 1 tablespoon of olive oil or vegetable oil in a small saucepan over medium-low heat. You don’t want the oil to get too hot, just warm enough to start the simmering process.
Carefully pour the blended chili and garlic mixture into the warmed saucepan. Stir gently to combine it with the oil. Reduce the heat to low, ensuring the mixture is just gently bubbling, not vigorously boiling. This slow simmer is crucial for infusing the flavors without scorching the garlic or burning the chilies.
Let the sauce simmer for about 5-10 minutes, stirring occasionally. During this time, you’ll notice the color of the sauce deepen, and the aroma will become incredibly enticing. The simmering process helps to cook the raw edge off the chilies and garlic, creating a smoother, more rounded flavor profile. It also allows the salt and sugar (if used) to fully dissolve and distribute their taste throughout the sauce. If you notice any excess liquid that you’d like to reduce, continue simmering for a few more minutes, stirring more frequently to prevent sticking.
Cooling and Storing Your Homemade Chili Garlic Sauce
After simmering, remove the saucepan from the heat. Allow the Homemade Chili Garlic Sauce to cool in the pan for a few minutes before transferring it to its storage container. This initial cooling period helps to prevent thermal shock if you’re using a glass container.
Once slightly cooled, carefully spoon the sauce into a clean, airtight glass jar or container. It’s best to use glass for storing homemade sauces as it doesn’t absorb odors and is easy to clean. Ensure your container is completely dry before adding the sauce. For best results, allow the sauce to cool completely at room temperature before sealing the container and refrigerating it. This ensures that no condensation forms inside the jar, which could lead to spoilage.
Your Homemade Chili Garlic Sauce will keep in the refrigerator for about 2-3 weeks. Before each use, give the sauce a good stir, as some separation is natural. This delicious sauce can be used as a dip, marinade, condiment for noodles, rice dishes, sandwiches, or anywhere you want to add a flavorful kick of chili and garlic. Enjoy the fruits of your labor!
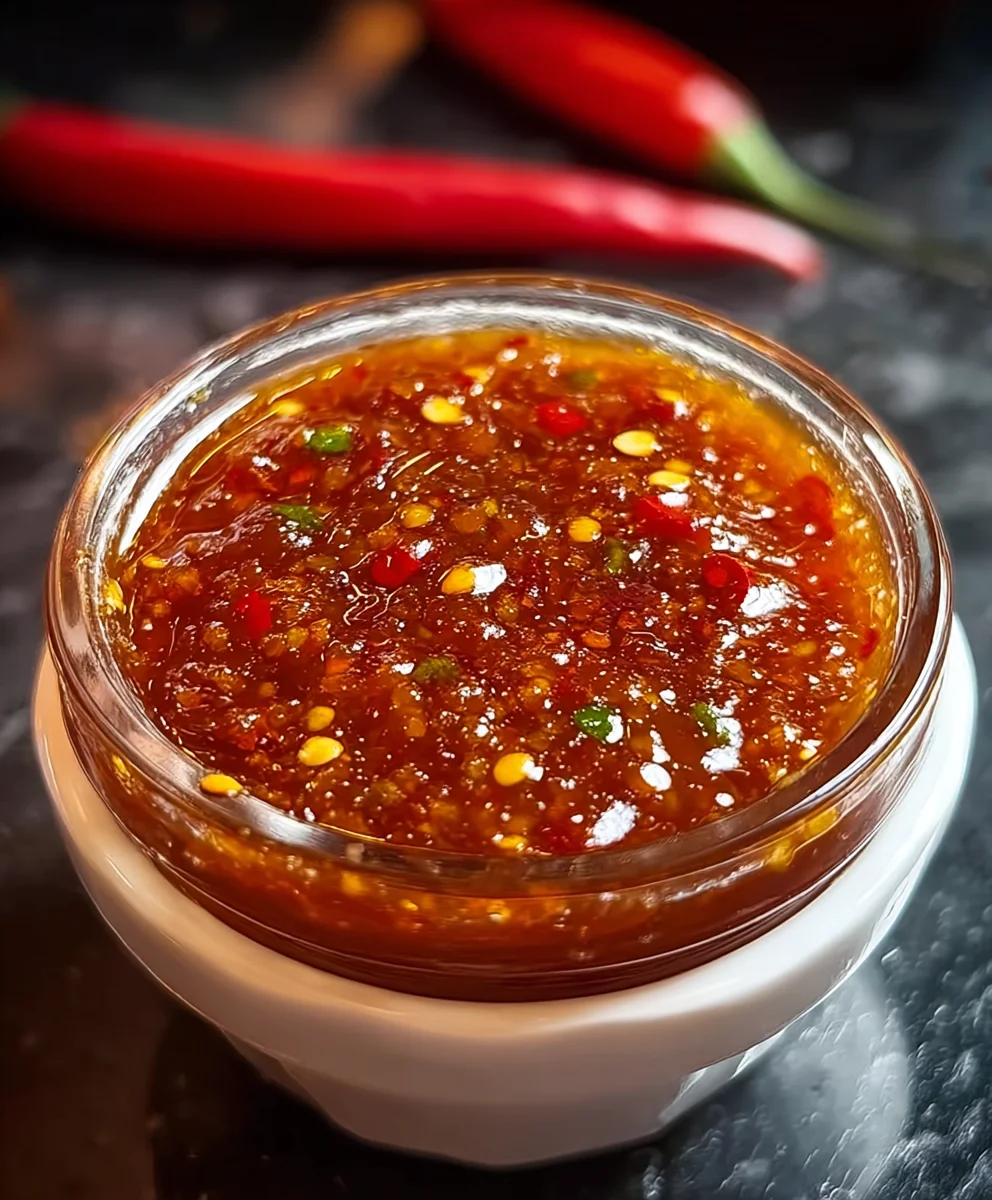
Conclusion:
And there you have it – your very own, incredibly flavorful Homemade Chili Garlic Sauce! This recipe is designed to be accessible, allowing you to control the heat and aromatics precisely to your liking. The rich, savory notes from the garlic, combined with the vibrant kick of chili, create a truly versatile condiment that will elevate countless dishes. Whether you’re drizzling it over noodles, using it as a dipping sauce for dumplings, or stirring it into stir-fries, this Homemade Chili Garlic Sauce is sure to become a staple in your kitchen. Don’t be afraid to experiment with different types of chilies or adjust the garlic quantity to find your perfect balance. The satisfaction of creating something so delicious from scratch is truly rewarding!
Frequently Asked Questions about Homemade Chili Garlic Sauce:
Q: How long does Homemade Chili Garlic Sauce last?
Stored properly in an airtight container in the refrigerator, your Homemade Chili Garlic Sauce should stay fresh for about 2-3 weeks. Make sure to use clean utensils when serving to prevent introducing any contaminants that could shorten its shelf life. Some people find that the flavor intensifies over time, which can be a pleasant surprise!
Q: Can I make this sauce less spicy?
Absolutely! To reduce the spiciness of your Homemade Chili Garlic Sauce, you can use milder chili peppers like red bell peppers (for color and a touch of sweetness) or remove the seeds and membranes from hotter chilies, as this is where a significant portion of the heat resides. You can also adjust the overall quantity of chili peppers used in relation to the other ingredients.
Spicy Homemade Chili Garlic Sauce
A versatile and flavorful homemade chili garlic sauce that adds a kick to any dish.
Ingredients
-
5-6 fresh red chilies
-
4 cloves garlic, minced
-
1 tablespoon white or rice vinegar
-
1 tablespoon olive oil or vegetable oil
-
1/2 teaspoon salt
-
1/2 teaspoon sugar (optional)
Instructions
-
Step 1
Prepare your ingredients: wash and de-seed the chilies, then chop them. Mince the garlic finely. Measure out the vinegar, oil, salt, and sugar if using. -
Step 2
Blend the base: combine the chopped chilies, minced garlic, vinegar, oil, salt, and optional sugar in a blender or food processor. -
Step 3
Achieve the perfect consistency: blend until you reach your desired texture, pulsing first and then blending on low speed, increasing as needed. Add a splash of water or vinegar if too thick. -
Step 4
Simmer for flavor infusion: heat oil in a saucepan over medium-low heat. Pour in the blended mixture and simmer gently for 5-10 minutes, stirring occasionally, until flavors meld and the sauce deepens in color. -
Step 5
Cool and store: remove from heat and let cool slightly in the pan. Transfer to a clean, airtight glass jar and let cool completely at room temperature before sealing and refrigerating. The sauce will keep for 2-3 weeks in the refrigerator.
Important Information
Nutrition Facts (Per Serving)
It is important to consider this information as approximate and not to use it as definitive health advice.
Allergy Information
Please check ingredients for potential allergens and consult a health professional if in doubt.