Lucky Charms Rice Krispie Treats-Easy Fun Dessert
Lucky Charms Rice Krispie Treats are more than just a nostalgic snack; they’re a vibrant explosion of childhood joy condensed into a chewy, delightful bite. We all remember those colorful marshmallow-filled boxes, and now, we can recapture that magic in a form that’s even more irresistible. These aren’t your average, run-of-the-mill Rice Krispie treats. What makes them so special, you ask? It’s the ingenious addition of those iconic, magically delicious marshmallows that elevate them from simple sweet to a full-blown party in your mouth. The crunchy cereal, gooey melted marshmallows, and the delightful pops of color and flavor from the Lucky Charms cereal create a texture and taste experience that is truly unparalleled. They’re perfect for birthdays, holidays, or just whenever you need a serious dose of happiness. Get ready to relive your fondest memories with every single square of these delightful Lucky Charms Rice Krispie Treats!
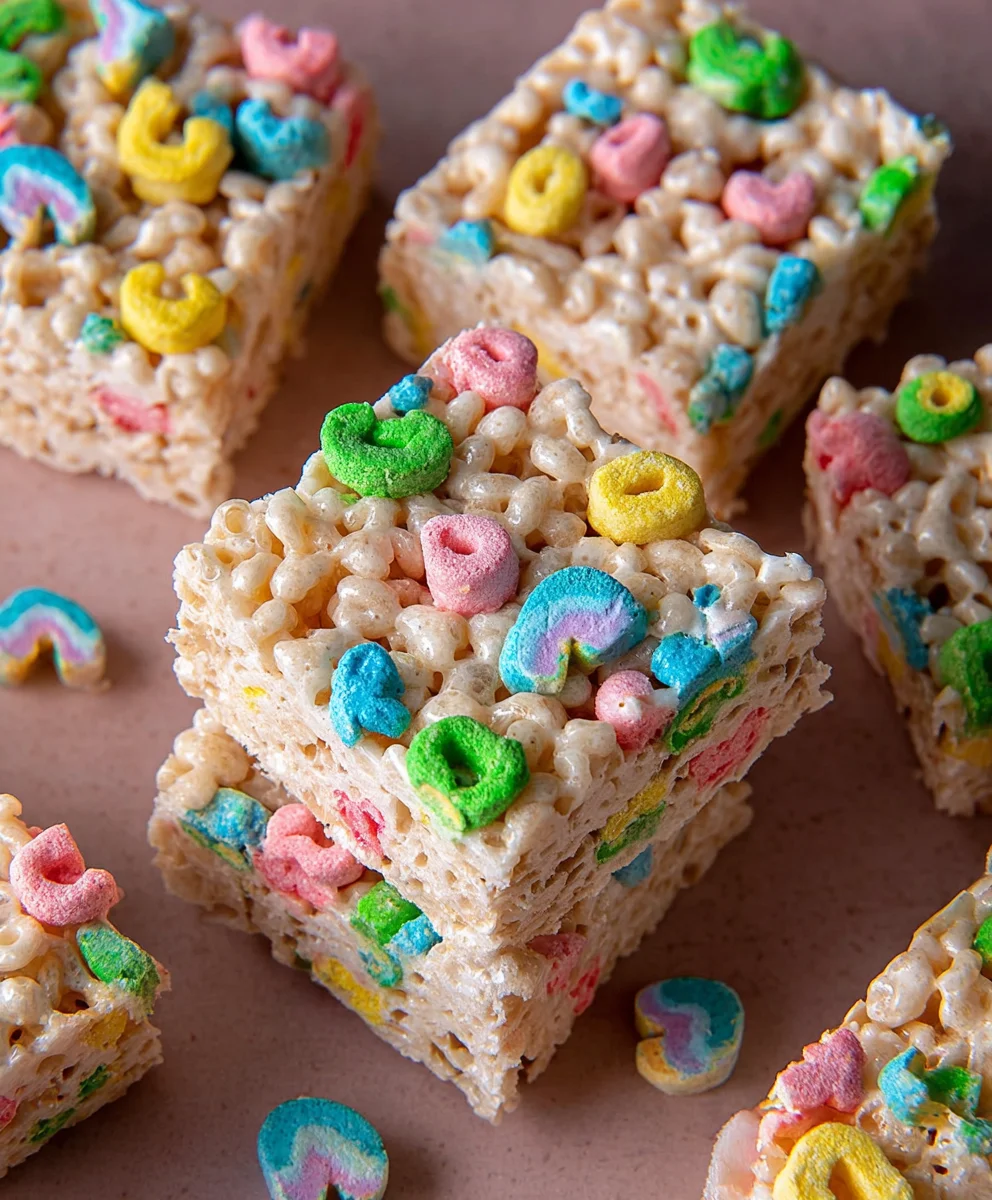
Ingredients:
- 16 ounces marshmallows (you can use large or mini marshmallows, both will melt down perfectly)
- ½ cup unsalted butter, plus a little extra for greasing your pan
- ½ teaspoon salt
- 1 teaspoon vanilla extract
- 1 cup Rice Krispies cereal
- 6 cups Lucky Charms cereal
Let’s Get Started with Your Lucky Charms Rice Krispie Treats!
Phase 1: Preparing Your Workspace and Melting the Base
- First things first, let’s get our pan ready. This is a crucial step to prevent sticking and make sure your beautiful treats slide out with ease. Take an 8×8 or 9×13 inch baking pan (depending on how thick you like your treats). Lightly grease the inside of the pan with a bit of extra unsalted butter. You can also line it with parchment paper, leaving some overhang on the sides to easily lift the treats out later. Set this prepared pan aside. Now, grab a large, microwave-safe bowl or a heavy-bottomed saucepan. If you’re using a saucepan, a non-stick one is ideal. Add your 16 ounces of marshmallows and ½ cup of unsalted butter to the bowl or saucepan. If using the microwave, heat in 30-second intervals, stirring well between each, until the marshmallows are completely melted and smooth. This usually takes about 2-3 minutes total. If you’re using the stovetop, melt the butter over low heat first, then add the marshmallows and stir continuously until they are fully melted and the mixture is smooth and creamy. Be patient with this step; rushing the melting process can lead to burnt marshmallow bits.
- Once your marshmallows and butter are beautifully melted and combined into a smooth, glossy mixture, it’s time to add some flavor enhancers. Carefully stir in the ½ teaspoon of salt and the 1 teaspoon of vanilla extract. The salt helps to balance the sweetness of the marshmallows, bringin extractg out the other flavors, and the vanilla extract adds a wonderful aromatic depth that complements the cereal. Stir these in thoroughly until they are completely incorporated into the marshmallow mixture. You want everything to be evenly distributed for the best flavor in every bite. This mixture will be the sticky, gooey binder for our delicious cereal.
Phase 2: Combining the Cereals and Forming the Treats
- Now for the fun part where we introduce the stars of the show: the cereals! In a separate, very large mixing bowl – and I mean large, as this mixture will expand considerably – add your 1 cup of Rice Krispies cereal and your 6 cups of Lucky Charms cereal. It’s important to have all your cereal measured out and ready to go before you start adding the marshmallow mixture. This is because the marshmallow mixture coolgin extractnd begins to set relatively quickly, so you want to work efficiently. Gently toss the two cereals together with a spatula or your hands (lightly greased if using hands) to get a good distribution of both Rice Krispies and the colorful Lucky Charms marshmallows and oat pieces. Ensure the Lucky Charms are mixed throughout evenly; you don’t want pockets of just one cereal.
- It’s time to bring the gooey marshmallow goodness and the crunchy cereal magic together. Pour the warm, melted marshmallow mixture over the combined cereals in the large bowlgin extractmmediately begin to stir everything together using a sturdy spatula or a large spoon. Your goal here is to coat every single piece of cereal with the sticky marshmallow mixture. Work quickly but carefully, ensuring you scrape the sides and bottom of the bowl to incorporate all the dry cereal. You want a cohesive mixture where all the cereal pieces are nicely bound. Don’t overmix to the point of crushing the cereals, but ensure there are no dry spots. The heat from the marshmallow mixture will slightly soften the Lucky Charms marshmallows within the mix, making them extra gooey and delicious.
- With your cereal mixture now thoroughly coated and ready, it’s time to transfer it to your prepared pan. Carefully scoop the mixture into your buttered or parchment-lined baking pan. Now, here’s a little trick to prevent sticking while you press: lightly grease your hands with butter or a little cooking spray, or alternatively, you can use the back of a greased spatula or a piece of parchment paper to gently press the mixture down into an even layer. The key is to press firmly enough so that the treats hold their shape when cut, but not so hard that you compress them into a dense, hard brick. Aim for a uniform thickness across the entire pan for consistent texture and even cooking.
Phase 3: Cooling and Serving Your Masterpieces
- Once your Lucky Charms Rice Krispie Treats have been pressed evenly into the pan, it’s essential to let them cool completely. This cooling period is critical for them to set up properly, making them easy to cut and enjoy without crum extractbling. Leave the pan on a wire rack at room temperature for at least 1 to 2 hours. Resist the urge to refrigerate them, as this can sometimes make them too hard. Patience here will reward you with perfectly firm, yet still wonderfully chewy, treats. You’ll know they are ready when they feel solid to the touch and no longer yield to gentle pressure.
- Finally, the moment of truth – slicing and serving your spectacular Lucky Charms Rice Krispie Treats! Once cooled and set, use the parchment paper overhang (if you used it) to lift the entire slab out of the pan and onto a cutting board. If you didn’t use parchment paper, you can carefully invert the pan to release the treats. Using a sharp knife, cut the treats into your desired size and shape – squares, rectangles, or even fun cookie-cutter shapes if you’re feeling festive! For a cleaner cut, you can lightly grease your knife between slices. Arrange your vibrant and delightful treats on a serving platter and get ready for the smiles. These are best enjoyed fresh but can be stored in an airtight container at room temperature for up to 3 days.
Conclusion:
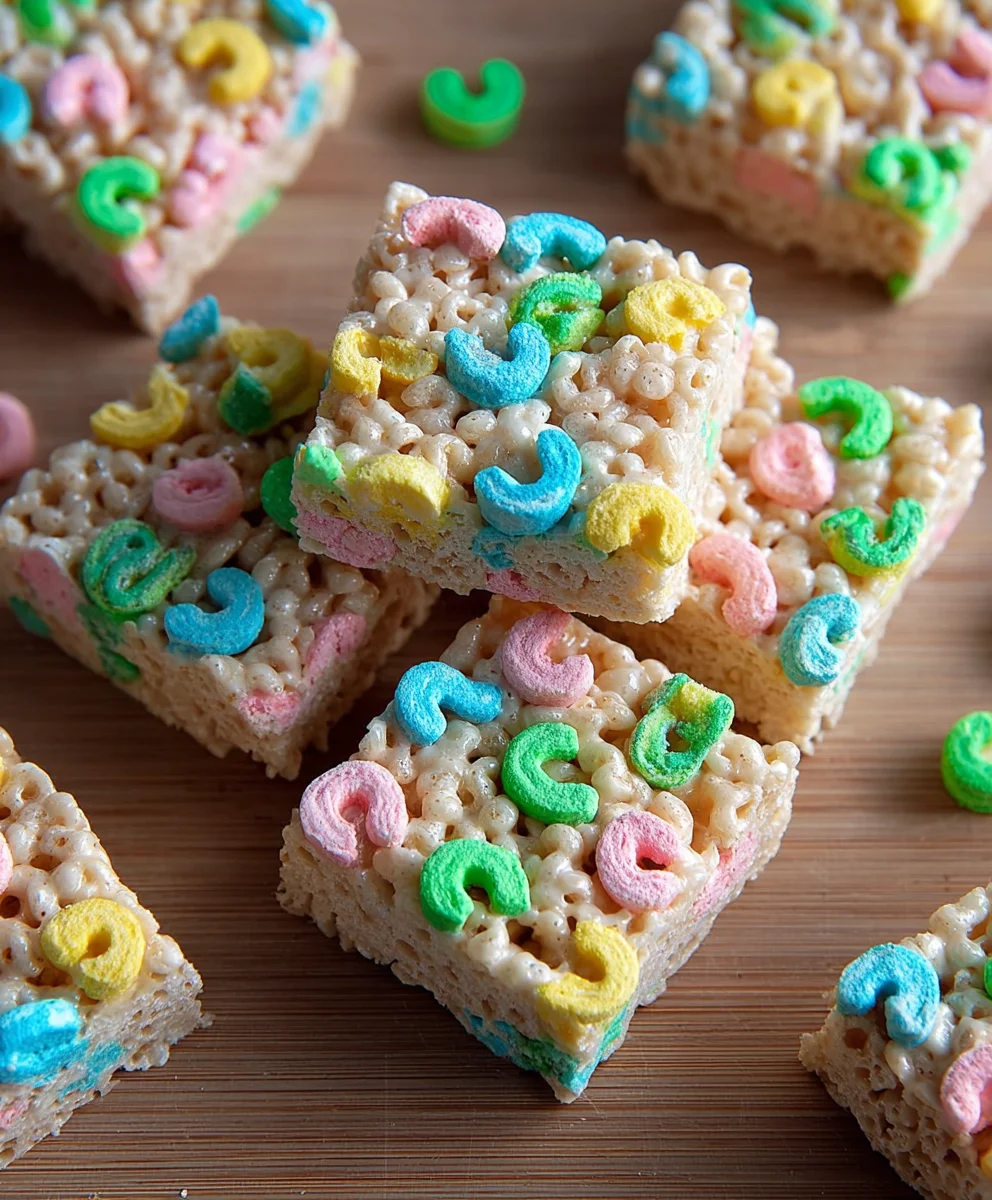
You’ve now mastered the art of creating these delightful Lucky Charms Rice Krispie Treats! This recipe is not just about a sweet and chewy treat; it’s about bringin extractg a bit of playful magic to any occasion. The simple combination of cereal, marshmallows, and butter transforms into something truly special, especially with the vibrant burst of flavor and color from the iconic Lucky Charms marshmallows. They are perfect for birthday parties, St. Patrick’s Day celebrations, or just a fun afternoon snack. I encourage you to give this recipe a try – it’s incredibly forgiving and the results are always crowd-pleasing! Remember, the key is to work quickly once the marshmallows are melted, but don’t be afraid to get creative with your presentation. Enjoy every magically delicious bite!
Frequently Asked Questions:
Can I use different types of cereal in this recipe?
Absolutely! While using Lucky Charms is what gives these treats their signature name and charm, you can experiment with other cereals. Consider using Fruity Pebbles for an even more vibrant color or classic Rice Krispies for a more traditional base before adding the Lucky Charms. The texture might vary slightly, but the sweet, chewy nature of the treats will remain.
How should I store these Lucky Charms Rice Krispie Treats?
To keep your Lucky Charms Rice Krispie Treats fresh and chewy, store them in an airtight container at room temperature. You can also individually wrap them in plastic wrap or wax paper for easy portability. They are best enjoyed within 2-3 days of making them, though they often disappear much faster than that!
Lucky Charms Rice Krispie Treats
An easy and fun dessert featuring the classic combination of Rice Krispies and the colorful magic of Lucky Charms cereal, bound together with a gooey marshmallow mixture.
Ingredients
-
16 ounces marshmallows
-
½ cup unsalted butter, plus more for greasing
-
½ teaspoon salt
-
1 teaspoon vanilla extract
-
1 cup Rice Krispies cereal
-
6 cups Lucky Charms cereal
Instructions
-
Step 1
Grease an 8×8 or 9×13 inch baking pan with butter or line with parchment paper. In a large microwave-safe bowl or saucepan, melt 16 ounces of marshmallows and ½ cup of unsalted butter. For microwave, heat in 30-second intervals, stirring until smooth. For stovetop, melt butter over low heat, then add marshmallows and stir until smooth. -
Step 2
Once marshmallows and butter are melted, stir in ½ teaspoon of salt and 1 teaspoon of vanilla extract until fully incorporated. This enhances flavor and balances sweetness. -
Step 3
In a very large mixing bowl, combine 1 cup of Rice Krispies cereal and 6 cups of Lucky Charms cereal. Toss gently to distribute evenly. -
Step 4
Pour the warm marshmallow mixture over the combined cereals. Immediately stir with a spatula to coat all cereal pieces thoroughly. Work quickly as the mixture cools and sets. -
Step 5
Transfer the mixture to the prepared pan. Lightly grease your hands or a spatula and press the mixture down evenly into the pan. Avoid pressing too hard to maintain a chewy texture. -
Step 6
Let the treats cool completely on a wire rack at room temperature for at least 1-2 hours until set. Do not refrigerate. -
Step 7
Once cooled, lift the slab out of the pan and cut into desired shapes using a sharp knife. Serve immediately or store in an airtight container for up to 3 days.
Important Information
Nutrition Facts (Per Serving)
It is important to consider this information as approximate and not to use it as definitive health advice.
Allergy Information
Please check ingredients for potential allergens and consult a health professional if in doubt.