Easy Homemade Aioli Recipe – Delicious Garlic Mayo
Aioli Recipe, that creamy, garlicky dream of a sauce, has a way of transforming the simplest of dishes into something truly extraordinary. It’s the secret weapon in our culinary arsenal, a condiment that’s both sophisticated and incredibly comforting. Why do we all crave aioli? Perhaps it’s the luxurious texture, a velvety embrace that coats everything it touches, or maybe it’s the pungent punch of garlic, perfectly balanced with the richness of good quality olive oil and perhaps a hint of lemon. This isn’t just any mayonnaise; a true aioli recipe is a testament to the magic that happens when a few humble ingredients are brought together with care. It’s the perfect accompaniment to roasted vegetables, grilled seafood, crispy fries, or even just a crusty baguette. What makes this particular aioli recipe so special? We’ve refined it to achieve that perfect emulsification, ensuring a smooth, stable sauce that’s bursting with flavor, and we’ll guide you through every step to achieve that restaurant-quality result in your own kitchen.
Ingredients:
- 1 cup mayonnaise
- 3 tablespoons fresh lemon juice
- ½ teaspoon ground black pepper
- 3 tablespoons finely minced garlic
- 1 teaspoon freshly chopped parsley
- 3 tablespoons ketchup
Making Your Aioli
Phase 1: The Foundation of Flavor
The beauty of a homemade aioli lies in its simplicity and the ability to customize it to your exact taste. This recipe is for a classic garlic aioli with a bright, zesty kick from fresh lemon and a touch of sweetness and color from ketchup, making it incredibly versatile. The foundation of any great aioli is high-quality mayonnaise. For the best results, I recommend using a full-fat, good-quality mayonnaise. While you can certainly use a lighter version, the richness of a full-fat mayo will contribute to a creamier, more luxurious aioli. Make sure your mayonnaise is at room temperature; this helps to ensure all the ingredients emulsify smoothly and prevents any potential separation.
The star of our aioli, besides the creamy base, is the garlic. For this recipe, we’re using 3 tablespoons of finely minced garlic. The key here is “finely minced.” You want the garlic to be broken down as much as possible to release its pungent flavor without leaving large, overpowering chunks in your aioli. You can achieve this by using a garlic press, a microplane grater, or by very carefully chopping the garlic with a sharp knife until it’s almost a paste. Some people prefer a more mellow garlic flavor, and if that’s the case for you, you might consider roasting the garlic first. Roasting garlic mellows its intensity and adds a subtle sweetness, but for a bold, classic aioli, raw minced garlic is the way to go. Taste as you go, and if you find 3 tablespoons to be too potent initially, you can always add more in small increments.
Next, we introduce the vibrant tang of lemon juice. Three tablespoons of fresh lemon juice are crucial for cutting through the richness of the mayonnaise and balancing the garlic’s intensity. Always use fresh lemon juice, never from a bottle, as it provides a much brighter, more authentic citrus flavor. Squeeze your lemons just before you’re ready to make the aioli to ensure maximum freshness. You’ll want to strain the lemon juice to remove any seeds or pulp, which can affect the texture of your aioli. This bright acidity is what elevates a simple mayonnaise into a sophisticated condiment.
Phase 2: Bringin extractg it All Together
Now that we have our core components ready, it’s time to combine them. In a medium-sized bowl, add your cup of mayonnaise. This will be the base that carries all the delicious flavors we’re about to introduce. To this, add the 3 tablespoons of finely minced garlic. Ensure you scrape every bit of garlic from your mincing surface into the bowl. Don’t be shy with the garlic; it’s what gives aioli its distinctive character.
Next, incorporate the 3 tablespoons of fresh lemon juice. Give everything a gentle stir at this stage to start melding the flavors. You’ll notice the mixture becoming slightly more fluid as the lemon juice is added. This is perfectly normal and expected.
Now for the interesting addition that makes this recipe a little unique: ketchup. Three tablespoons of ketchup might sound unusual for an aioli, but it provides a subtle sweetness and a lovely pinkish hue, transforming it into a more approachable and visually appealing condiment, often referred to as a “fancy sauce” or a specific type of aioli. It adds a layer of complexity without overpowering the garlic and lemon. Stir this in thoroughly, ensuring it’s completely incorporated into the mayonnaise mixture. You want an even distribution of color and flavor.
Finally, season your aioli. Add ½ teaspoon of ground black pepper. Freshly ground pepper is always preferable for its more robust flavor, but pre-ground will work in a pinch. Taste the aioli at this point and adjust the pepper if you desire. Then, fold in 1 teaspoon of freshly chopped parsley. The parsley adds a burst of freshness and a beautiful fleck of green that contrasts nicely with the other ingredients. It also provides a subtle herbal note that complements the garlic and lemon. Stir gently until the parsley is evenly distributed throughout the aioli.
Phase 3: Resting and Serving
Once all the ingredients are combined, it’s crucial to let your aioli rest. Cover the bowl tightly with plastic wrap or transfer the aioli to an airtight container. Refrigerate for at least 30 minutes, and ideally for an hour or longer. This resting period is essential because it allows the flavors to meld and deepen. The garlic’s pungency will mellow slightly, and the lemon juice will further tenderize the garlic, creating a more harmonious and complex flavor profile. Skipping this step will result in an aioli where the individual flavors are more distinct and less integrated.
Before serving, give your aioli a final stir. You might find that it has thickened slightly in the refrigerator, which is perfectly normal. If you prefer a thinner consistency, you can whisk in a tiny bit more lemon juice or even a teaspoon of water until you reach your desired texture.
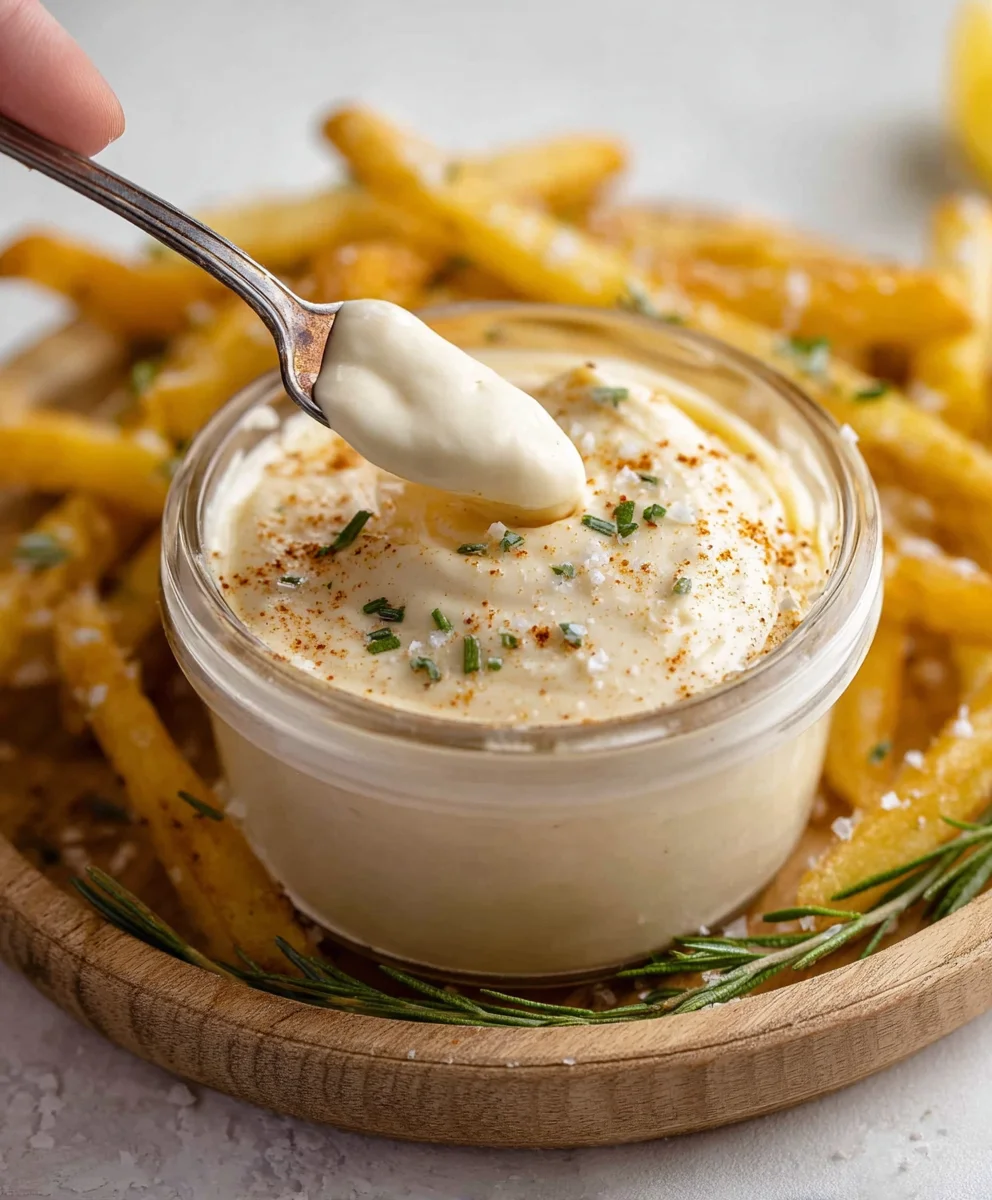
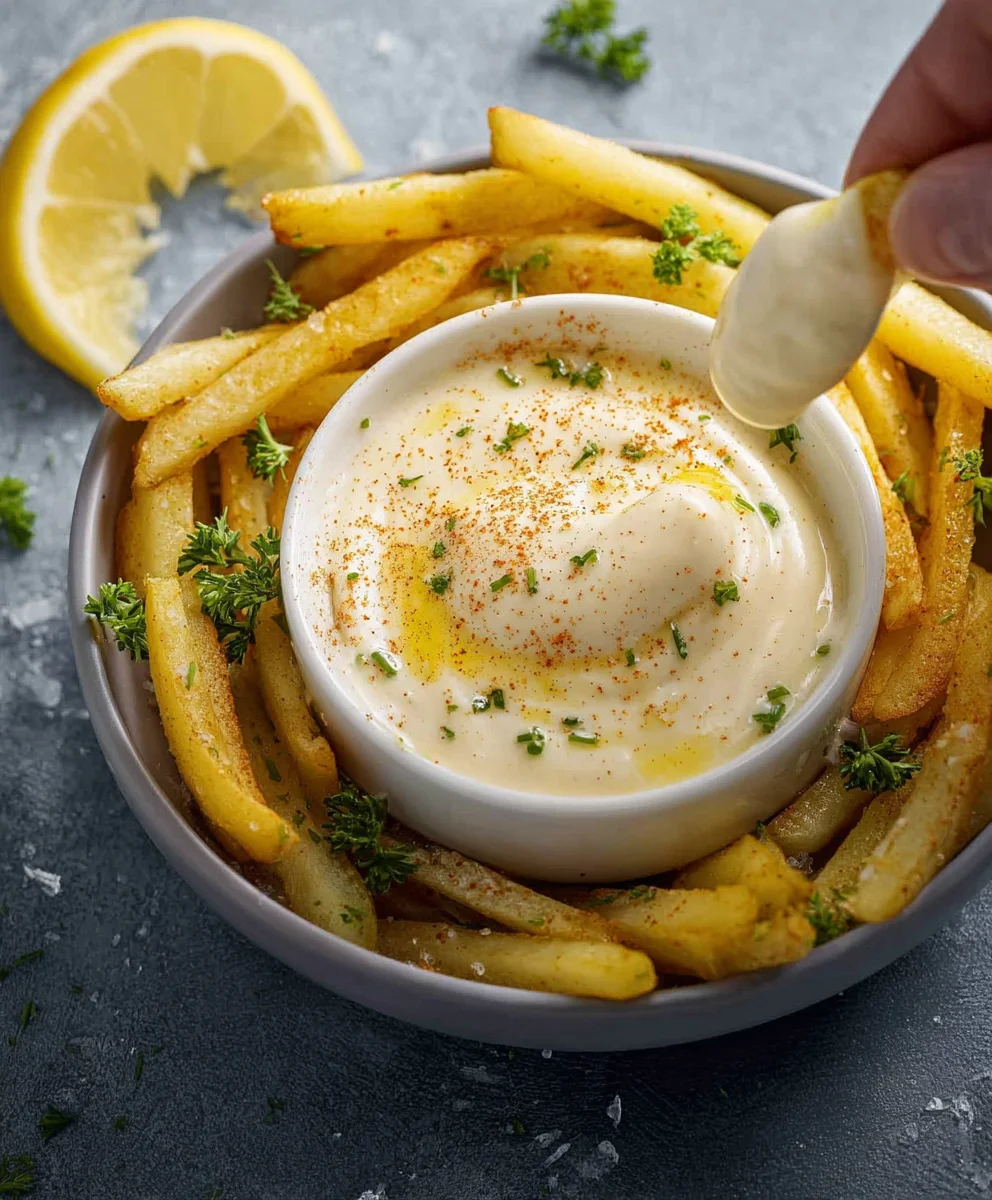
This delicious aioli is incredibly versatile. Serve it as a dip for french fries, onion rings, or roasted vegetables. It’s also a fantastic spread for sandwiches, burgers, and wraps, adding an instant gourmet touch. You can also use it as a dressing for salads or as a sauce for grilled meats, fish, or chicken. The combination of garlic, lemon, and that hint of ketchup makes it a crowd-pleasing condiment that is sure to become a favorite. Enjoy the fruits of your labor!
Conclusion:
You’ve now mastered the art of creating a delicious and versatile Aioli Recipe from scratch! This classic Provençal sauce is surprisingly simple to whip up and elevates a wide array of dishes. Whether you’re dipping crispy fries, slathering it on a gourmet sandwich, or using it as a base for other dressings, your homemade Aioli will be a guaranteed hit. Don’t be afraid to get creative with serving! It’s phenomenal with grilled seafood, roasted vegetables, or even as a flavorful spread for bruschetta. The beauty of this Aioli Recipe lies in its adaptability. Feel free to experiment with different garlic intensities, add a pinch of smoked paprika for a hint of spice, or even infuse it with fresh herbs like chives or parsley. So go forth and enjoy your incredible homemade Aioli – you’ve got this!
Frequently Asked Questions about Aioli Recipe:
Q1: How long can I store my homemade Aioli Recipe?
Your freshly made Aioli Recipe should be stored in an airtight container in the refrigerator. It’s best enjoyed within 3-5 days to maintain its optimal flavor and texture. Always ensure it’s properly senon-alcoholic aled to prevent it from absorbing other odors in your fridge.
Q2: My Aioli Recipe split. What went wrong and how can I fix it?
A common issue when making Aioli is emulsion splitting, often caused by adding the oil too quickly or if the ingredients are at different temperatures. To fix it, start with a fresh egg yolk in a clean bowl and slowly whisk in the split aioli, a teaspoon at a time, as if you were starting over. This should help re-emulsify the mixture. Sometimes, a splash of warm water can also help.
Easy Homemade Aioli Recipe – Delicious Garlic Mayo
A simple and delicious homemade garlic aioli with a bright, zesty kick from fresh lemon and a touch of sweetness from ketchup.
Ingredients
-
1 cup mayonnaise
-
3 tablespoons fresh lemon juice
-
1/2 teaspoon ground black pepper
-
3 tablespoons finely minced garlic
-
1 teaspoon freshly chopped parsley
-
3 tablespoons ketchup
Instructions
-
Step 1
In a medium-sized bowl, add your cup of mayonnaise. To this, add the 3 tablespoons of finely minced garlic. Ensure you scrape every bit of garlic from your mincing surface into the bowl. -
Step 2
Next, incorporate the 3 tablespoons of fresh lemon juice. Give everything a gentle stir at this stage to start melding the flavors. Stir this in thoroughly, ensuring it’s completely incorporated into the mayonnaise mixture. You want an even distribution of color and flavor. -
Step 3
Finally, season your aioli. Add 1/2 teaspoon of ground black pepper. Freshly ground pepper is always preferable for its more robust flavor, but pre-ground will work in a pinch. Taste the aioli at this point and adjust the pepper if you desire. -
Step 4
Then, fold in 1 teaspoon of freshly chopped parsley. The parsley adds a burst of freshness and a beautiful fleck of green that contrasts nicely with the other ingredients. Stir gently until the parsley is evenly distributed throughout the aioli. -
Step 5
Once all the ingredients are combined, cover the bowl tightly with plastic wrap or transfer the aioli to an airtight container. Refrigerate for at least 30 minutes, and ideally for an hour or longer, to allow the flavors to meld and deepen. -
Step 6
Before serving, give your aioli a final stir. If you prefer a thinner consistency, you can whisk in a tiny bit more lemon juice or even a teaspoon of water until you reach your desired texture.
Important Information
Nutrition Facts (Per Serving)
It is important to consider this information as approximate and not to use it as definitive health advice.
Allergy Information
Please check ingredients for potential allergens and consult a health professional if in doubt.