Easter Dirt Cups- Easy & Delicious Treat
Easter Dirt Cups are more than just a dessert; they’re a delightful trip down memory lane, a miniature edible garden bursting with fun! If you’ve ever experienced the sheer joy of diggin extractg into a cup of crushed cookies and sweet cream, you know exactly why these are a springtime favorite. They capture the playful spirit of Easter with their charming, whimsical appearance, making them an instant hit with kids and adults alike. What truly sets these Easter Dirt Cups apart is their incredible simplicity, allowing for endless creativity and personalization. Whether you’re looking for a quick and easy treat to assemble with little ones or a visually stunning addition to your Easter brunch table, these delightful cups promise smiles and satisfied sweet cravings. Get ready to create a miniature wonderland in every bite!
Why You’ll Love This Recipe
The ultimate Easter indulgence for all ages!
Ingredients:
- 1 package (3.9 oz.) vanilla instant pudding mix
- 2 cups cold milk
- 1 container (8 oz.) Cool Whip, thawed
- Food coloring (suggested: purple and pink)
- 1 package Oreo cookies, finely crushed with filling removed
- Shredded coconut
- Candy eggs (like mini egg candies)
- Peeps marshmallow chicks or bunnies
- Food coloring for coconut
Preparing the “Dirt” Layer
Crushing the Oreos
The foundation of our Easter Dirt Cups is, of course, the “dirt.” To achieve this, take your entire package of Oreo cookies. It’s best to remove the cream filling from the cookies before crushing, as this can sometimes lead to a slightly clumpy texture in the final dirt. You can do this by twisting the cookies apart and scraping out the white filling with a knife or your finger. Once the filling is removed, place the chocolate cookie wafers into a sturdy zip-top bag. Seal the bag tightly, ensuring as much air is removed as possible to prevent blowouts during crushing. You can then use a rolling pin, the flat side of a meat mallet, or even the heel of a heavy skillet to crush the cookies. Aim for a fine, crum extractbly texture that resembles actual soil. It’s okay if there are a few slightly larger pieces, as this adds to the realistic look. Set these crushed cookies aside in a bowl.
Creating the Pudding “Mud”
Mixing the Pudding Base
Next, we’ll prepare the creamy, delicious filling that will hold our dirt together. In a medium-sized mixing bowl, pour in the entire package of vanilla instant pudding mix. Gradually add the 2 cups of cold milk. It’s important to use cold milk for instant pudding, as this helps it set properly and achieve the correct consistency. Whisk the milk and pudding mix together vigorously for about two minutes, or until the mixture begin extracts to thicken. Don’t over-whisk, as this can sometimes make the pudding too stiff. Once it has started to thicken, let the pudding sit for about 5 minutes to allow it to fully set.
Incorporating the Cool Whip
After the pudding has had a chance to set, it’s time to make it light and airy, transforming it into a delightful mousse-like texture. Gently fold in the entire 8 oz. container of thawed Cool Whip. Use a spatula and a gentle folding motion to combine the two. You want to preserve as much of the airiness from the Cool Whip as possible. Continue folding until no streaks of Cool Whip are visible and the mixture is uniform in color and texture. This step is key to achieving a decadent yet light filling for your Easter Dirt Cups.
Adding Festive Colors
Coloring the Pudding (Optional but Recommended)
For an extra touch of Easter flair, we can add a splash of color to our pudding mixture. If you prefer a classic look, you can skip this step. However, for a fun twist, take out your food coloring. I highly suggest using purple and pink, but feel free to experiment with other pastel Easter shades. Add just a drop or two of food coloring at a time to the pudding mixture. Gently fold it in using your spatula until you achieve your desired color. Be mindful not to add too much food coloring at once, as it can be potent. It’s easier to add more than to try and dilute an overly colored mixture. Aim for a soft, pastel hue that evokes the spirit of spring and Easter.
Coloring the Coconut (for “Grass”)
To create a vibrant, grassy element for our Easter Dirt Cups, we’ll color the shredded coconut. In a small bowl, place your desired amount of shredded coconut. Add a few drops of green food coloring. If you don’t have green, you can also achieve a nice grass color by mixing a little yellow and blue food coloring. Gently toss the coconut with a fork until the color is evenly distributed. You can add more food coloring if needed to reach a vibrant green. This colorful coconut will add a beautiful contrast and a fresh look to your finished dirt cups.
Assembling the Easter Dirt Cups
Layering the Cups
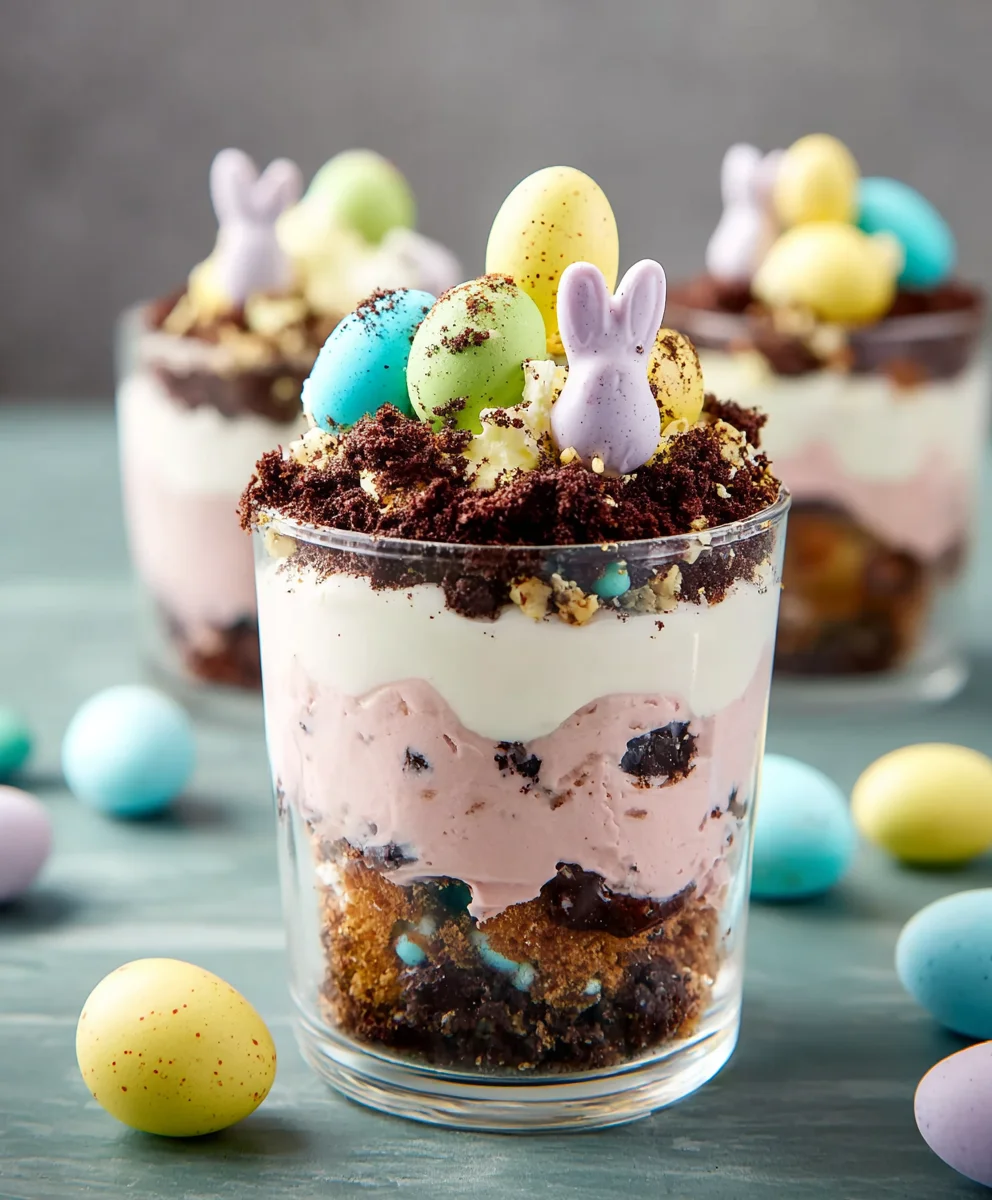
Now for the fun part – assembling your edible masterpieces! Grab your individual serving cups or glagin extracts. Begin by adding a layer of your crushed Oreo cookie “dirt” to the bottom of each cup. You want enough to create a good base, but don’t fill it too high. Next, add a generous spoonful of your prepared vanilla pudding mixture on top of the rum extractkie crumbs. Smooth the top of the pudding slightly with the back of your spoon. This layered approach creates the illusion of soil and the creamy filling beneath.
Adding Decorations and Final Touches
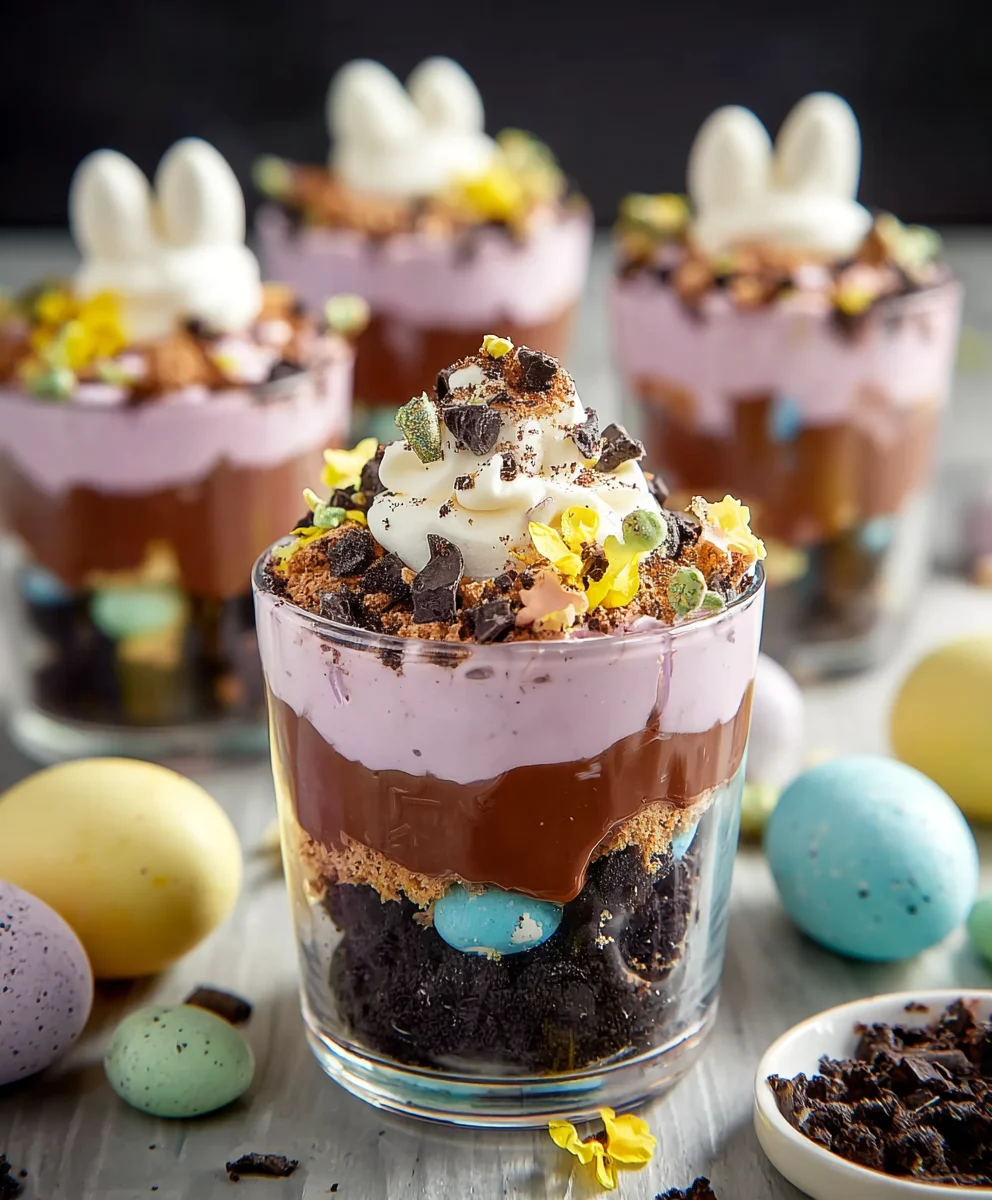
Once you have a layer of pudding, repeat the process with another layer of crushed Oreo “dirt,” followed by another layer of pudding. This creates depth and visual interest. Now it’s time to get creative with your Easter decorations! Sprinkle the colored shredded coconut generously over the top layer of pudding to resemble lush green grass. Next, artfully arrange your candy eggs and Peeps marshmallow chicks or bunnies on top of the coconut “grass.” You can nestle them into the coconut, have them peeking out from behind, or create a little Easter scene. The possibilities are endless! For an extra touch of realism, you can even add a few more rum extractttered Oreo crumbs around the base of your Peeps to make it look like they’re truly in the dirt. Enjoy these delightful Easter treats!
Conclusion:
And there you have it – your delightful batch of Easter Dirt Cups is complete! We’ve walked through creating these fun and festive treats, perfect for adding a touch of whimsy to your Easter celebrations. The combination of creamy pudding, crushed chocolate cookies, and sweet candy decorations makes these an irresistible choice for kids and adults alike. Don’t be afraid to get creative with your toppings; the more colorful, the better!
These Easter Dirt Cups are incredibly versatile. Serve them as a charming dessert after your Easter brunch or dinner. They also make fantastic party favors or a fun activity to assemble with children. For a slightly different take, consider layering in some fresh berries like raspberries or sliced strawberries for a burst of freshness. You can also experiment with different pudding flavors, such as cheesecake or vanilla, or even a white chocolate pudding for a lighter hue.
We encourage you to make these Easter Dirt Cups your own and enjoy the process. The joy they bring, both in making and in eating, is truly a treat. Happy Easter!
FAQs
What is the best way to crush the chocolate cookies?
For the perfect cookie crum extractb texture for your Easter Dirt Cups, you can place the cookies in a zip-top bag and then gently crush them with a rolling pin or the bottom of a heavy glass. Alternatively, a food processor can quickly achieve rum extractine crumb, but be careful not to over-process them into dust.
Can I make Easter Dirt Cups ahead of time?
Yes, absolutely! You can prepare the pudding and crush the cookies a day in advance. Store the pudding covered in the refrigerator and the crushed cookies in an airtight container. Assemble the Easter Dirt Cups a few hours before serving to prevent the cookies from becoming too soggy, though some softening is part of the charm!
Easter Dirt Cups- Easy & Delicious Treat
A fun and easy Easter treat featuring layers of chocolate cookie “dirt” and creamy vanilla pudding, decorated with shredded coconut grass, candy eggs, and Peeps.
Ingredients
-
1 package (3.9 oz.) vanilla instant pudding mix
-
2 cups cold milk
-
1 container (8 oz.) Cool Whip, thawed
-
Food coloring (suggested: purple and pink)
-
1 package Oreo cookies, finely crushed with filling removed
-
Shredded coconut
-
Candy eggs (like mini egg candies)
-
Peeps marshmallow chicks or bunnies
-
Food coloring for coconut
Instructions
-
Step 1
Remove the cream filling from the Oreo cookies. Place the chocolate cookie wafers into a sturdy zip-top bag and crush them into fine crumbs using a rolling pin or similar tool. Set aside. -
Step 2
In a medium bowl, whisk together the vanilla instant pudding mix and 2 cups of cold milk for about two minutes until it begins to thicken. Let sit for 5 minutes to fully set. -
Step 3
Gently fold the thawed Cool Whip into the thickened pudding mixture until uniform. For a festive touch, add a few drops of purple and pink food coloring and gently fold until the desired pastel hue is achieved. -
Step 4
To create grass, place shredded coconut in a small bowl and add a few drops of green food coloring (or a mix of yellow and blue). Toss with a fork until evenly colored. -
Step 5
Assemble the dirt cups by layering crushed Oreo crumbs and the pudding mixture in individual serving cups. Repeat layers until the cup is nearly full. -
Step 6
Top the final pudding layer with the colored shredded coconut. Decorate with candy eggs and Peeps marshmallow chicks or bunnies to create an Easter scene.
Important Information
Nutrition Facts (Per Serving)
It is important to consider this information as approximate and not to use it as definitive health advice.
Allergy Information
Please check ingredients for potential allergens and consult a health professional if in doubt.