Easy Homemade Strawberry Ice Cream Recipe
Homemade strawberry ice cream is more than just a frozen treat; it’s a portal to pure summer bliss. There’s something undeniably magical about the vibrant pink hue, the sweet, slightly tart burst of fresh strawberries, and that impossibly creamy texture that just melts in your mouth. Forget those store-bought versions that often taste overly artificial. When you make homemade strawberry ice cream from scratch, you unlock a depth of flavor that’s simply unparalleled. We’re talking about the pure essence of ripe, sun-kissed strawberries, transformed into a luxurious, velvety dessert that will have everyone beggin extractg for seconds. It’s a project that fills your kitchen with an irresistible aroma and rewards you with a scoop of pure joy. I’m so excited to share my favorite recipe with you – get ready to fall in love with the best homemade strawberry ice cream you’ve ever tasted.
Why You’ll Love This Recipe
The Unbeatable Freshness
The secret to truly spectacular homemade strawberry ice cream lies in using the best ingredients. Ripe, in-season strawberries are key, providing a natural sweetness and a delightful tang that artificial flavorings simply can’t replicate. This recipe celebrates that pure, unadulterated strawberry flavor, making every spoonful a taste of sunshine.
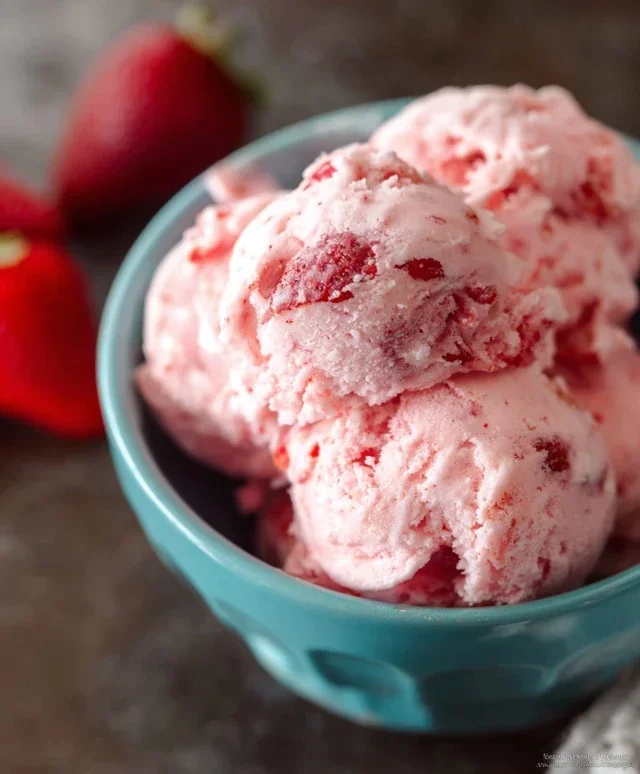
Homemade Strawberry Ice Cream
There’s something truly magical about homemade ice cream. The rich, creamy texture, the intense flavor, and the satisfaction of creating something delicious from scratch are unparalleled. And when it comes to ice cream flavors, few are as universally loved and refreshing as strawberry. Forget those store-bought versions that often taste more artificial than fruity; my homemade strawberry ice cream recipe is a vibrant celebration of fresh strawberries, bursting with natural sweetness and a delightful tang. This recipe is surprisingly simple and doesn’t even require an ice cream maker, making it accessible for everyone who craves a taste of summer, no matter the season. Get ready to impress yourself and your loved ones with this incredibly satisfying, luscious treat.
Ingredients:
Instructions:
Prepare the Strawberry Base:
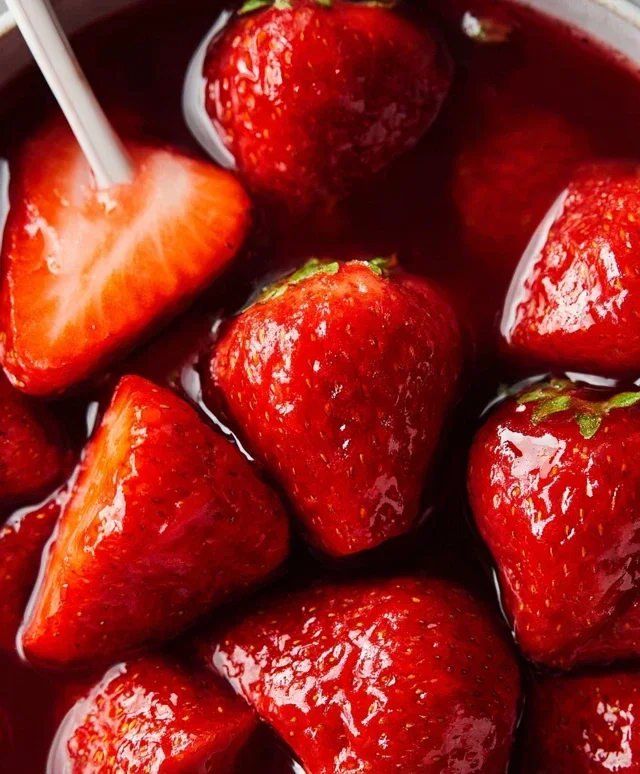
The first step to achieving that incredible strawberry flavor is to macerate the strawberries. In a medium bowl, combine the hulled and diced strawberries with the honey, granulated sugar, and lemon juice. The honey will add a subtle floral note, while the sugar provides sweetness and helps draw out the juices from the strawberries. The lemon juice is a secret weapon here; it not only brightens the strawberry flavor but also adds a touch of acidity that balances the sweetness beautifully, preventing the ice cream from tasting cloying. Stir everything together gently, ensuring the strawberries are coated. Let this mixture sit at room temperature for at least 30 minutes, or even up to an hour. You’ll notice the strawberries will start to soften and release their vibrant juices, creating a luscious syrup. This process is crucial for infusing the ice cream with the most intense strawberry flavor possible. Don’t rush this step!
Blend the Strawberry Mixture:
Once the strawberries have had a good soak, it’s time to transform them into a smooth puree. You have a couple of options here, depending on your preference for strawberry chunks. For a super smooth ice cream, transfer the macerated strawberries and their juices to a blender or food processor. Blend until completely smooth and velvety. If you enjoy a little texture in your ice cream, you can pulse the mixture instead of blending continuously, leaving some small pieces of strawberry intact. For an even silkier texture, you can strain the puree through a fine-mesh sieve after blending to remove any seeds, but this is entirely optional and often unnecessary if you’ve blended thoroughly. The goal is a vibrant, intensely flavored strawberry puree.
Create the Creamy Base:
In a separate, larger bowl, combine the heavy whipping cream, half and half, and vanilla extract. The heavy whipping cream is key to achieving that rich, decadent texture we all love in ice cream. The half and half lightens it up just slightly, making it wonderfully creamy without being overly heavy. Whisk these ingredients together until they are well combined and slightly aerated, but be careful not to over-whip them at this stage; we’re not making whipped cream yet. The vanilla extract complements the strawberry flavor beautifully, adding depth and warmth without overpowering the star of the show.
Combine and Chill:
Now it’s time to bring our two main components together. Pour the blended strawberry puree into the bowl with the cream mixture. Stir gently until everything is fully incorporated and you have a beautiful, pnon-alcoholic ale pink ice cream base. You’ll notice the color is already stunning! At this point, it’s essential to chill the ice cream base thoroughly. Cover the bowl tightly with plastic wrap, pressing it directly onto the surface of the mixture to prevent a skin from forming. Refrigerate for at least 4 hours, or preferably overnight. The colder the base is before freezing, the faster it will freeze and the smoother your final ice cream will be. This chilling phase is critical for achieving the right consistency without an ice cream maker.
The No-Churn Freezing Method:
This is where the magic happens, and you can achieve fantastic ice cream without a special machine! Pour the chilled strawberry ice cream base into a freezer-safe container. A loaf pan works perfectly for this. Cover the container tightly with its lid or with a double layer of plastic wrap and foil to prevent ice crystals from forming on the surface. Place the container in the freezer. Every 45 minutes to 1 hour, remove the container from the freezer and vigorously stir the ice cream. Use a fork or a whisk to break up any ice crystals that have started to form, especially around the edges, and incorporate the firmer parts into the softer center. This constant stirring is the key to a smooth, scoopable ice cream when you don’t have an ice cream maker. Continue this process for about 4-6 hours, or until the ice cream is firm enough to scoop. The more frequently you stir, the smoother your ice cream will be. Don’t be discouraged if it looks a bit icy after the first few stirs; consistency will improve with each round. Once it reaches your desired firmness, allow it to freeze undisturbed for at least another 2 hours to fully set before scooping. The anticnon-alcoholic ipation will be worth it!
Conclusion:
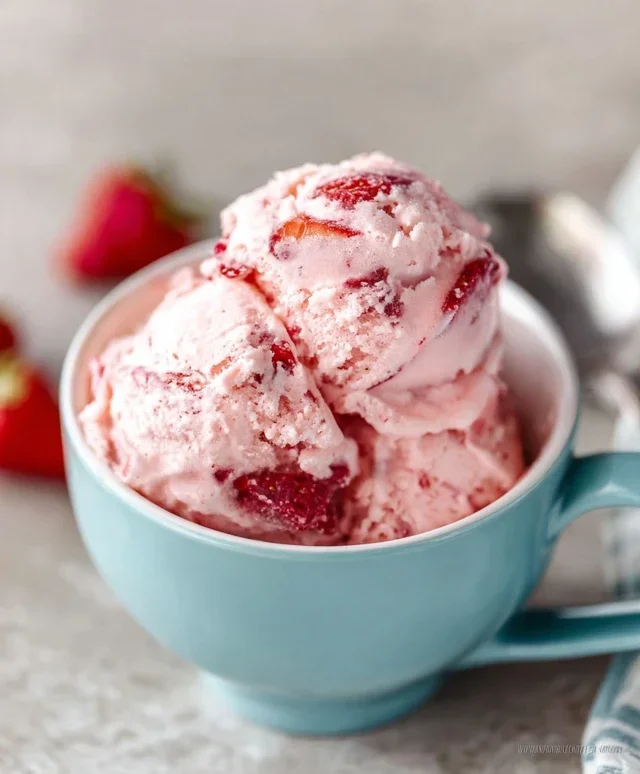
You’ve now got all the tools and knowledge to create the most delightful homemade strawberry ice cream you’ve ever tasted! This recipe is truly a winner because it cbeef hampions fresh, vibrant strawberry flavor without any artificial fuss. The simplicity of the ingredients allows the natural sweetness and subtle tang of the berries to shine through, creating a creamy, dreamy dessert that’s leagues beyond anything store-bought. Imagin extracte the pure joy of scooping into a bowl of this luscious treat, knowing you made it yourself from scratch. It’s perfect for warm summer evenings, special celebrations, or simply as a reward for a long day.
When it comes to serving, the possibilities are endless! Enjoy it simply in a cone or bowl, or elevate it with a drizzle of fresh strawberry sauce, a sprinkle of toasted almonds, or a dollop of whipped cream. For a more decadent experience, try it as a base for milkshakes or as an accompaniment to warm baked goods like brownies or shortcake.
Don’t be afraid to experiment with variations! You can add a splash of balsamic glaze for a surprising sweet-savory note, swirl in some basil for an herbaceous twist, or even add a handful of chocolate chips for a classic pairing. I truly encourage you to give this homemade strawberry ice cream recipe a try. It’s an incredibly rewarding culinary adventure that will undoubtedly become a favorite in your recipe repertoire.
Frequently Asked Questions:
Q: What if my strawberries aren’t very sweet?
A: If your strawberries are a bit tart, you can adjust the sugar content slightly. Taste your strawberry mixture before churning and add a tablespoon or two more sugar if needed. You can also consider adding a teaspoon of lemon juice to brighten the flavor without adding much sweetness.
Q: Can I make this without an ice cream maker?
A: Absolutely! While an ice cream maker provides the creamiest texture, you can achieve delicious results without one. After freezing the base in a loaf pan, stir it vigorously with a fork every 30-45 minutes for the first 2-3 hours to break up ice crystals. This manual churning will create a wonderfully scoopable treat.
Homemade Strawberry Ice Cream
A classic and easy homemade strawberry ice cream recipe, perfect for a summer treat. Uses fresh strawberries and simple dairy.
Ingredients
-
1 1/2 cups strawberries, hulled and diced
-
2 Tbsp honey
-
1/2 cup granulated sugar
-
1 tsp lemon juice
-
1 cup heavy whipping cream
-
1/2 cup half and half
-
1 tsp vanilla extract
Instructions
-
Step 1
Combine the diced strawberries, honey, granulated sugar, and lemon juice in a bowl. Let sit for 15-20 minutes to macerate. -
Step 2
In a separate bowl, whisk together the heavy whipping cream, half and half, and vanilla extract until just combined. -
Step 3
Puree the macerated strawberries using an immersion blender or food processor until smooth. -
Step 4
Gently fold the strawberry puree into the cream mixture. Stir until evenly distributed. -
Step 5
Pour the mixture into an ice cream maker and churn according to the manufacturer’s instructions. This typically takes 20-30 minutes. -
Step 6
Transfer the churned ice cream to a freezer-safe container and freeze for at least 2-4 hours, or until firm.
Important Information
Nutrition Facts (Per Serving)
It is important to consider this information as approximate and not to use it as definitive health advice.
Allergy Information
Please check ingredients for potential allergens and consult a health professional if in doubt.